To clean makeup brushes, wash the bristle tips with a gentle cleanser, rinse them well, and lay them flat to air-dry. This guide walks you through the wash, the drying setup, and where it can fit around school or work.
Your supplies can stay small: the brushes you use, a clean towel, water, and a cleanser suited to your tools. Pick a time when you can leave the brushes out afterward. The drying spot deserves a place in the plan too.
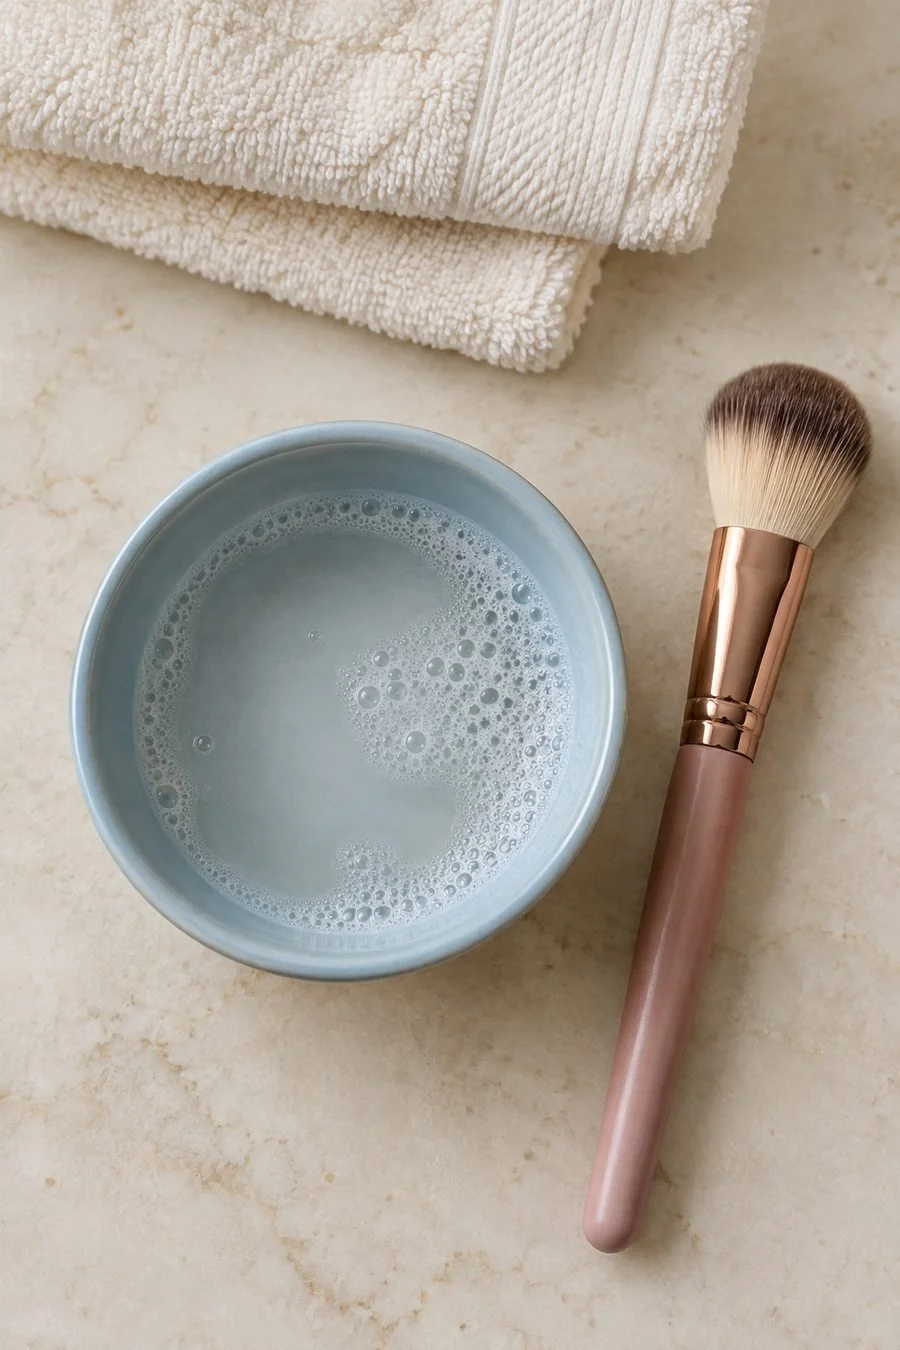
What do you need to clean makeup brushes?
Set out a clean towel, a bowl, and a gentle shampoo or brush cleanser. Check the care directions for your brushes and the cleaner before you start, especially if the tools came with their own washing steps.
Use a bowl from your own cupboard if it suits the job. You can also use your clean palm to work the cleanser through the tips. A cleaning mat is optional, so there's no need to build a shopping list around this task.
Clear a patch of counter where you can set down a wet brush. Keep your phone and makeup bag away from the water. Give yourself room to turn on the tap, move a towel, and reach each brush without balancing things on the sink's rim.
Choose which brushes you're washing before you wet them. Set the ones you've picked on one side of the towel. Use the other side for the brushes you've finished. That gives you a visible way to follow your progress.
If you share a bathroom, check when the counter will be free. A quick message to a roommate can help you choose a spot that stays useful for both of you. Keep the sink open for handwashing as you work.
How to clean makeup brushes, step by step
Work gently through the bristle tips, then rinse until the water is clear. Keep the handle and the metal band, called the ferrule, out of the water as much as the brush's care instructions allow.
The American Academy of Dermatology's makeup-brush washing steps recommend this method:
- Rinse the tips under lukewarm running water.
- Mix lukewarm water and gentle shampoo in a bowl.
- Swirl each brush tip in the mixture. You can gently massage the tips in your palm.
- Rinse the tips under running water.
- Repeat washing and rinsing until the water runs clear.
- Press out extra moisture with a clean, dry paper towel.
The AAD also cautions against putting the whole brush head under water, which can affect the glue that joins it to the handle. Keep the wash focused on the bristles instead of leaving the brushes to soak.
Take each brush through the whole process before moving it to the finished side. If you stop to answer the door or leave the room, you can see where to begin again. Keep the cleanser's directions nearby if you need to check them.
How should you lay brushes out to dry?
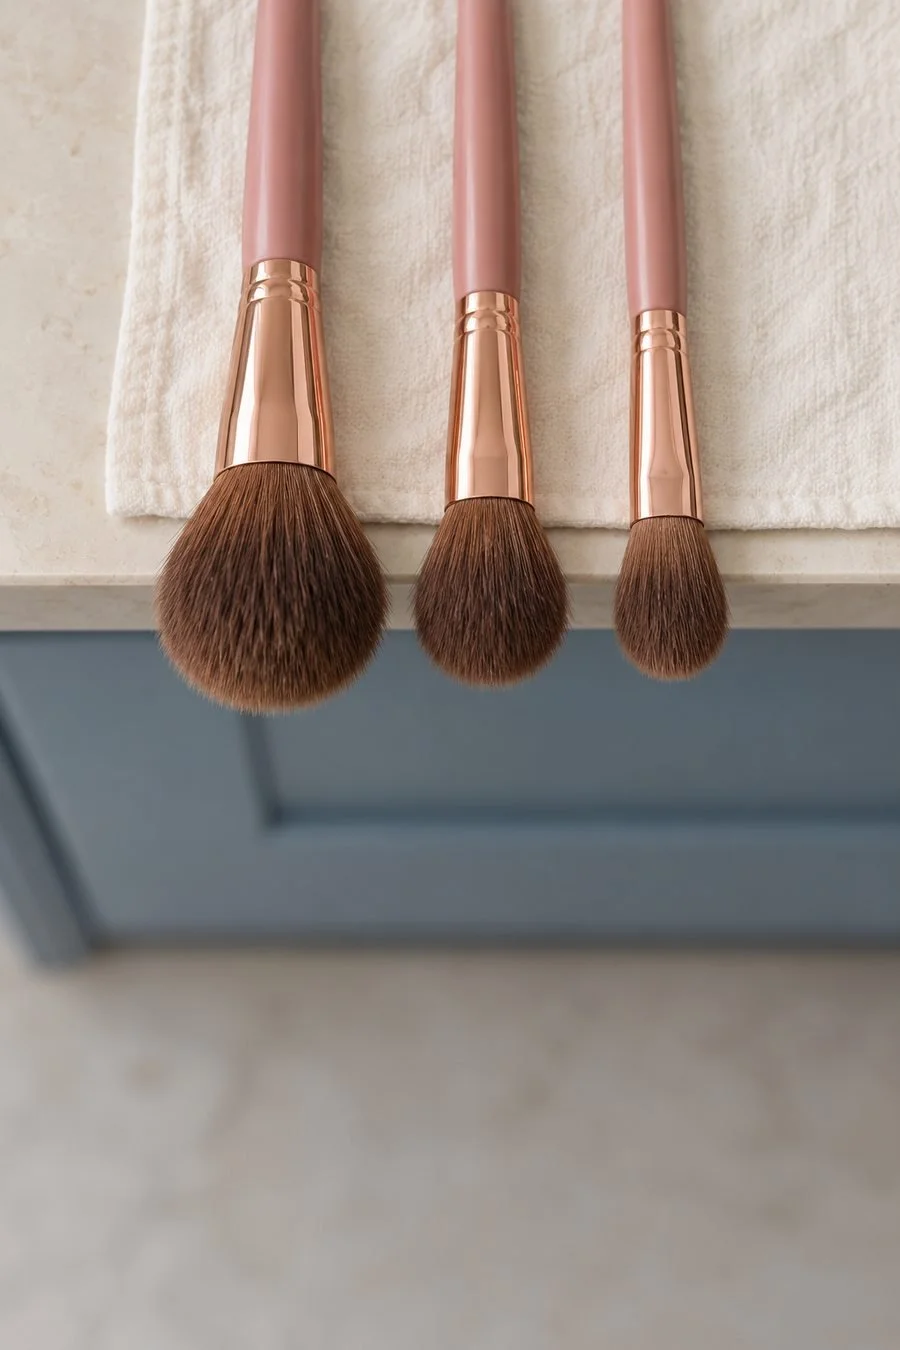
Lay the brushes flat with their bristles extending beyond the edge of a clean counter. Support the handles on a towel, and leave open air below the heads. The towel shouldn't fold up around the wet tips.
Cleveland Clinic's guide to cleaning and drying brushes recommends this flat setup and leaving them to dry overnight. It also advises against standing wet brushes upright because water can damage them over time.
Pick the drying spot before washing. Look at the edge from the side: are the heads clear of both the towel and the counter? Keep the handles far enough onto the surface that a passing sleeve won't knock them down.
If your bathroom counter is busy, choose another clean, suitable surface where the same flat arrangement can sit undisturbed. Keep it away from the place you set your bag or stack your books. Choose a spot that you can leave clear while the bristles dry.
Wait until the brushes are fully dry before putting them away or using them. An overnight plan gives you a starting point, not a promise that every brush dries at the same speed. Check the bristles before packing them into a pouch.
When should you wash your makeup brushes?
The AAD recommends washing makeup brushes every seven to ten days. You can use that guidance to choose a recurring place in your week, while following any more specific care directions for your tools.
Choose a wash time based on when you'll next want the brushes. If you use them before work each morning, the evening may fit better than the hour before you leave. If you're packing for a trip, leave drying time before your bag needs to close.
You can add brush care to a weekly planner that fits your schedule. Write down the wash and leave the drying time open. That way, the plan includes the part that happens after the tap turns off.
If a reminder helps, name the task clearly. “Wash makeup brushes” tells you more than a note that says “beauty stuff.” Put it where you already check your week, whether that's a paper page or your phone calendar.
You can also attach the setup to a task you already do. When you bring out a fresh towel, set aside the one you'll use for drying. Happyologie's guide to starting with a smaller habit explores that kind of small starting point. The full wash still needs its own time.
What if you need the brushes before they're dry?
Change the wash time so your tools have room to dry before you need them. If you've already washed them, leave them out until they're fully dry. You can choose another clean tool you own or change the makeup you use that day.
Before a busy morning, look at which brushes your usual makeup uses. You may choose to wash them after you get ready, when there's a longer gap before the next use. Make that choice before you start the water.
For a trip, unpack the makeup bag early enough to see what's inside. Set the brushes you plan to wash beside your supplies. Keep the empty bag away from the sink, and return the dry tools when they're ready.
If you have plans that evening, check the whole day rather than picking a wash time by habit. A day off from your usual makeup may give you a useful window. You can move the task within the care schedule to fit what you're doing.
Skip improvised heat or cleaning tricks that your brush maker doesn't recommend. If the directions for a tool are unclear, look up that exact brush's care page before trying a new method. Different materials can need different care.
How do you keep track of a small brush set?
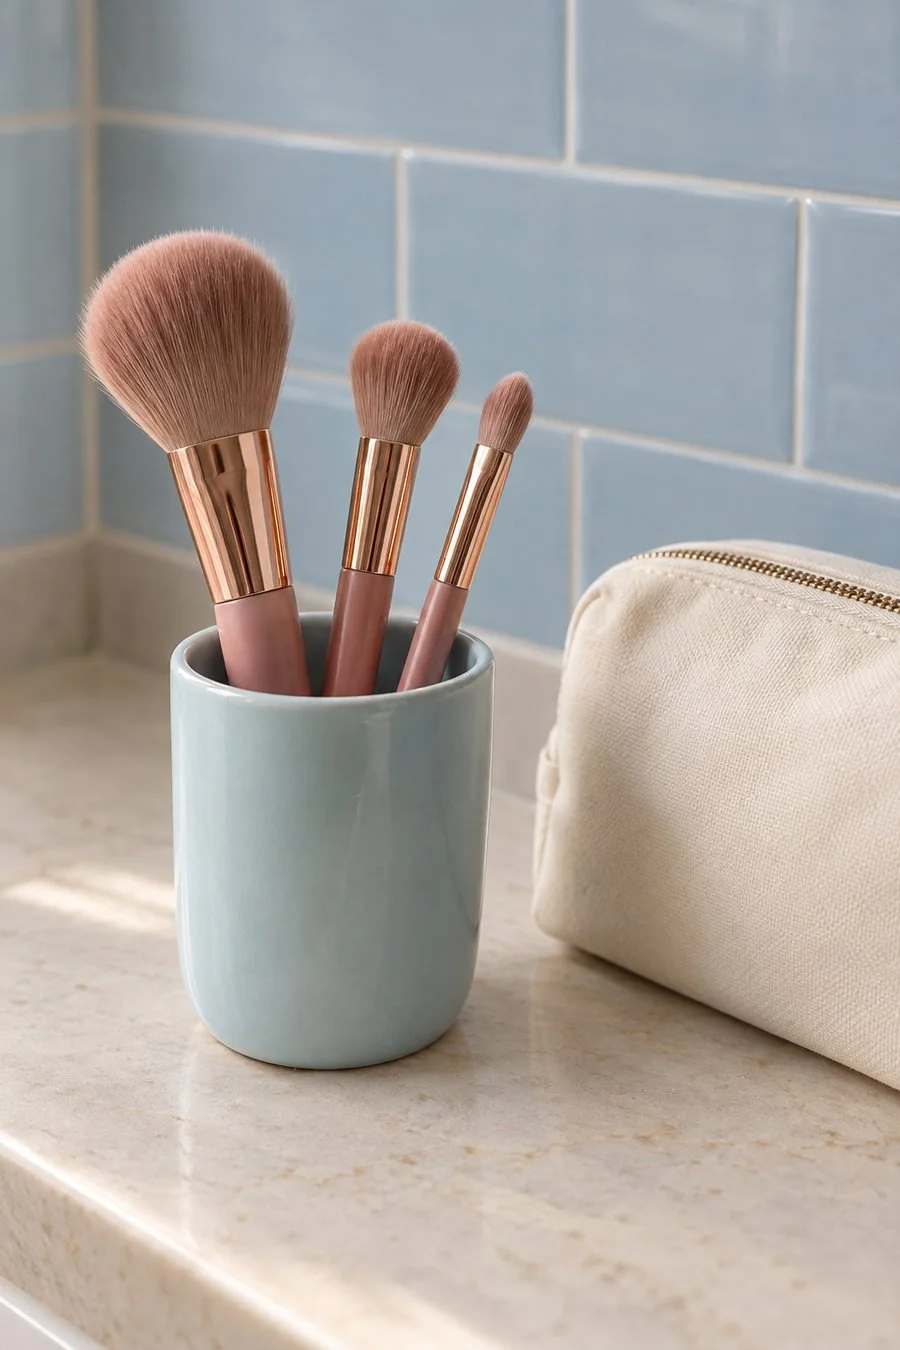
Group the brushes by how you use them, then put them back in a place you can see and reach. A cup, drawer section, or clean pouch you already own may fit. Let the brushes dry fully before they go there.
You can sort by your own routine: base makeup, cheek products, and eye makeup. Use the groups that make sense to you. The point is to find the brush you want when you're getting ready, with room to put it back afterward.
If you're sorting the rest of your makeup at the same time, keep it on a separate dry surface. Finish the brush wash before opening another group of products. That keeps the wet part of the task in one area.
During the wash, take a look at the tools themselves. Cleveland Clinic recommends replacing brushes that have become frayed or worn, or that have lost their shape. You can make a note of a tool to replace without turning the wash into a full makeup-kit overhaul.
Keep your brushes for your own use. The AAD's guidance on sharing makeup and tools advises against sharing makeup applied with a brush or sponge. If you're getting ready with a friend, bring your own tools.
A brush-washing checklist you can use next time
Keep a short checklist with your supplies if you'd like a reminder of the order. You can copy these steps into the notes app you already use or onto a small card stored away from the water.
- Choose a time with room for drying.
- Check the brush and cleanser care directions.
- Clear a washing area and a drying spot.
- Set out the brushes, cleanser, bowl, and towel.
- Wash and rinse the bristle tips gently.
- Lay the brushes flat with the heads beyond the counter edge.
- Check that they're fully dry before putting them away.
Before you leave the area, rinse the bowl and return the cleanser to its usual place. Keep the drying surface clear until the brushes are ready. Your next makeup session can start with the tools back where you use them.
You might also like
Building a morning routine around your day
Choosing a weekly plan for your style