
The no makeup makeup look is the one where a friend says "you look really good today" and can't figure out why. Your skin looks even, your cheeks look a little flushed, and your lashes look like yours, only more awake. It's makeup that looks like you on a well-rested day.
This guide walks through how to do a no-makeup makeup look in seven steps, from sunscreen to lip balm. It also covers which products give the most natural finish, what you can skip, and how to adjust the look for class, work or photos.
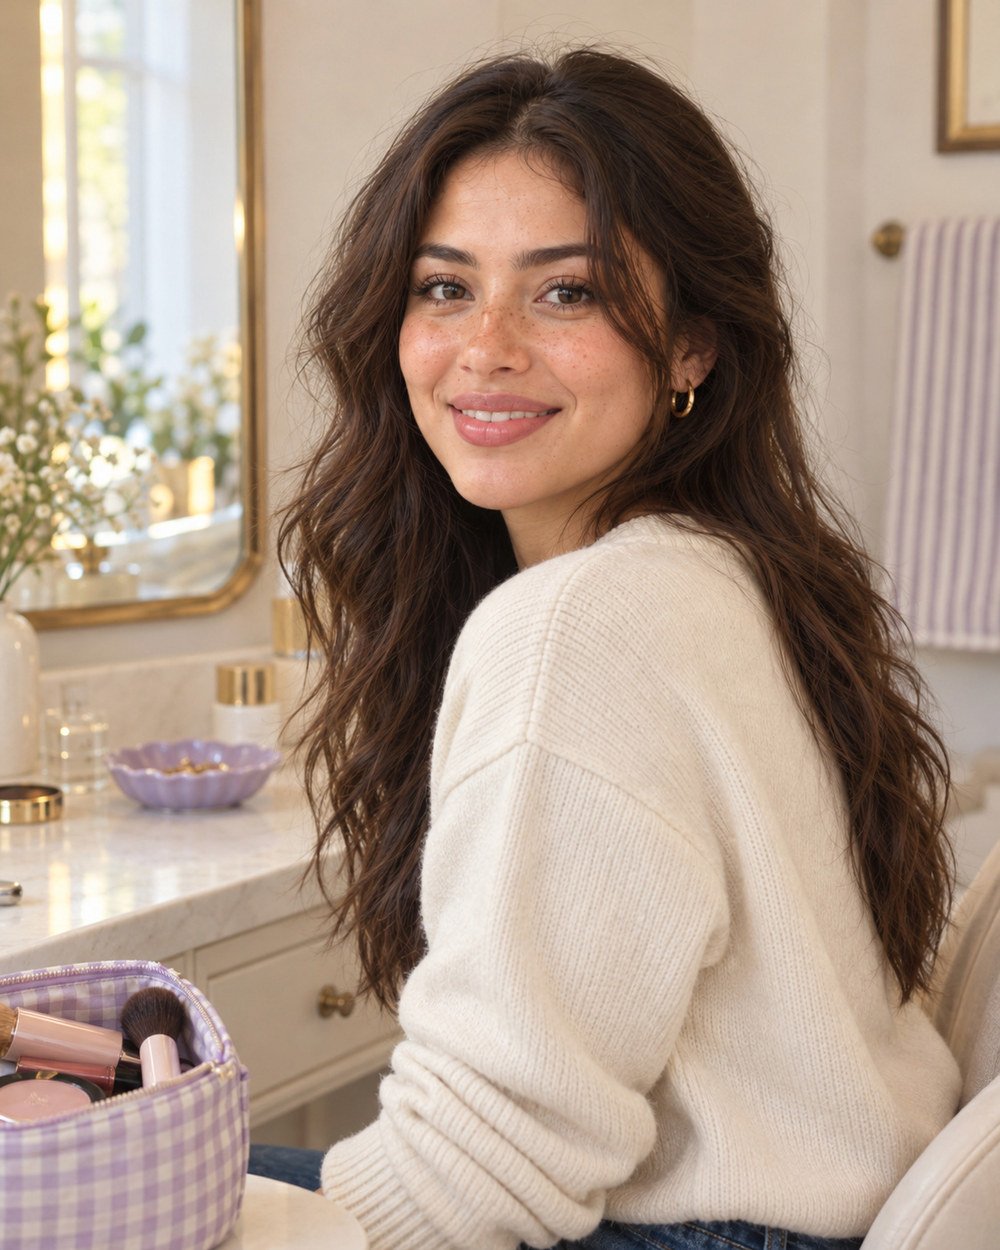
What is a no-makeup makeup look?
A no-makeup makeup look uses a small amount of sheer, skin-like makeup to even out your skin and add a little color, without looking like you're wearing makeup. The goal is your own features, slightly sharper: skin that still shows through, a natural flush and defined lashes and brows.
Most no-makeup routines use five to seven products, and each one goes on in a thin layer. Creams, tints and balms tend to look the most natural, since they melt into your skin instead of sitting on top of it.
It's also a flexible look. You can do every step on a day with a presentation or only three of them on a regular class day.
Once you've found products you like, the full routine takes around ten minutes, and the short version takes about five. The first few tries will be slower while you figure out how much product looks right on your skin. Try it on a weekend morning before you wear it to an 8 a.m. class, so you can play with the amounts without watching the clock.
How to do a no-makeup makeup look, step by step
To do a no-makeup makeup look, prep your skin, add a sheer base only where you need it, then use cream blush, brushed-up brows, a single coat of mascara and a tinted balm. Here's each step in order.
Step 1: Start with moisturizer and sunscreen
Smooth, moisturized skin is what makes the rest of the look work, so start there. Use your usual moisturizer, then apply sunscreen. The American Academy of Dermatology's sunscreen guide recommends a broad-spectrum sunscreen with SPF 30 or higher.
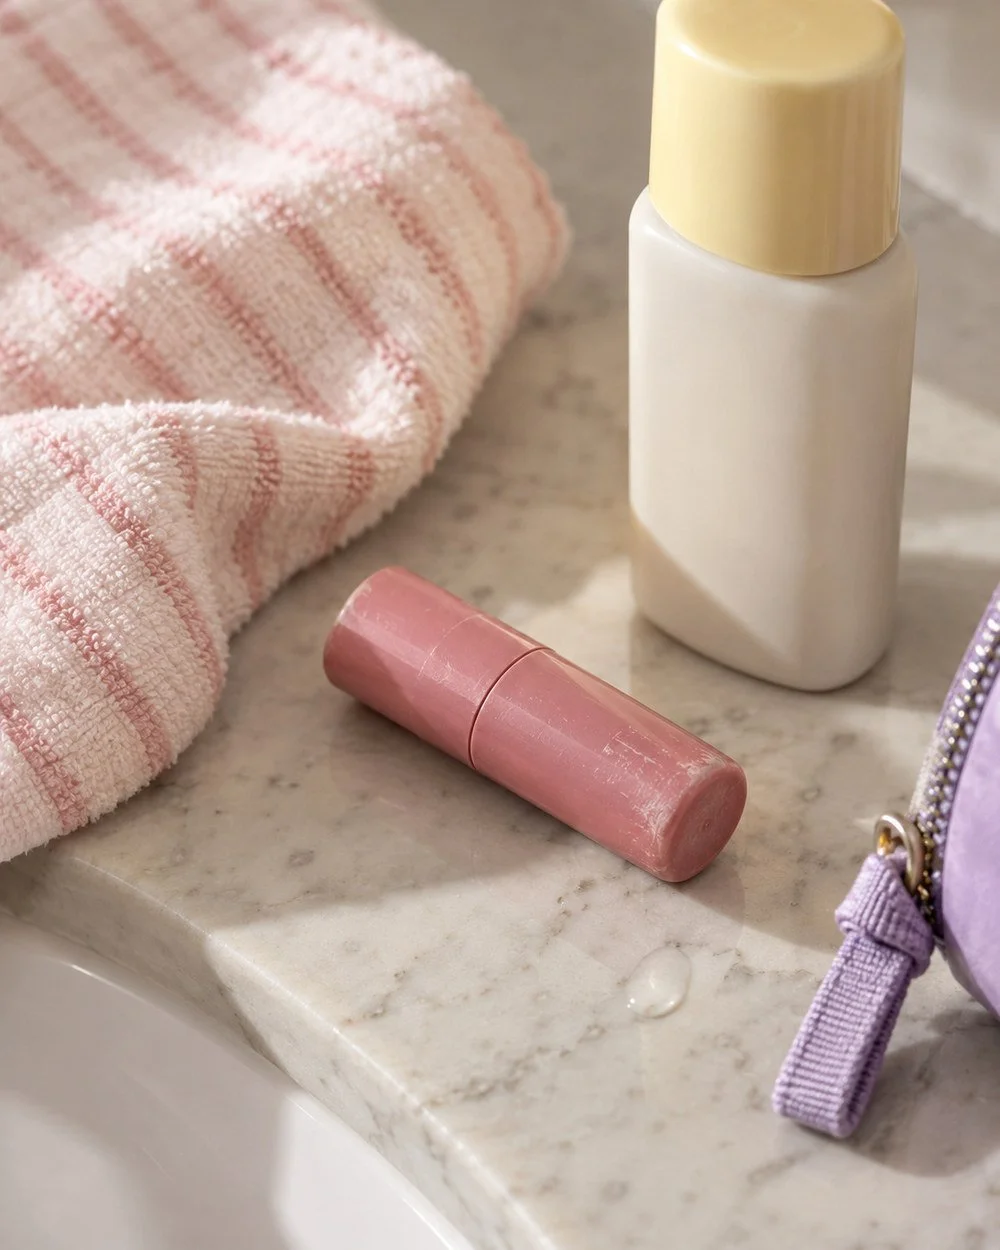
Give both a minute or two to sink in before you add makeup. If you put a skin tint on wet sunscreen, it can slide around and look patchy.
Step 2: Add a sheer base where you need it
Use a tinted moisturizer, skin tint or a light layer of foundation, and focus it where you have redness or uneven tone. For a lot of people, that's around the nose, the center of the chin and the cheeks. You can leave the outer edges of your face bare.
Fingers work great here, since the warmth of your skin helps the product blend in. Check the shade along your jawline in daylight. If you can see a line where your face and neck meet, the shade or the amount needs adjusting.
Step 3: Spot conceal
Tap a small amount of concealer only on the spots that still show through: a blemish, a red patch or the inner corners of your eyes. Use your ring finger or a small brush to pat it in rather than rubbing.
A little goes a long way with concealer. Two small dots under each eye, blended outward, look more natural than a full triangle.
Step 4: Add cream blush
Cream blush is the secret to the "I came in from a walk in the cold" glow. Dab a small amount on the apples of your cheeks (the round part when you smile) and blend up toward your cheekbones with your fingertips.
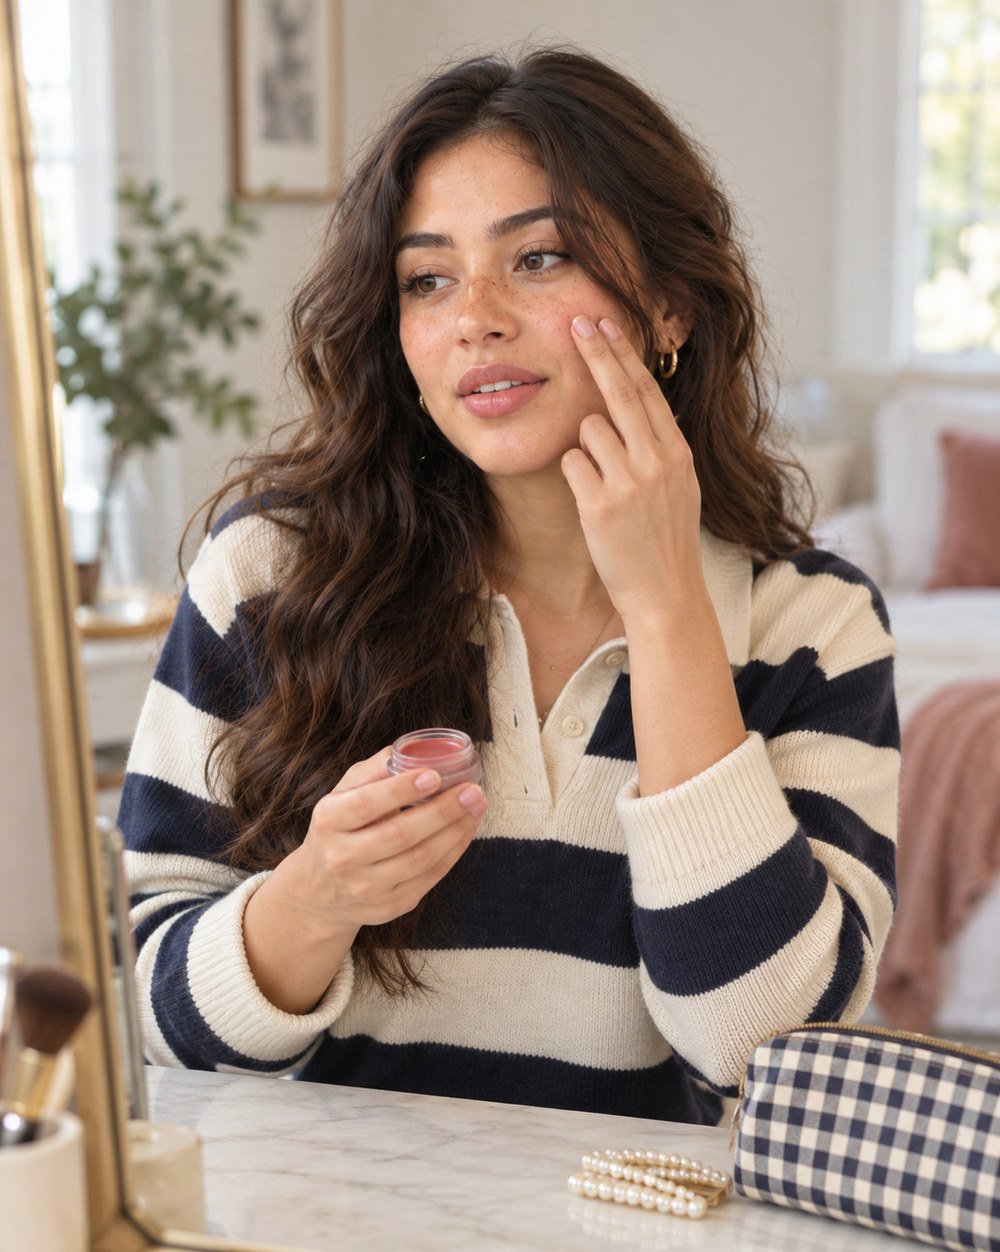
Choose a shade close to your natural flush. A soft pink, peach or berry tone usually works, depending on your skin tone. Tap whatever is left on your fingers across the bridge of your nose for an extra natural finish.
Step 5: Brush your brows up
Brush your brows upward with a clear or tinted brow gel. That's often all they need. If you have sparse spots, fill them with a few light, hair-like strokes from a brow pencil that's a shade lighter than your hair.
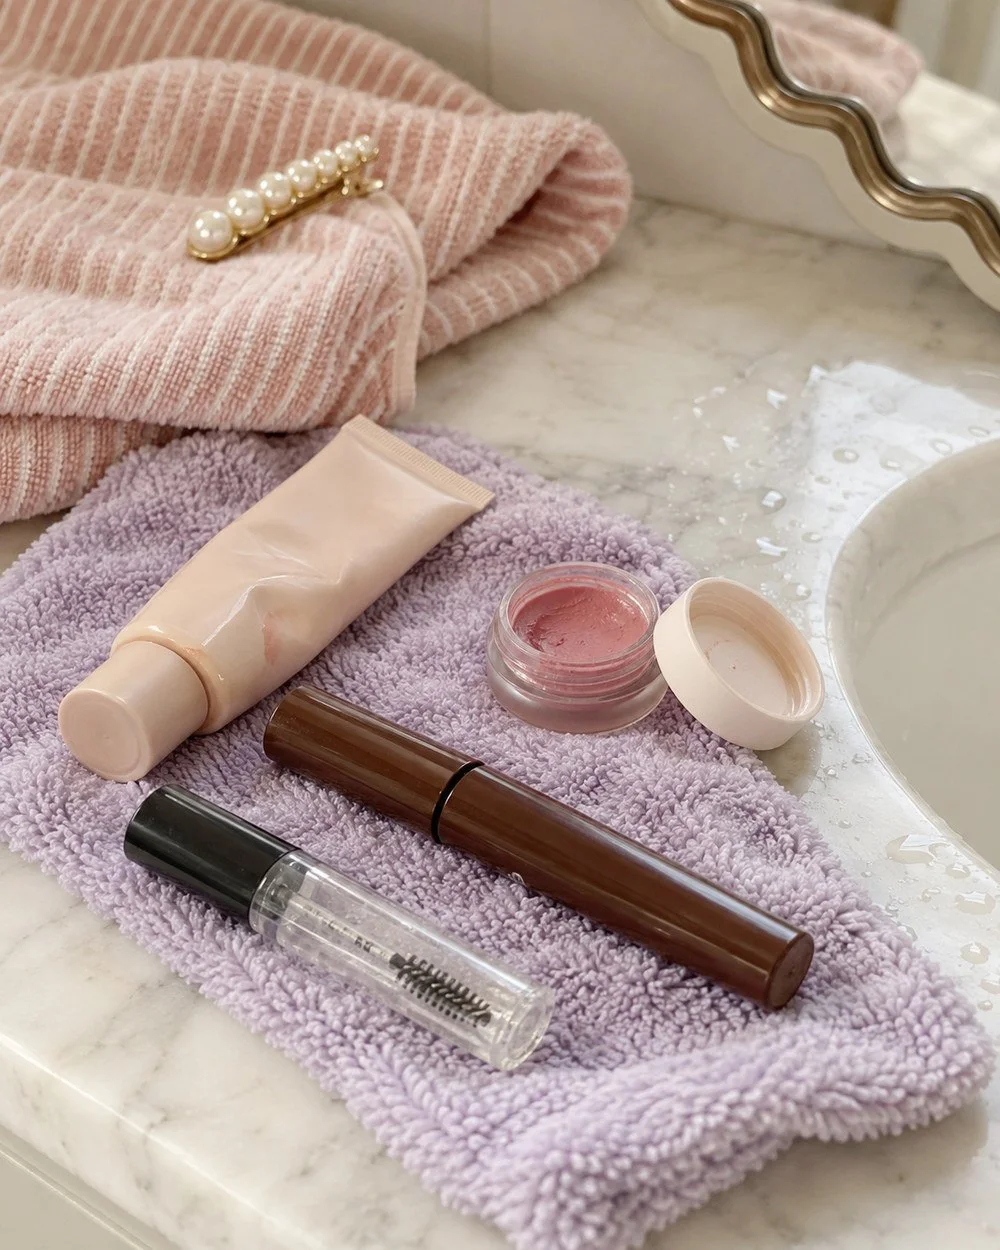
Brows frame your face, so brushing them up makes your whole face look more put together, even when everything else is sheer.
Step 6: One coat of mascara
Wiggle the wand at the base of your top lashes and pull it through to the tips, once. Brown mascara looks softer than black, especially if you have light lashes. You can skip the bottom lashes for a more natural look.
Keep mascara fresh and to yourself. The FDA's eye cosmetic safety tips note that manufacturers usually recommend replacing mascara two to four months after you buy it, and they advise against sharing eye makeup.
Step 7: Finish with tinted balm
Pick a tinted lip balm or a sheer lipstick that's close to your natural lip color, maybe one shade deeper. It adds moisture and a little color without looking like lipstick.
If you want your lips and cheeks to match, use the same cream blush on your lips. It's a fun shortcut, and it ties the whole look together.
The best products for a natural finish
The best products for a no-makeup makeup look are sheer, creamy and blendable: tinted moisturizer or skin tint, a creamy concealer, cream blush, brow gel, mascara and tinted lip balm. You don't need all of them, and you don't need a specific brand.
Creams and liquids look the most like skin, while heavy powders can settle into texture and look flat. If your skin gets shiny during the day, a light dusting of translucent powder on your forehead and nose keeps the look fresh without covering your glow.
If you have acne-prone skin, look for products labeled non-comedogenic, which means they're made not to clog pores. The AAD's acne skin care tips suggest a non-comedogenic sunscreen, and the same label is worth checking on your base.
Matte versus dewy is a personal choice. Dewy skin looks fresh in daylight. A soft matte finish lasts longer through a long day. Pick whichever looks like your skin on its best day.
What to skip
Skip anything that looks like a visible layer: heavy foundation all over, contour lines, bold eyeliner, glitter shadow and matte lipstick. Those are all fun, but they change the look into full makeup.
You can also skip setting spray, primer and highlighter if you want to keep the routine short. Your skin's own glow, plus cream blush, does a lot of what highlighter would.
If something isn't working, take it away rather than adding more. Less product almost always looks more natural.
How to make a no-makeup look last all day
A no-makeup look lasts longest when every layer is thin and has a minute to set before the next one. Thin layers grip your skin better than one thick layer, and they're less likely to crease by lunch.
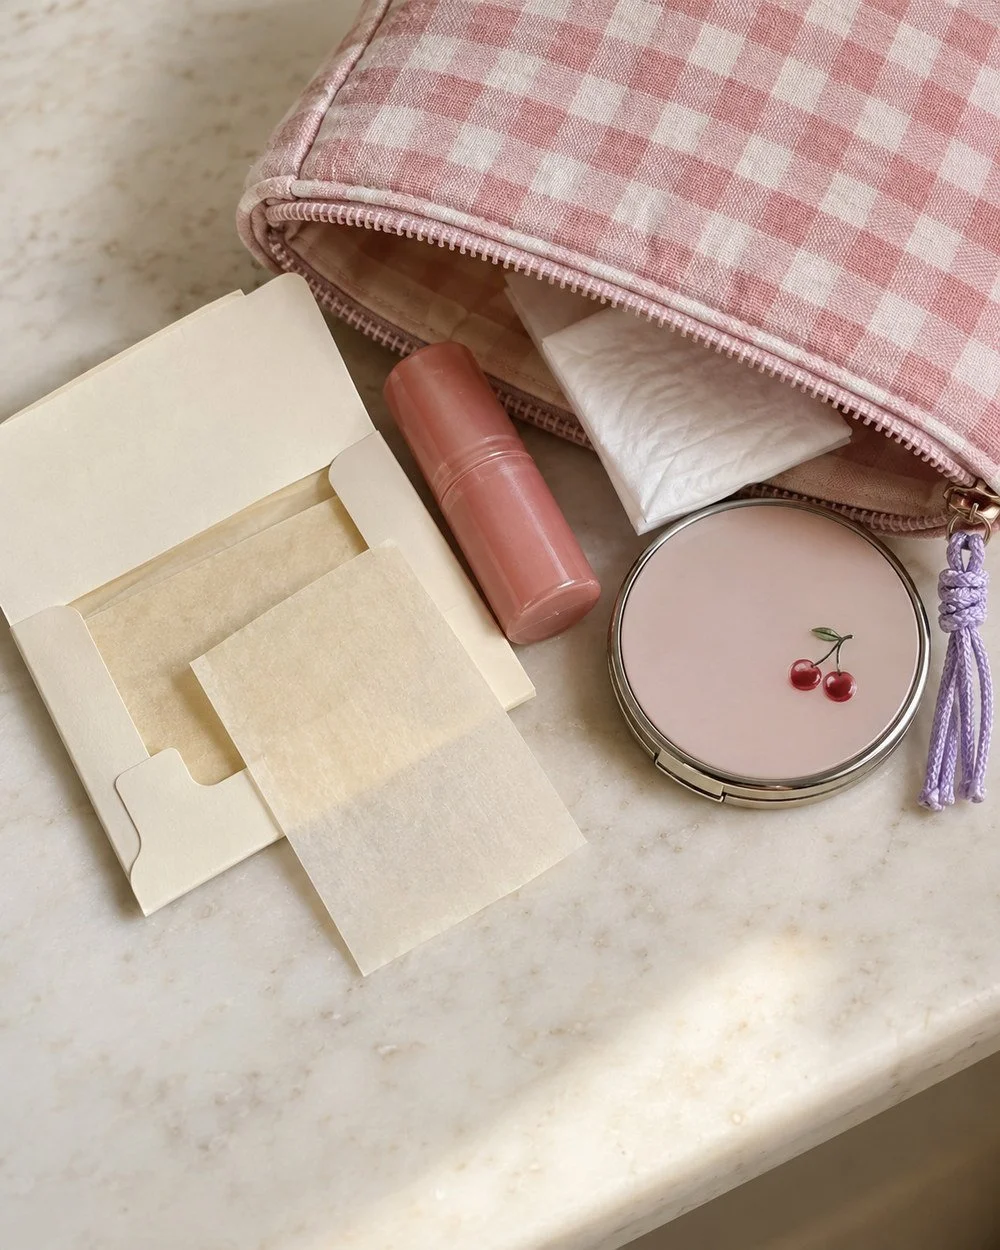
Keep a small kit in your bag for touch-ups. Blotting papers lift shine without adding more product. Your tinted balm can go back on after lunch or a coffee. A tiny dab of cream blush, tapped on with a fingertip, brings the color back in the afternoon.
If your concealer creases under your eyes, pat the line gently with your ring finger instead of adding more. The warmth of your finger smooths it back into place.
If you're outside for a long stretch, reapply sunscreen following the directions on the label. A sunscreen stick or a powder sunscreen is handy to carry, since it goes over makeup without smudging it.
How to adjust the look for class, work and photos
For class, keep it to sunscreen, brow gel, mascara and tinted balm. It's a five-minute routine that fits into a busy morning, and our post on building a morning routine for students has ideas for fitting it in without rushing.
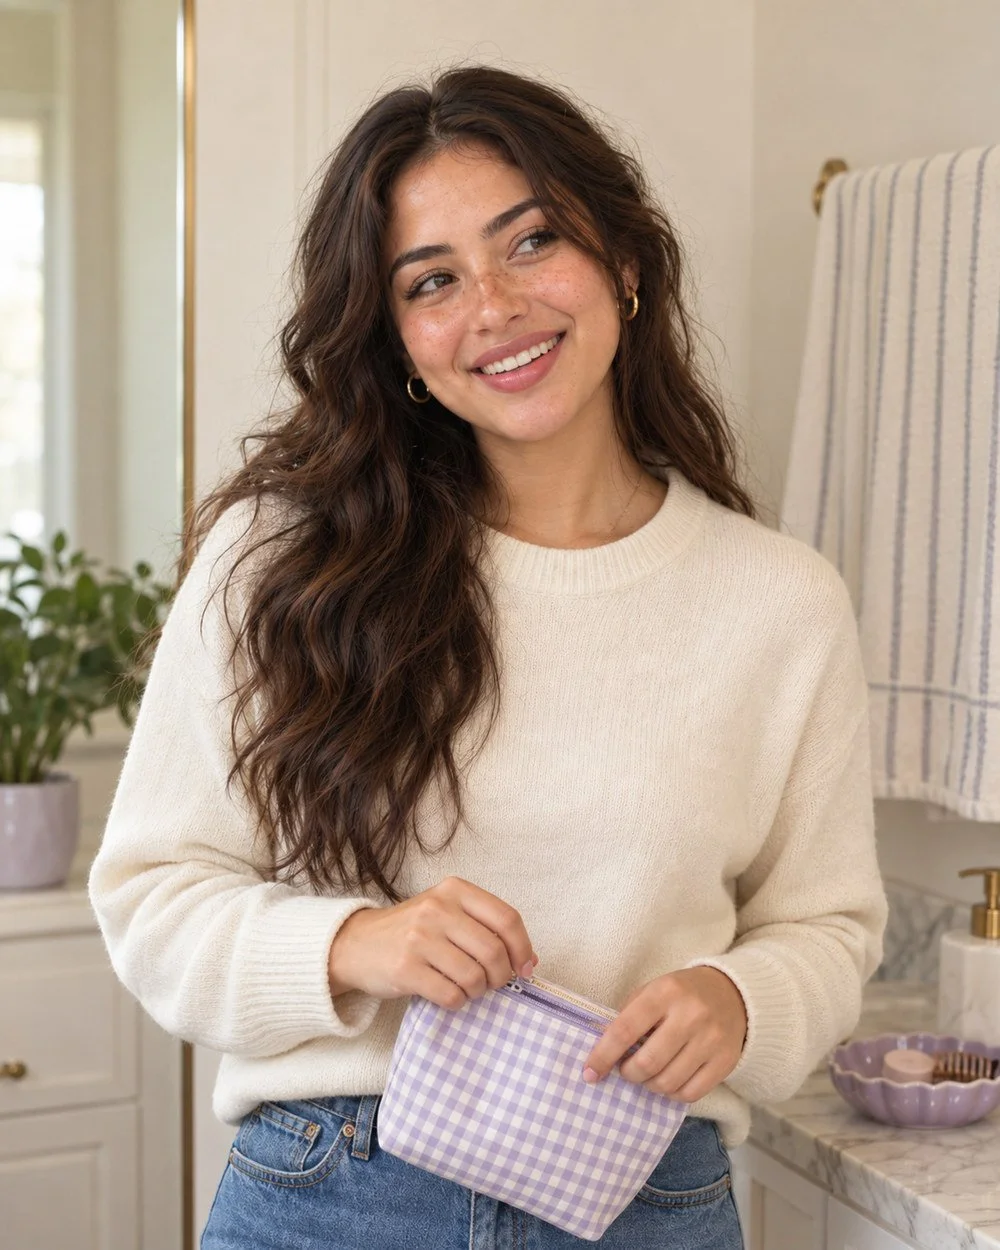
For work, add the sheer base, spot concealer and cream blush. That's the full seven steps, and it looks polished in office lighting and on video calls.
For photos, add a little more. Use a slightly deeper blush, a second coat of mascara on your top lashes and a thin layer of translucent powder on your T-zone, since cameras pick up shine. The look will still read as natural in pictures, where a lot of makeup tends to fade.
Your hair can match the mood. A smooth low ponytail or a few loose waves pair well with a natural face, and our guide to hairstyles for windy days with braids and clips has a few that look nice with soft makeup and stay put outside.
And if you think of this as part of a bigger "feeling good" routine, our take on how to glow up the real-life way covers the sleep, water and skin care habits that make every makeup look easier.
Our favorite step on the list? Cream blush tapped across the bridge of your nose. It's the one that makes people ask if you've been on vacation.
You Might Also Like
Fall nail colors for burgundy and olive
Wearable fall fashion trends for your week
