Christmas tree brownies make a good case for green frosting season. A triangle of dark brownie, a smooth green top and a few tiny rainbow chips give you a whole little tree. The shape does most of the decorating work, which leaves plenty of room for the fun part: choosing how your tray will look.
This feature starts with Melissa Rose’s Cosmic Christmas Tree Brownies at Design Eat Repeat. Her page has the full recipe, measurements and cutting photos. Here, you’ll find a closer look at the green finish, ideas for a food-focused decorating setup and ways to serve your trees. Keep her recipe open when you bake. These serving ideas give that recipe its own spot on your holiday table, whether you’re bringing dessert or setting out two plates at home.
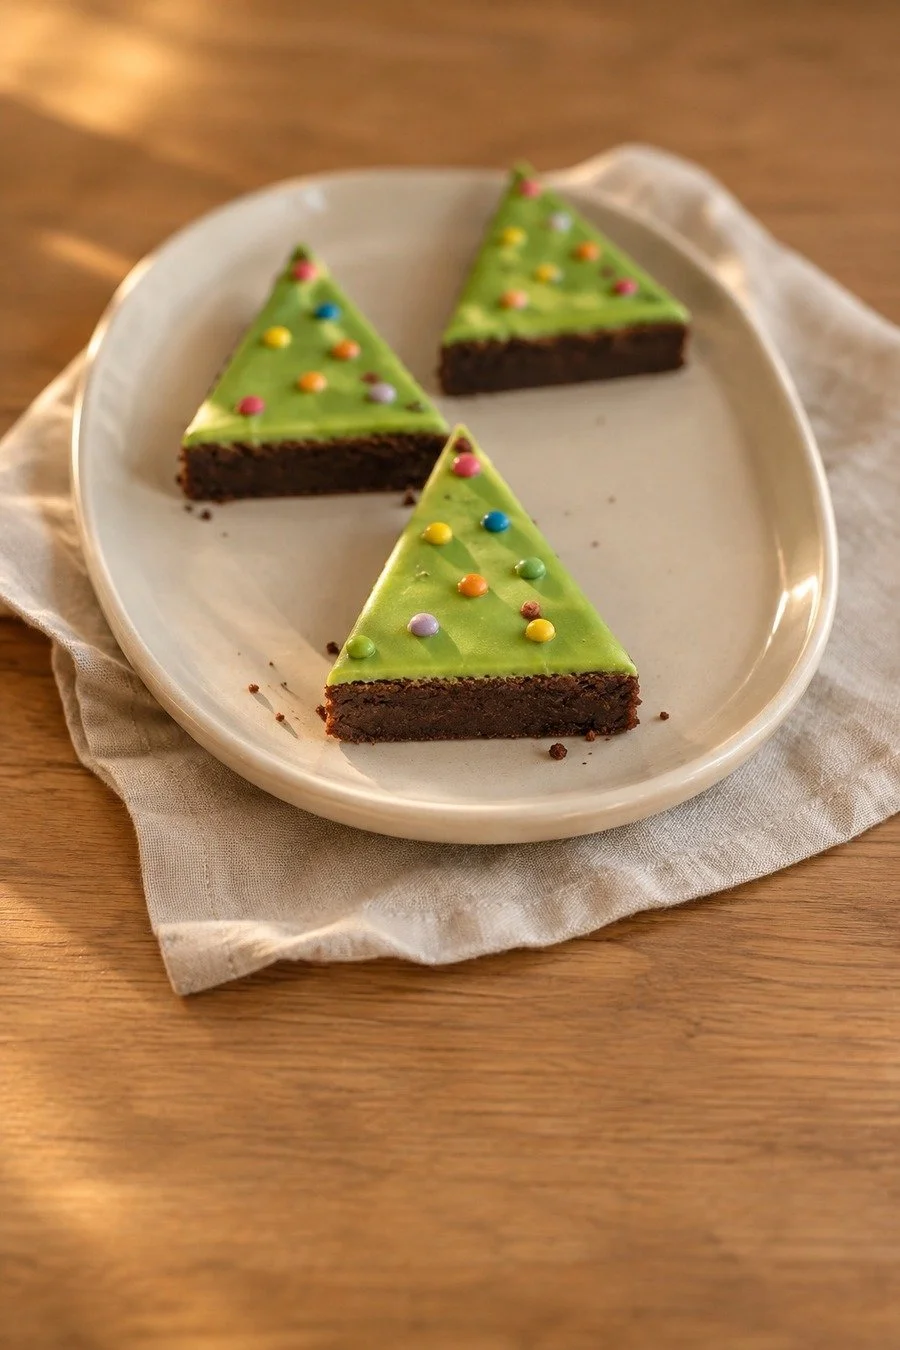
Start with Melissa’s Christmas Tree Brownies
Melissa’s recipe pairs a fudgy brownie base with green white-chocolate ganache and rainbow chip sprinkles. She bakes a rectangular slab and cuts it into triangles. You don’t need a tree-shaped cutter to get this look. Her base comes from her homemade cosmic brownie recipe, which is also worth reading for her brownie notes.
Choose the Christmas version as your main guide. Its green topping is different from the chocolate topping on the base recipe. Read through its ingredient notes before you shop, especially the white chocolate and coloring choices. Melissa includes boxed-brownie options on the Christmas recipe page if that’s the route you’d like to take.
For the decorating style shown here, keep the tops flat and the sides plain. The dark edge frames the green, so you can see the tree shape from across a plate. Tiny chips look like little ornaments without covering the whole surface. There’s room for each color to show up on its own.
You can decide on the serving dish before baking day. Set a small plate beside a larger tray and picture how much dessert you want to put out at once. A plate for two and a tray for a gathering can use the same brownie shape. You’re choosing the setting, rather than adding another batch of decorations to make the idea work.
Give the Green Ganache Room to Show
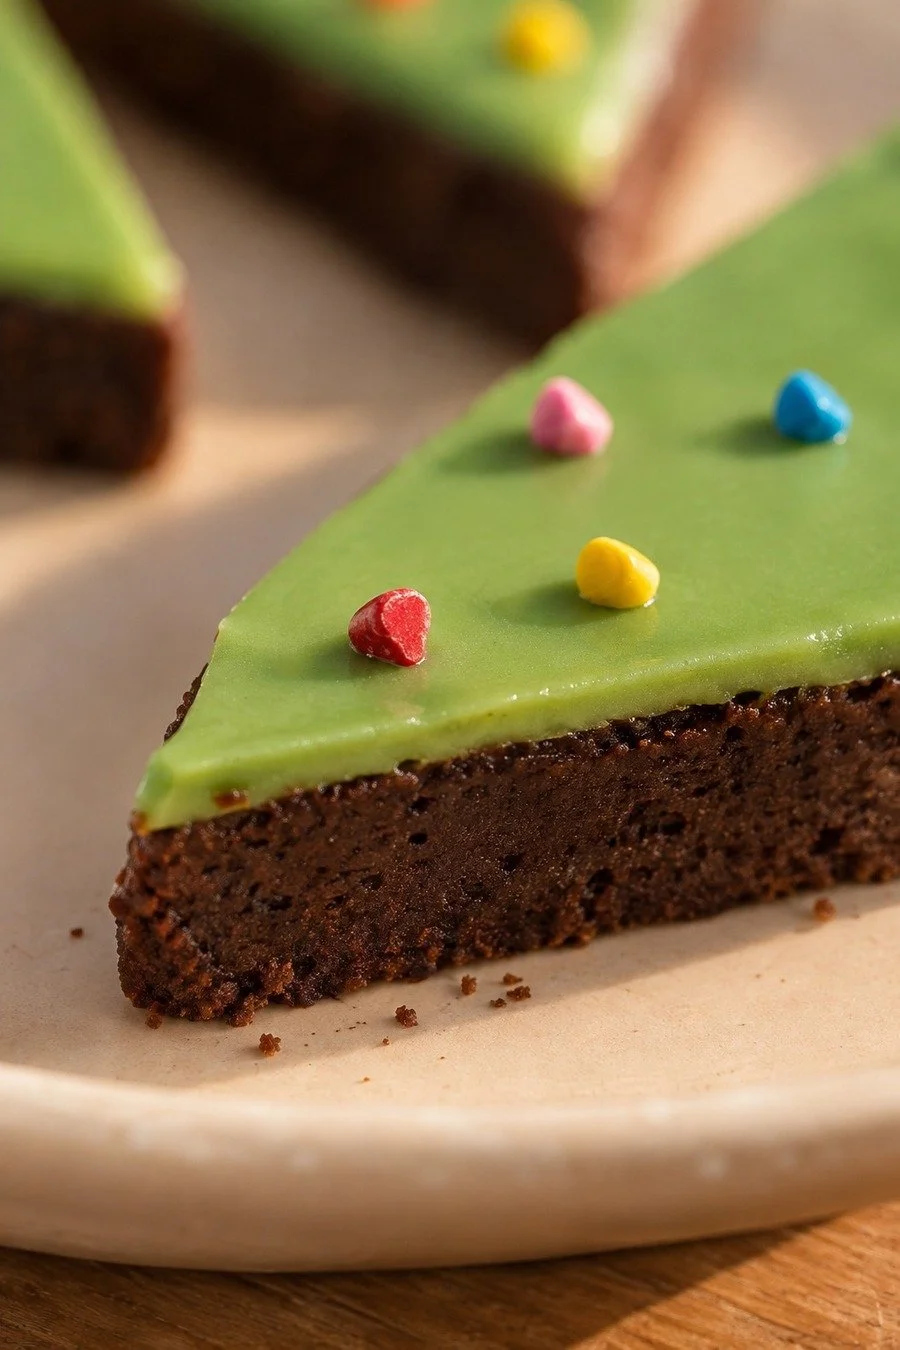
A smooth green top is the main decoration. Leave open space between the rainbow chips so you can see that broad patch of color. A few chips near a point look sweet, and a loose scatter across the wider end keeps the whole triangle feeling balanced. They don't need to form perfect rows.
The close-up view shows why small toppings suit this finish. A tiny blue or pink chip reads as an ornament while the green still reads as the tree. Larger sweets would give you a different look. For this version, keep the little rainbow chips as the detail that ties the whole tray together.
Choose the plate color with those chips in mind. Cream gives the green a quiet background, while blue, pink and yellow each keep their own small spot. You can use a plain dish you already own. Its shape and color matter more here than a holiday pattern around the rim.
If you like a busier holiday table, let the rest of the table bring that color. A red napkin can sit beside the serving plate, or a patterned mug can hold your drink. Keep the food surface focused on green and rainbow chips. The brownies have enough going on to look festive beside either one.
For a picture before serving, turn one brownie so its cut edge faces the window. That gives you a view of the chocolate below the green. Keep the plate steady on the counter and move your phone or camera around it. A low side view and a view from above will show different parts of the same little tree.
Set Up the Slab Before Cutting
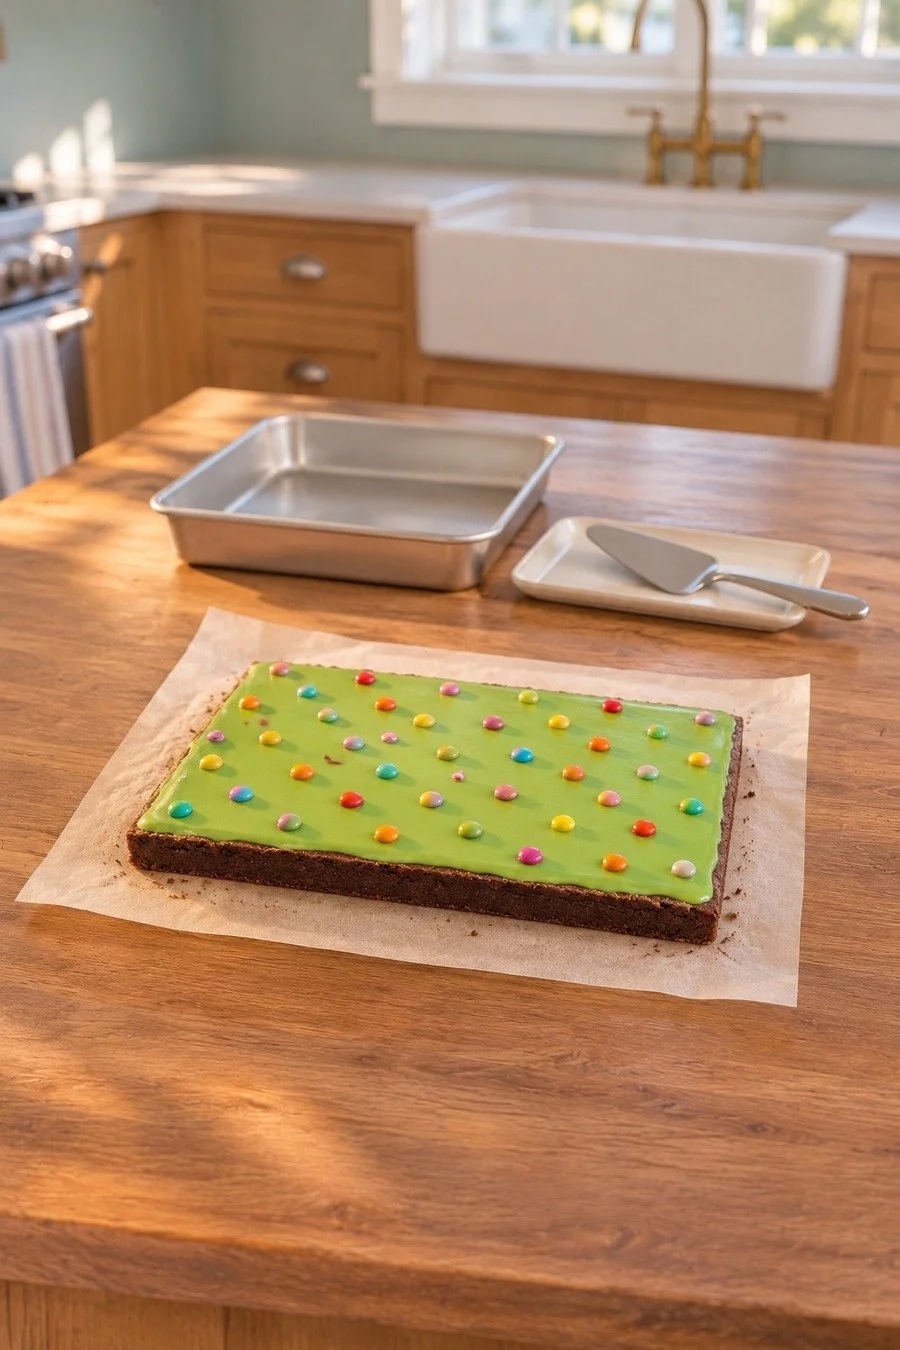
The decorating stage starts with one slab, rather than a plate full of separate trees. That gives you a useful moment to check the green surface and the spacing of the chips. Keep the recipe’s cutting photos nearby so you can see where the triangles will come from.
White chocolate needs gentle heat. King Arthur Baking’s guide to melting chocolate notes that white chocolate is less forgiving of high heat than dark chocolate. Use that guide for background, then follow Melissa’s method and timing for this cream-based ganache.
Melissa recommends a parchment sling and chilling the ganache until it firms before cutting. She also advises wiping the knife between cuts. Follow her full timing and method on the recipe page. Set aside enough time for cooling and chilling as well as the time in the oven.
A clear patch of counter helps when you move from decorating to cutting. Give the slab its own work space, with the serving dish beside it. A small dish can hold loose chips, and the used spatula can rest on a plate. That keeps the tools close without putting them where the brownies will go.
Choose one job for each dish. The baking pan belongs to the baking stage, the work surface gives you cutting space, and the platter holds finished pieces. If you’re sharing a small kitchen, this is a useful place to keep the setup compact. You can clear away each item when its part is done.
The slab photo is also a helpful way to see the change in shape. Before cutting, you have a green rectangle dotted with color. After cutting, those same dots become ornaments on individual trees. There’s no need to add piping or a trunk to make the triangles feel like Christmas.
Let the Chocolate Edge Be Part of the Look
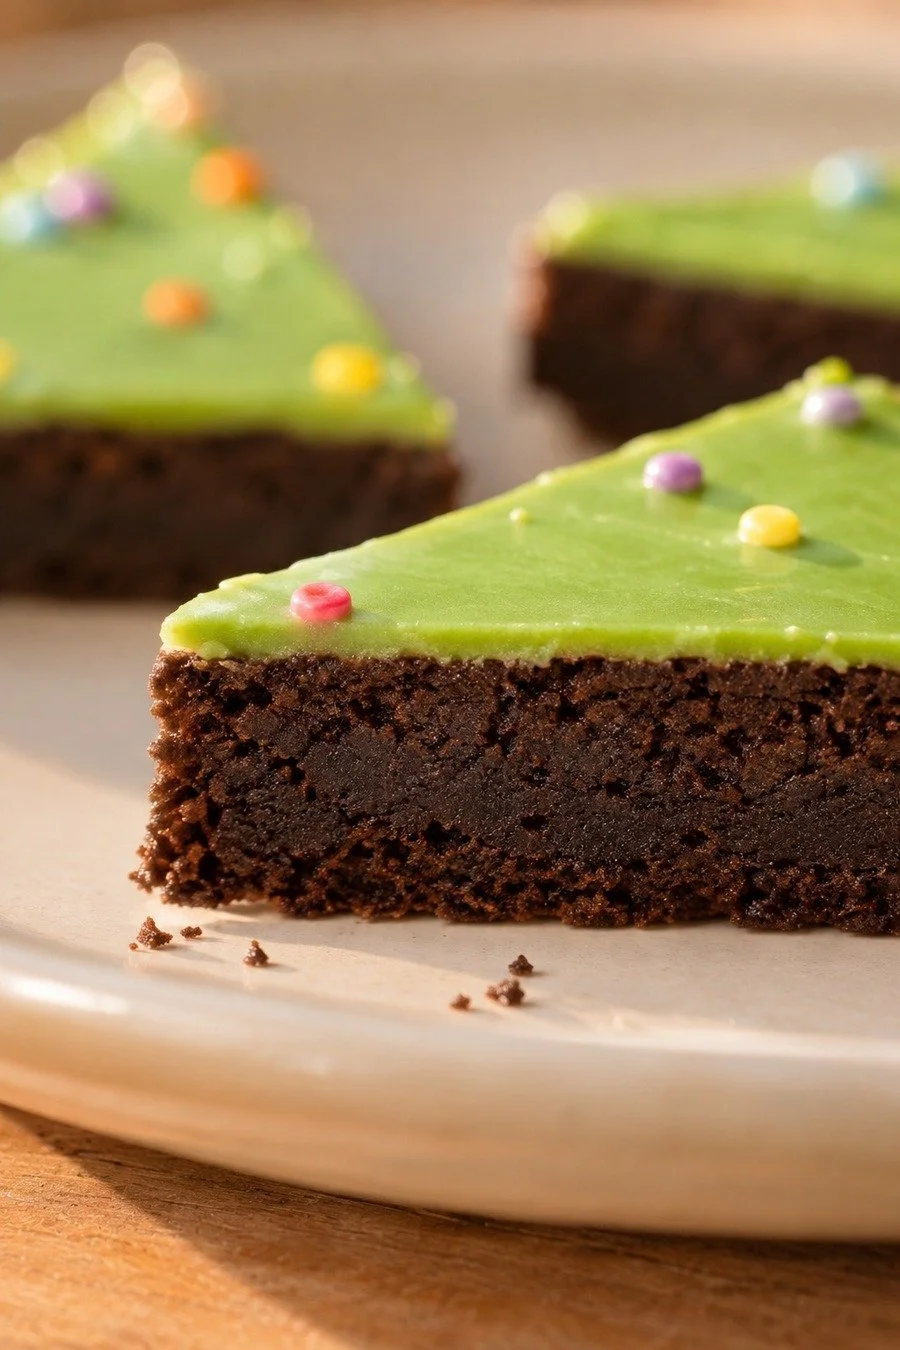
The cut side brings a second color and texture to the plate. The green top looks smooth, while the cocoa edge looks dense and dark. Leave some of that edge facing outward when you arrange the brownies. You’ll see both parts at once, even on a small serving dish.
A cut-edge detail also gives you a different photo from a picture of the toppings. Move closer to one side and let the upper green layer sit near the top of the frame. A few crumbs on the plate fit the serving stage. You don't need to scatter a handful around the whole setup.
Keep the pieces in one layer for the arrangement shown here. Each triangle gets a clear outline, and the chips remain visible. A loose fan works on an oval platter. On a round plate, two trees can point in slightly different directions, with a little space between them.
Try turning the plate before moving every piece. Sometimes a small turn gives you the view you wanted, with the point of one tree leading toward the next. Keep every brownie fully on the dish. That gives you a serving arrangement you can leave in place when it’s time to sit down.
An ivory napkin beside the plate adds a softer texture next to the smooth ganache. Fold it loosely or let one corner sit under the rim. Leave enough of the dish showing that its shape still reads clearly. The brownie edges and tiny chips can stay the focus.
Choose a Small Plate or a Sharing Tray
For a smaller plan, put two trees on a side plate and set out your drinks. That would fit an evening at home with a friend, or a dessert plate after dinner. You can keep the rest of the batch stored according to the recipe and bring out more when you want them.
For a gathering, use a larger platter with the pieces in loose rows or a fan. Leave space for someone to pick one up without brushing the next tree. A serving tool can rest beside the dish. Keep the bright tops visible rather than hiding them under another layer of brownies.
Cocoa would be a cheerful match for the colors on the plate. Our hot chocolate topping ideas can help you choose what goes in the mugs. You could let the brownie chips carry the rainbow colors and keep the drinks to one topping each.
If you’re making this part of an afternoon together, give the food a clear place in the plan. Set out dessert when you’re ready for a break, then leave room to sit with it. Our things to do with friends at home has ideas for the rest of your visit. The brownies can be the dessert, without becoming a whole second project.
When you share food, keep the ingredient packages available for anyone who needs to check them. The FDA’s guide to food allergies and labels explains why those details matter. Check the actual brownie ingredients, white chocolate and chips rather than guessing from the finished look. A green top doesn’t tell someone what’s in the food.
Keep the Finish Ready for Serving
Follow Melissa’s Christmas brownie page for storage and make-ahead notes. She recommends refrigeration and advises freezing the brownies without the ganache, then adding it after thawing. Keep those notes with this version of the recipe. A different brownie topping can have different instructions.
If you’re taking dessert to someone else’s home, choose a container that gives the trees a little room. Picture the whole triangle sitting flat, with space above its decorated top. Test the fit with your dish before you start arranging the pieces. A snug lid should have room to close without becoming part of the decoration.
Choose the final serving plate once you know how the brownies will travel. You might carry them in a container and arrange a few at a time when you arrive. Keep Melissa’s storage guidance in mind throughout. A pretty tray can wait until you’re ready to serve it.
For the final arrangement, face a chocolate edge toward the front, leave a few rainbow chips in view and let the points fall where they look good. A cream plate and a soft napkin are plenty beside that green. The little trees bring their own ornaments.
You Might Also Like
Small November traditions with friends