For a cozy craft afternoon at home, choose one small project, clear a place at the table, and set out the supplies before you make your drink. Fold a few paper fans, practice a knitting stitch, or return to the project already in your basket.
This two-hour plan leaves time to set up, make something, take a break, and put your work away. The timing is a guide. A folded-paper fan gives you a small finished piece; knitting can be a practice session you pick up again another day.
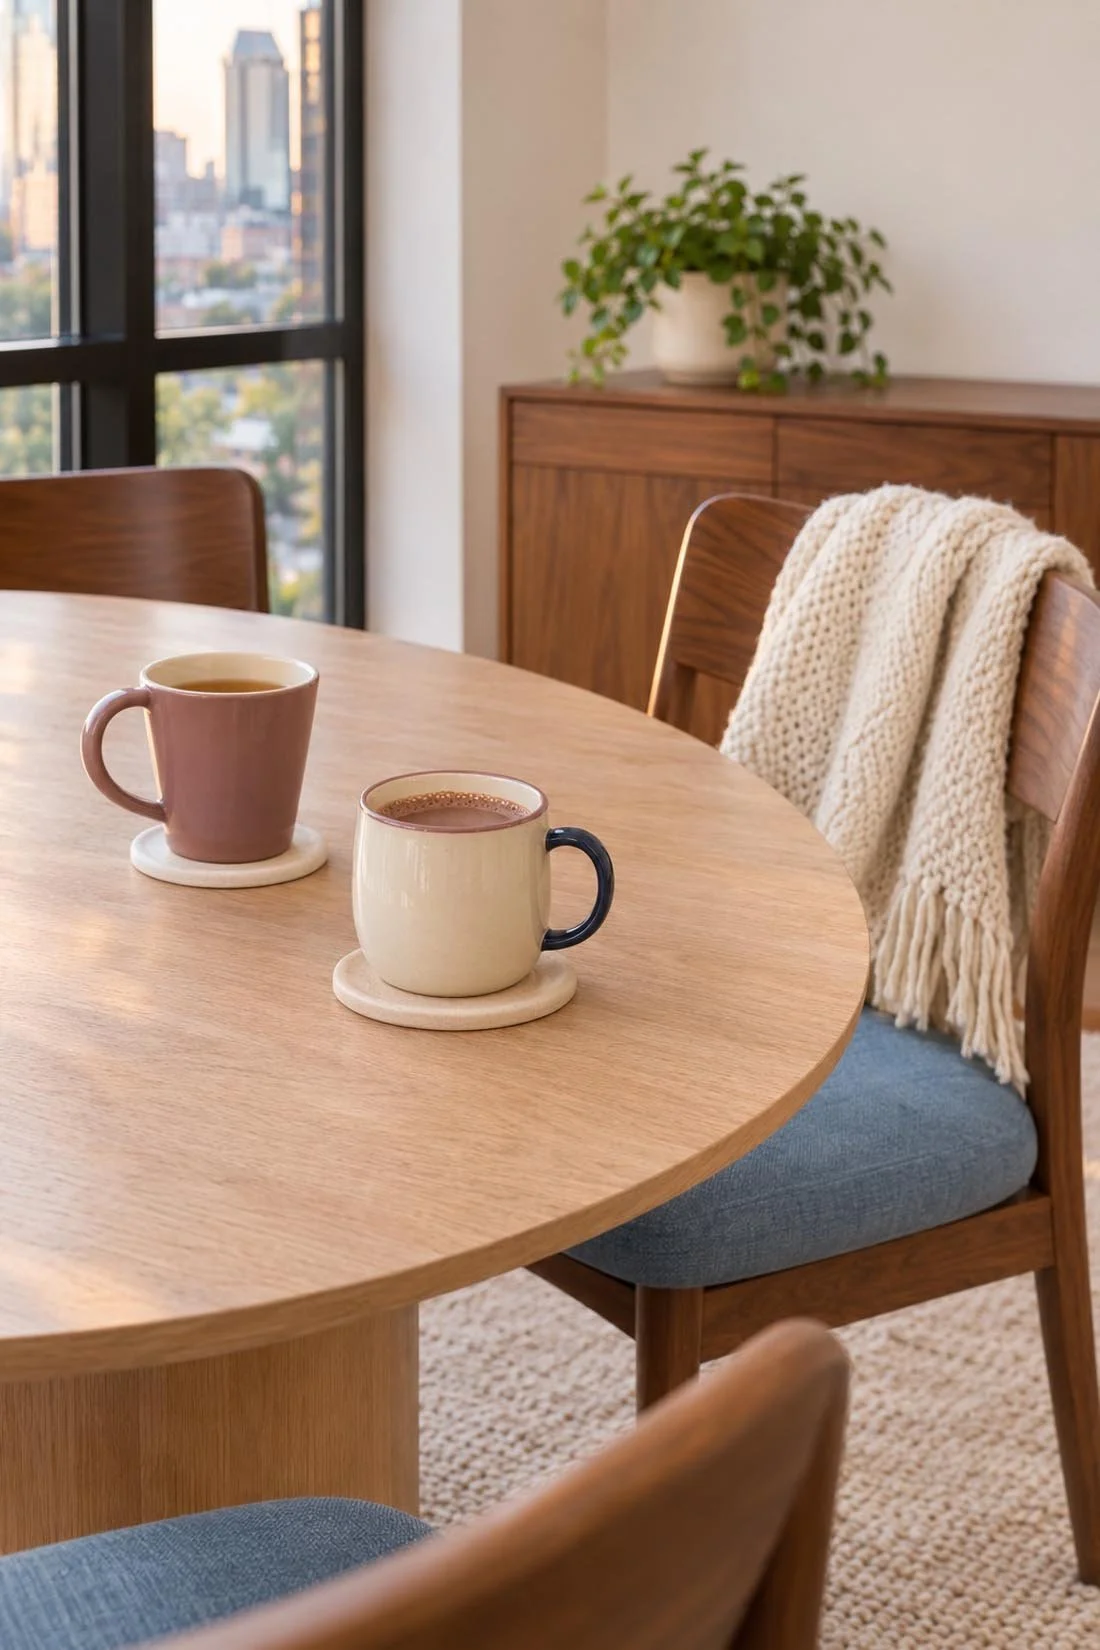
Choose paper or yarn before you set up
Pick paper if you'd like a finished decoration today. Pick yarn if you'd enjoy learning a stitch or adding a few rows to something you've started. You can spend the whole afternoon with one material.
For folded-paper fans, gather:
- Two sheets of light craft paper, copy paper, or clean wrapping paper.
- A pencil and ruler.
- A glue stick and a small piece of tape.
- Scissors, if you want to trim the sheets to the same size.
- A scrap of card to rest the finished fans on.
For knitting practice, gather:
- Yarn and needles that suit the lesson or pattern you choose.
- The instructions, open to your next step.
- A pencil and a small note for your row count.
- A bag or basket that holds the work without pulling it off the needles.
For yarn you already own, keep the label beside your work. The Craft Yarn Council's yarn-label guide explains the weight and skill-level symbols. Those details help you compare your supplies with a pattern before you begin.
Use what you have first. Matching sheets of paper are optional; a cream fan and a pink fan can look lovely together. For more seasonal paper ideas, our dorm craft guide gives you other projects to save for later.
Make a small work spot you can use
Give yourself enough clear table space for your hands and the project. Put the supplies on a tray or one side of the table, and place a bowl nearby for paper scraps. A washable mat or scrap of card can go under the glue work.
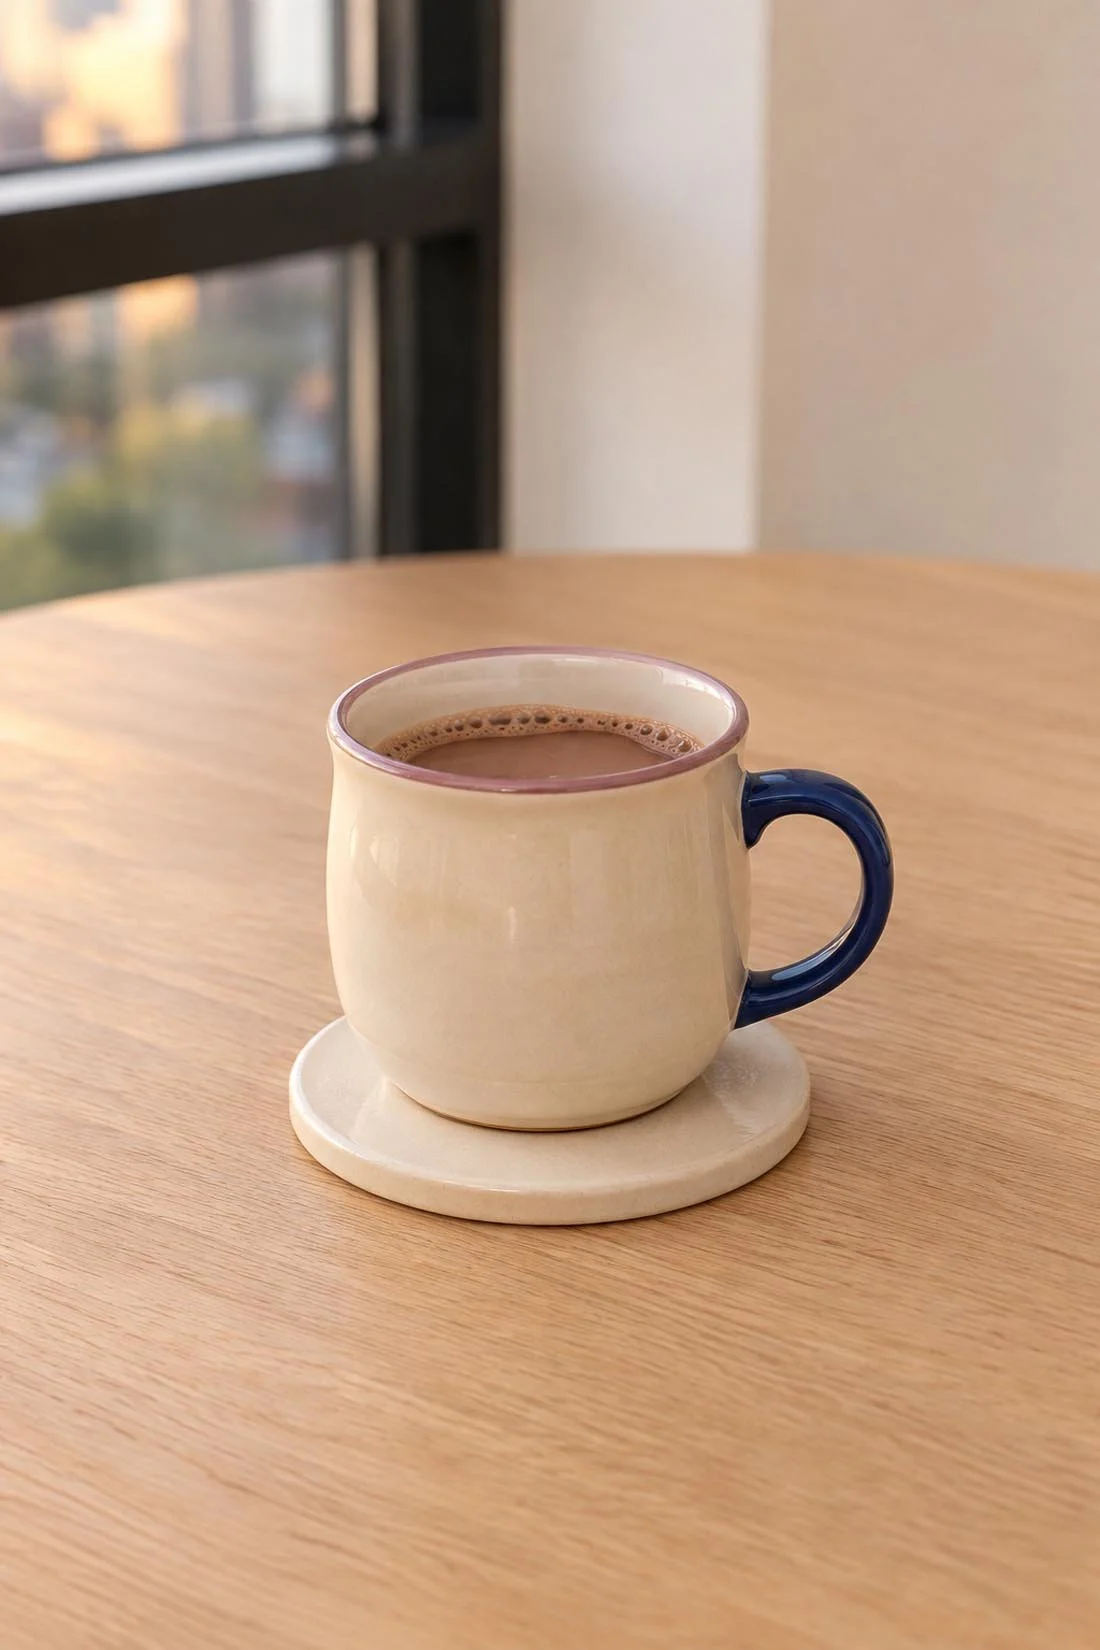
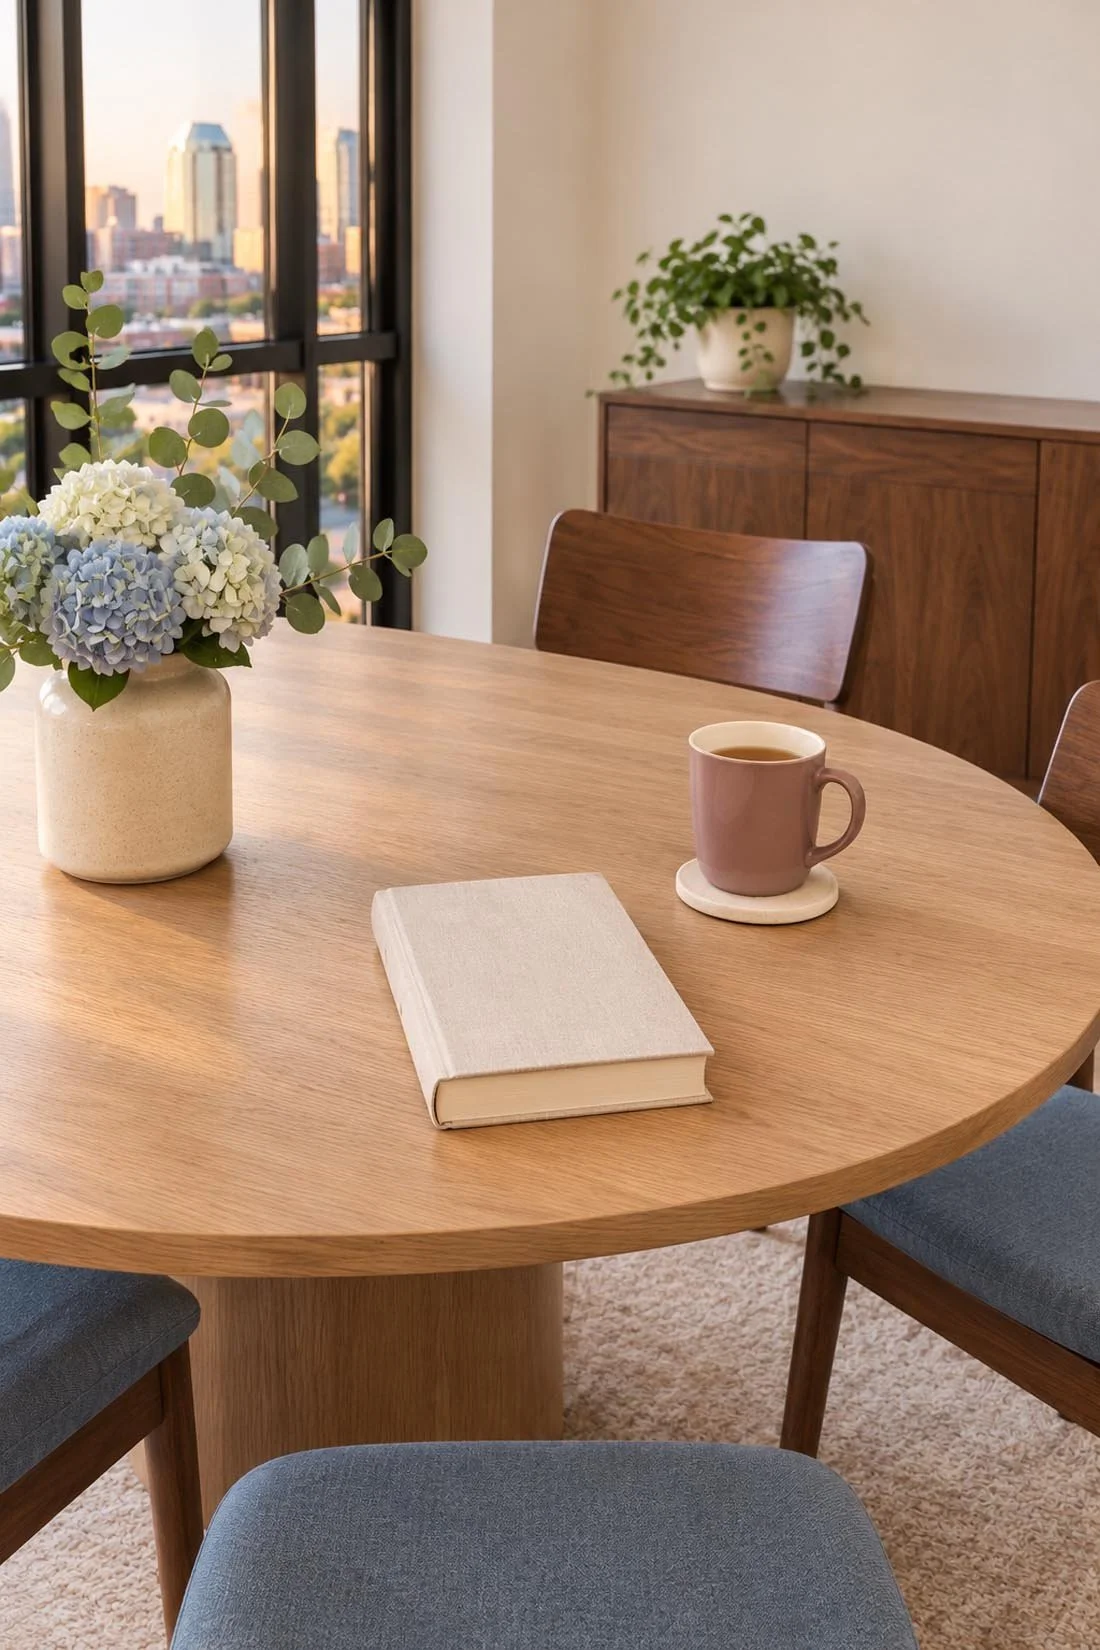
Keep your mug on a steady surface away from the paper and yarn. Bring over a throw for your chair if you like, with its loose edges clear of the work area. Use window light or a lamp that lets you see your folds and stitches.
A playlist can keep you company during paper folding. For a new stitch, keep the lesson easy to hear and pause it between steps. Once you know the motion, you can decide whether music fits.
Fold two little paper fans
Make a half-circle fan by folding a sheet back and forth, then folding that strip in half. This is a small decoration you can place beside a card or prop on a shelf after the glue sets.
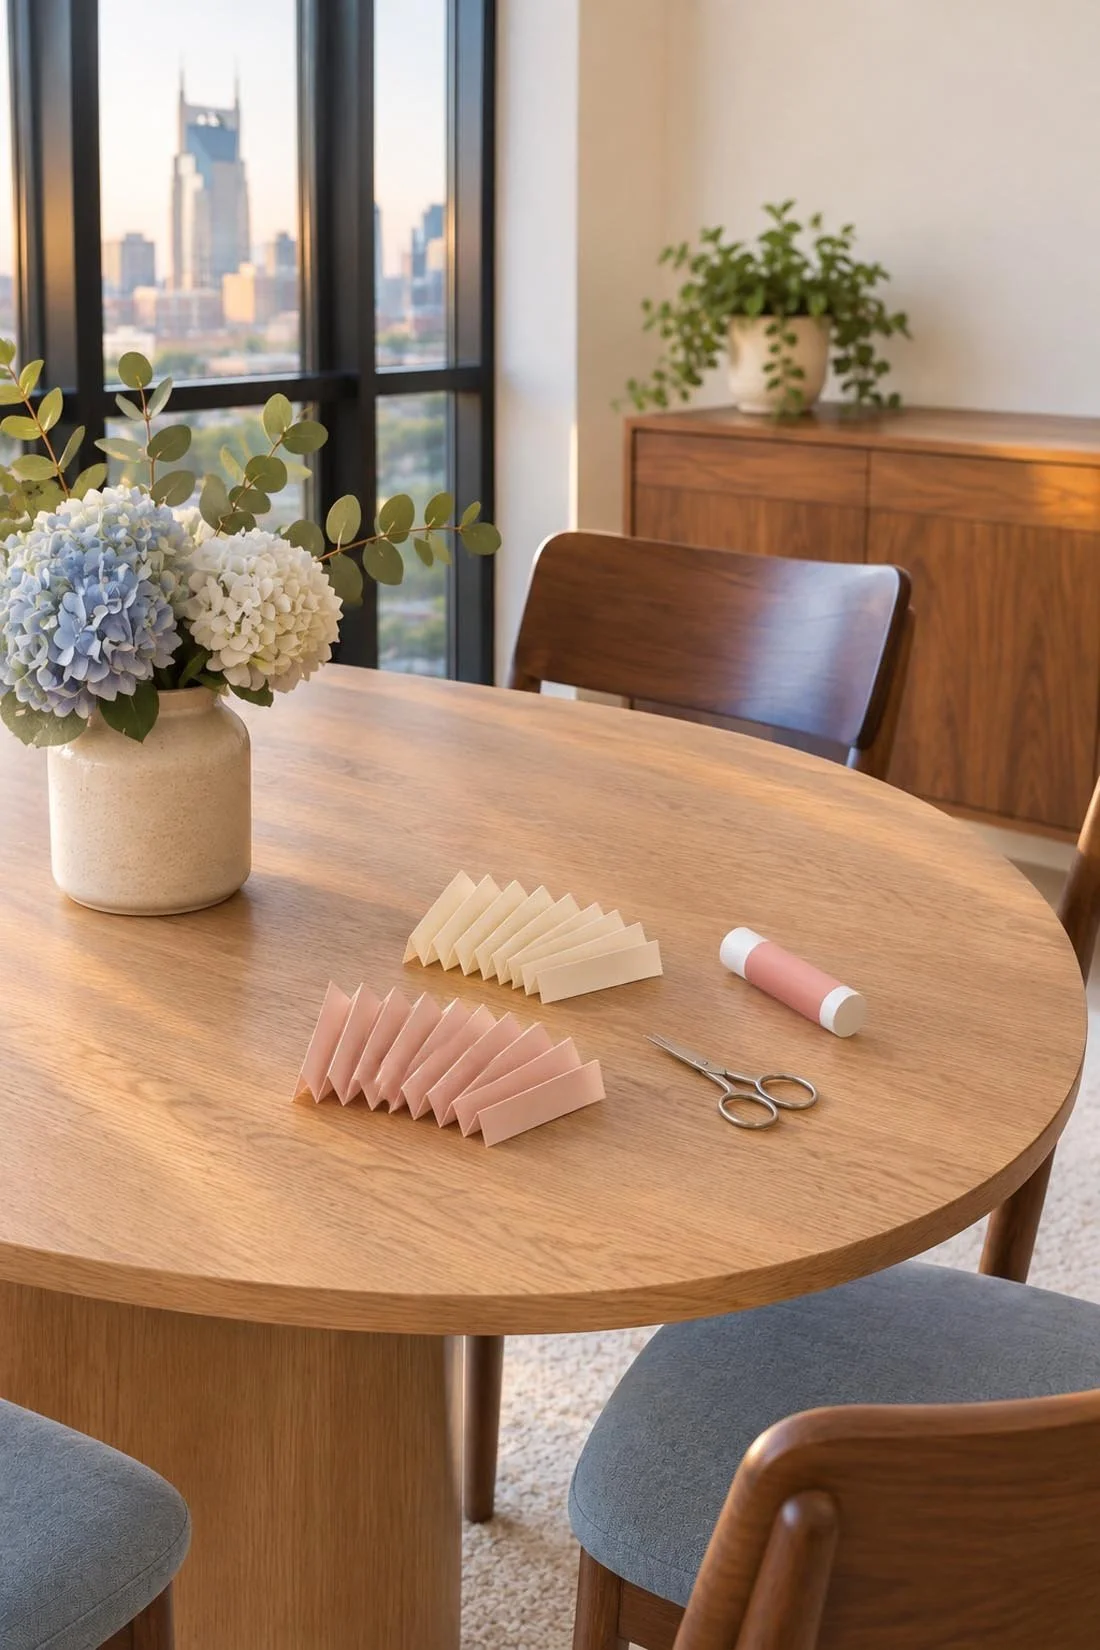
- Lay one sheet flat. Starting at a short edge, fold a strip about half an inch wide.
- Turn the sheet over and fold another strip the same width. Keep turning and folding until you have a narrow stack of pleats.
- Press the folds flat. Bend the whole pleated strip in half so the two short ends meet.
- Put glue on the two inside faces that now touch. Press them together and add a small piece of tape at the back if the join needs help.
- Open the outer edges gently into a half-circle. Let the glue set as its label directs.
- Repeat with the second sheet. Stand the two fans on their folded bases, or lay them flat on the card while they set.
If the fan twists, press the folds closed and check that the center bend sits halfway along the strip. If the join opens, add a little more glue and hold the two faces together for longer. Light paper is a good place to start because it folds with less effort than thick card.
Try dots or short pencil lines on the paper before folding your second fan. The pleats will break the design into little sections. Keep the fans as separate pieces, or save them to add to a handmade card.
Give knitting its own small goal
For a first knitting session, choose a lesson and aim to learn the motion. A few rows can be the whole afternoon's project.
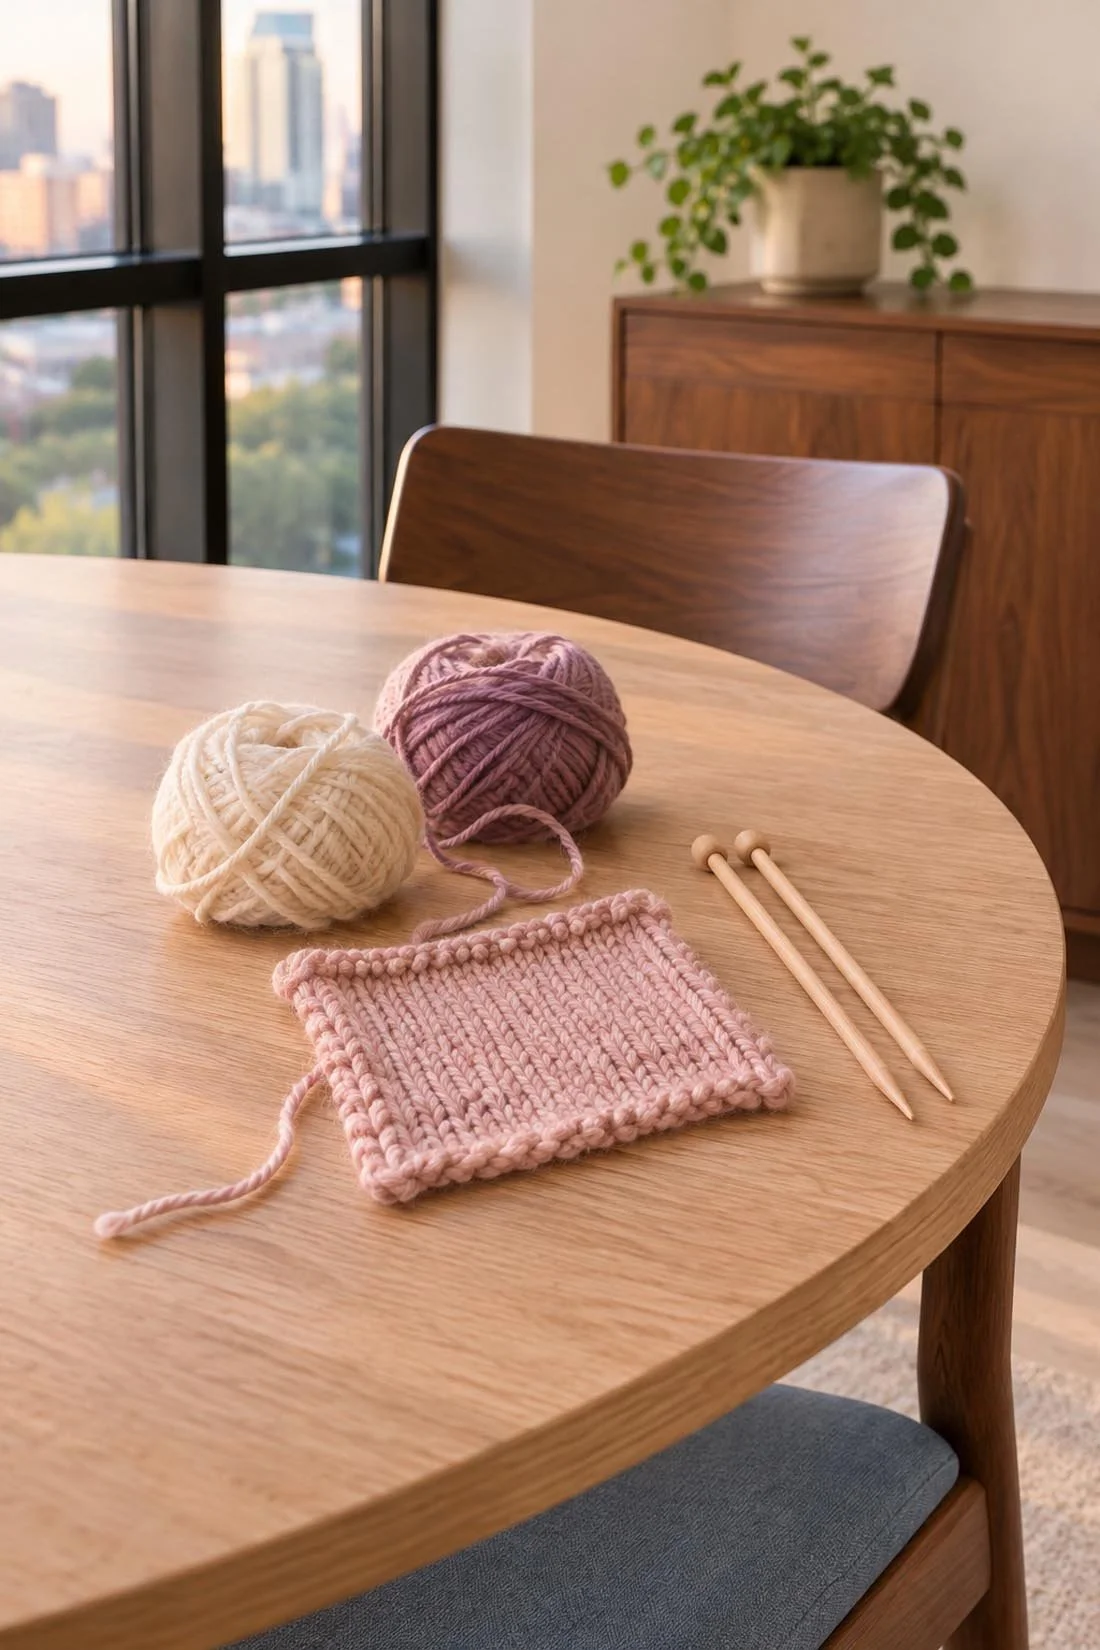
The Craft Yarn Council's beginner knit-block lesson covers casting on, knit rows, and binding off. It gives the supplies and steps for a block you can build over more than one sitting. Read the full lesson before choosing your yarn and needles.
If you already knit, choose a stopping point before you start: one pattern repeat, a few rows, or the end of the section you're working on. Keep a note of where you stop so the next session begins with the right row.
The pink swatch in this photo is inspiration for a small practice piece. Use your chosen lesson or pattern for the stitch count, needle size, and finish.
Use this loose two-hour plan
Start with setup, keep most of the time for making, and leave a little room to pack up. Here is one way to use the afternoon:
- First 15 minutes: Clear the work spot, gather supplies, and make your drink.
- Next 45 minutes: Fold the first fan or work through the first part of your knitting lesson.
- Next 10 minutes: Take a break, stretch, or read a few pages.
- Next 35 minutes: Make the second fan, try a paper pattern, or add a few more knit rows.
- Last 15 minutes: Let glued pieces rest, write down your next step, and put the supplies away.
For the reading break, move to a comfortable seat while the table stays ready. Our reading-corner lighting ideas can help you choose a spot where you can see the page clearly.
If you have one hour, make one fan or work on one part of the lesson. Keep a few minutes at the end for the supplies. You can leave the second project for another afternoon.
Pack it so you can pick it up again
Give each project a place before you clear the table. Paper fans can rest on a shelf once the glue is dry. Store them without weight on top so the folds keep their shape.
For knitting, write the row or step on a note and keep it with the instructions. Put the yarn label in the same bag. Check that the stitches stay on the needles when you move the work.
Save useful paper scraps together and put the scissors and glue back with them. A small project bag or tray can hold the next afternoon's starting point: your supplies, your notes, and something you're looking forward to making.