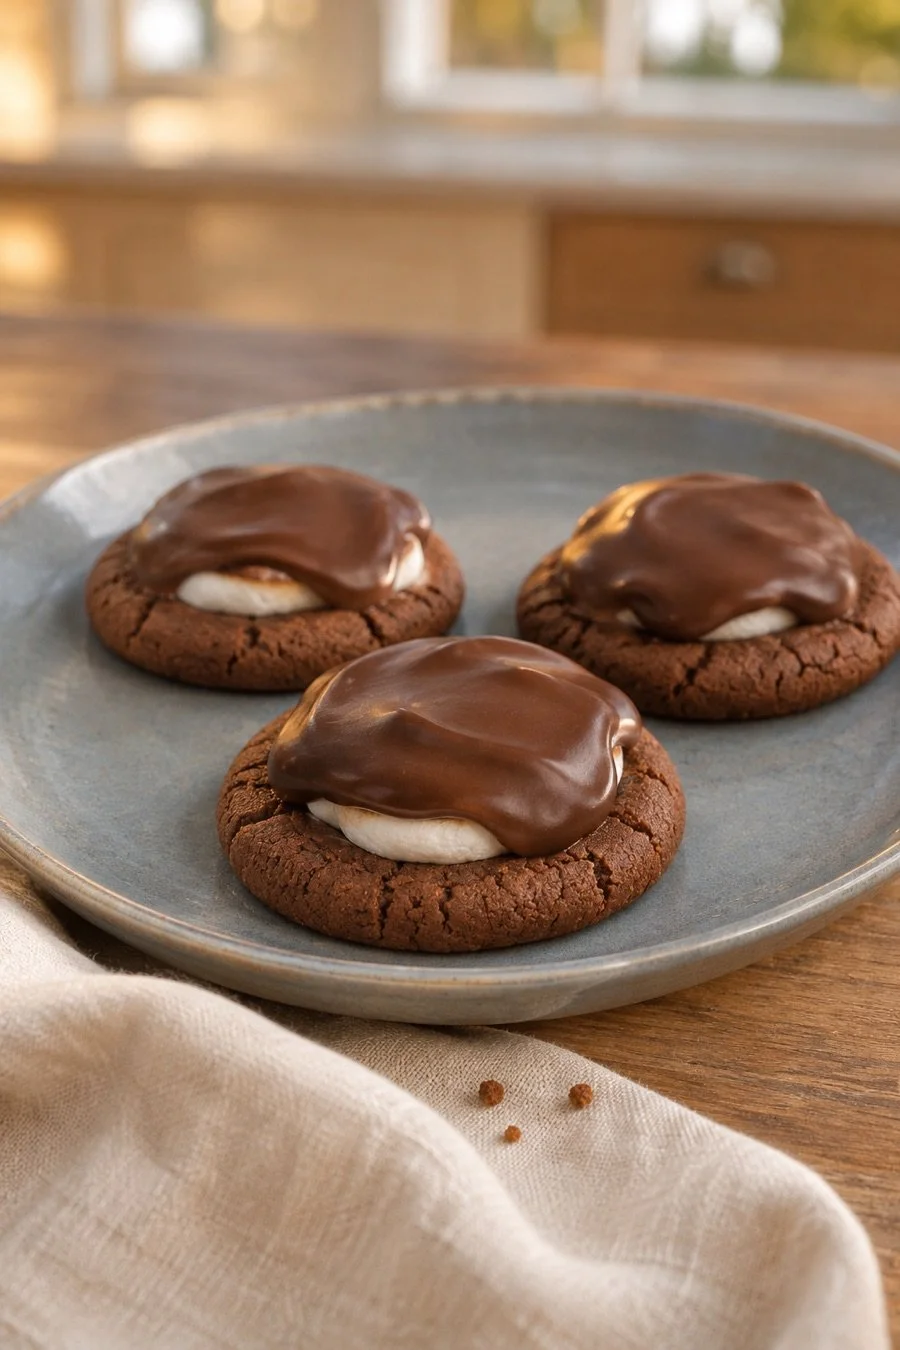
Hot cocoa cookies have a good little secret under that chocolate top. A white marshmallow cap sits above the cocoa cookie, tucked under a spoonful of melted chocolate. Break one open and you can see all three parts. They would look right at home on a November dessert plate, beside a warm drink or in the middle of a holiday cookie spread.
This feature starts with Sally McKenney’s marshmallow-surprise hot cocoa cookie recipe from Sally’s Baking. Go to her page for the full ingredients, baking method and storage notes. Here, you’ll find ideas for the chocolate finish, a food-focused decorating setup and a few ways to serve the cookies. The decorating ideas leave her dough as written. Pick the look you like, then keep her recipe open for your baking day.
Start with Sally’s Hot Cocoa Cookies
Use Sally’s original recipe as your baking guide. Her cookies use dry hot cocoa mix, with a marshmallow half added on top during baking. The chocolate goes over the cooled cookies. The marshmallow makes a cap above the baked base.
Before you choose an afternoon to bake, read the recipe from start to finish. Sally calls for at least two hours of dough chilling. That matters when your plan also includes decorating and sharing. Set out the serving plate later, once the baking tools are out of the way.
Her recipe notes cover the chocolate choice and making the cookies ahead. Use those notes if you want to split the work across days. Keep ingredient swaps with the recipe developer’s guidance, too. A styling idea can change the plate or the swirl on top without changing the dough.
Choose one finish for the first few cookies. You can keep the rest plain until you see which look you prefer. The round shape gives you room for a broad chocolate center, and the cocoa-brown edge makes a nice frame. There’s no need to turn every cookie into a different design.
Give the Chocolate Top a Soft Swirl
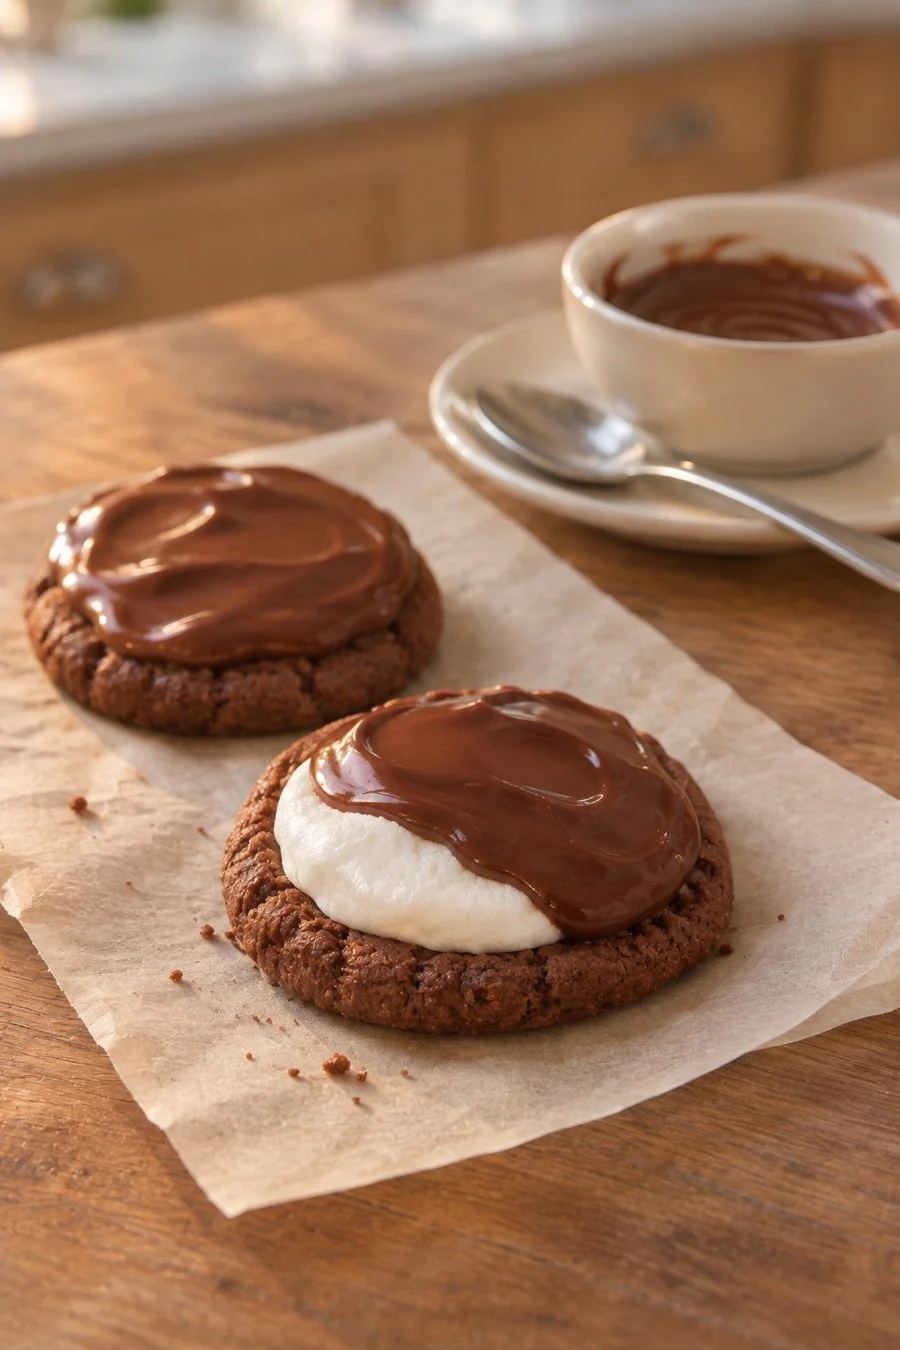
Try a small spoon swirl for a finish that uses the chocolate itself as the decoration. As you cover the marshmallow, let the back of the spoon leave one broad curve across the top. You’re aiming for a loose mark you can see, rather than a tall peak or lots of tiny lines.
Keep a little of the baked cookie edge in view. That gives the dark topping a clear border and lets the cookie shape show. Move from the middle toward the edge of the marshmallow, following Sally’s directions for covering it. The half-covered cookie in the decorating view shows the layers during this stage.
If you want a smoother look, try a wider sweep with the spoon. If you like the swirl, leave the last mark alone. These are serving ideas to try, so choose the version that suits your own batch. Small differences between cookies can look lovely together on one plate.
Use gentle heat for your chocolate. King Arthur Baking’s guide to melting chocolate gently explains why water splashes and too much heat can spoil a smooth bowl. Keep the bowl and spoon dry. Follow Sally’s chocolate choice for this recipe, even when another guide discusses other kinds of chocolate.
Set Up One Place for the Chocolate Finish
Give the cookies, chocolate bowl and spoon their own clear spot on the counter. A sheet of parchment can catch stray chocolate while you work. Put the bowl close enough to reach without passing it over the finished cookies, and leave a dry spot for the spoon.
You can use a small saucer as that resting place. It keeps the chocolate-coated end off your counter and makes it easier to see which tool belongs to this part of the recipe. Keep a clean cloth nearby for the bowl’s outside edge. The food can stay the main event.
Work with a few cookies in front of you at a time, leaving the others where they belong in the recipe’s cooling stage. That keeps your finishing area from becoming a crowded tray of cookies, bowls and tools. Leave space around each cookie so you can reach its top from a comfortable angle.
If you share a kitchen, tell your roommate which space you’ll use before you start. Keep the sink and the route to the fridge clear. A baking afternoon feels more workable when someone can still make a sandwich beside it. You can bring out the serving linen once the melted chocolate is put away.
Show the Marshmallow with One Broken Cookie
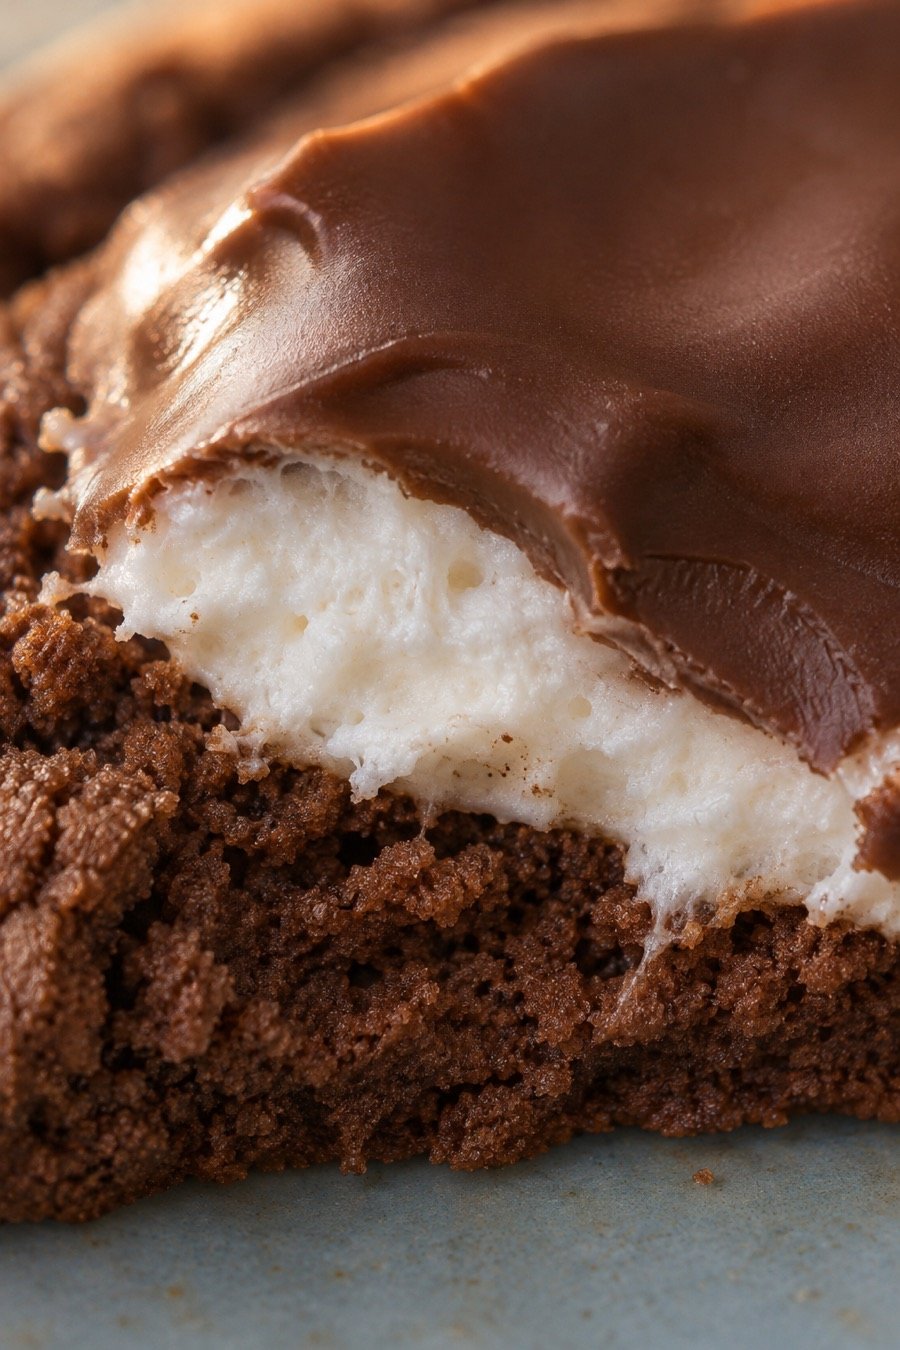
Place one broken cookie beside the whole ones when you want the marshmallow layer to show. Turn the broken face toward the open side of the plate. You get a view of the cocoa base, white cap and thin chocolate top without moving every cookie around.
Let the pieces rest on the plate rather than balancing them in a tall stack. A low arrangement gives the broken edge a clear place and leaves the other cookies easy to pick up. A few small crumbs near the halves fit the moment. Sweep away the larger loose pieces if they cover the white layer.
Use a separate small plate for the broken cookie if everyone will choose a whole one from the main platter. You might want the halves for your own serving or to share with someone who wants a smaller piece. Keep the main plate ready for people to take from.
For a close photo of your own batch, move the plate near a window and turn it until the layers catch the light. Focus on the broken edge, then check that the white marshmallow and dark crumb are both clear. A plain bit of plate behind the cookie can give that edge room to stand out. The picture can be about one detail rather than the whole kitchen.
Choose a Plate That Lets the Cookies Stand Out
A cream or blue-gray plate gives the brown chocolate a clear backdrop. Try a few cookies in a loose group with small gaps between them. The gaps let you see the round shapes and give each topping its own space, especially when the chocolate has a soft spoon mark.
For a small serving, start with one side plate. For a group, choose a wider platter and add cookies in a low layer. Leave the rim clear enough to hold. Set the plate on a flat surface where you can reach it, with drinks beside it rather than behind a tall stack of food.
An ivory napkin or linen cloth can sit under one edge of the plate. Let it keep its ordinary folds. The chocolate and marshmallow already bring plenty of detail, so you can keep the rest of the table quiet. If you like a holiday color, add it with the napkins you already own.
Want a drink beside the plate? You can choose one of these toppings for your next hot chocolate. A drink with a cream swirl might suit a smooth cookie top. Or you could keep the mug plain and let the marshmallow under the chocolate have its moment.
Make the Cookies Part of a Shared Dessert Plate
Choose the serving plan before you pack the cookies for a visit. Ask whether the host wants dessert and how many people will be there. That helps you decide what to bring and which plate or container will fit, without turning your bake into a second full menu.
If you’re taking them to a holiday meal, these ideas for what to bring to Friendsgiving can help you match your contribution to the host’s plans. You could offer the cookies as one dessert choice and bring the serving plate, too. Name the recipe when you ask so the host knows what you have in mind.
Wait for the chocolate to set before packing, following Sally’s guidance. Check the fit of your container with the cookies in a low layer. Keep the lid from pressing on their tops. Set aside any broken pieces for your own plate rather than trying to tuck them into every gap.
Pack these soft cookies on their own if you’re also bringing crisp ones. King Arthur Baking’s cookie storage guide for different textures explains why soft and crisp cookies belong in separate containers. You can arrange them together on the dessert table when you’re ready to serve.
Keep the original recipe link handy for anyone who asks about ingredients. Let friends check the ingredients they need to avoid, including those in the cocoa mix and marshmallows you choose. A handwritten recipe name on the container is enough to help you remember which cookies are inside. You can send Sally’s link when someone wants to make them, too.
Leave Room for the Chocolate to Set
Give the finished cookies a clear place to rest while their tops set. Use Sally’s timing as your guide before stacking, storing or taking them out. Keep the tray away from the busy part of the counter so a bag, coat or grocery tote won’t land beside the soft chocolate.
Put the mixing tools away during that pause. Wash the chocolate bowl while you still know where every tool went, wipe the work spot and bring out your serving plate. If the cookies are for later, check the storage notes on the original recipe rather than guessing from how the topping looks.
For your own plate, choose a whole cookie and a broken half. Set the white marshmallow edge where you can see it, add your mug and leave the rest ready to share. A small spoon swirl and that bright white layer are plenty of decoration.
You Might Also Like
Small November traditions to try with friends
Cozy fall plans for evenings after work