How to Host a Pumpkin-Painting Night with Friends
A pumpkin painting night gives you a fall plan, something to make, and a whole evening to catch up with your friends. Bring a small pumpkin, share a few paint colors, and set up a table where everyone can reach the brushes.
This works for a few friends in a dorm lounge, an apartment kitchen, or a shared house. You can paint tiny flowers, cover your pumpkin in dots, or spend most of the night choosing between two shades of pink. The snacks are there for that part.
Here is a plan for the supplies, setup, designs, and drying time, including the detail worth thinking about before everyone arrives: how those freshly painted pumpkins will get home.
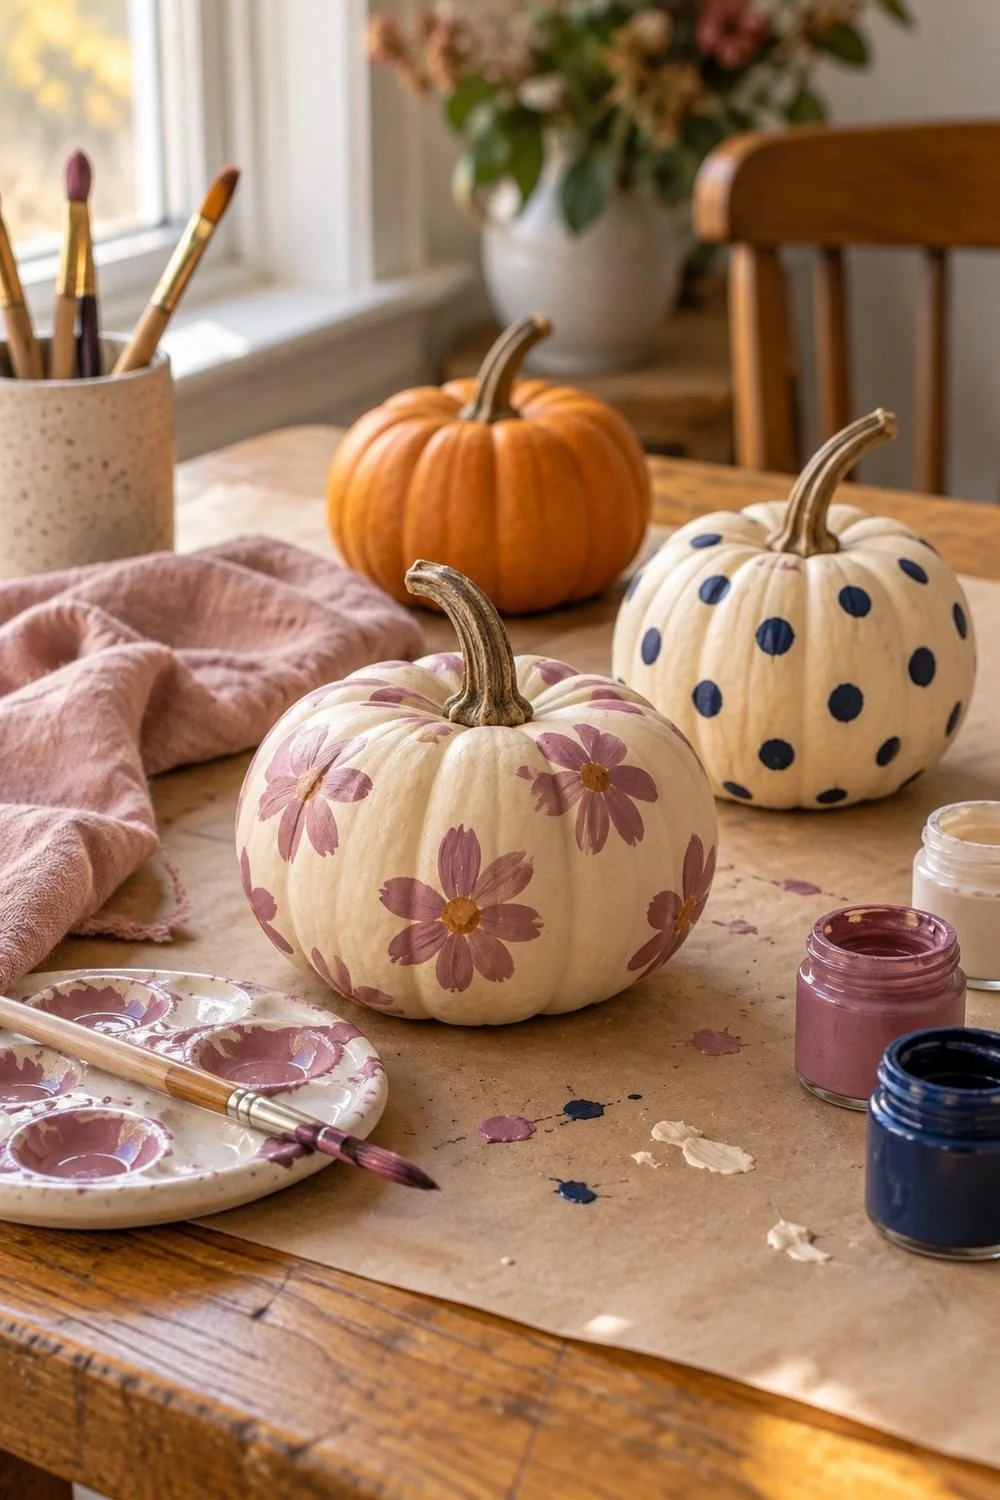
Plan your pumpkin painting night around your space
Start with the number of people who can sit comfortably around a protected table. Four friends at a kitchen table gives everyone room to paint and set down a drink. If you have a larger group, use a second table instead of squeezing extra pumpkins between elbows.
For a dorm gathering, check the rules for shared spaces and paint before you send the invite. Ask a roommate before offering up your room. A lounge with a wipeable table may be a better fit than balancing paint on the bed.
Choose a time when you can sit for a while. An afternoon gives you window light for painting and photos. An evening works too, with enough room light to see the colors and your brush tip.
Your invite can name the plan and what to bring: “Pumpkin painting at my place this Saturday at 6! Bring a small pumpkin. I have paint and brushes. Want to bring a snack to share?” Add an end time if you need one.
For more ideas to pair with your craft night, our fall activities for a student budget include plans for the rest of the season. Pick one gathering to start with and see what your friends want to do next.
Gather pumpkins and supplies you can share
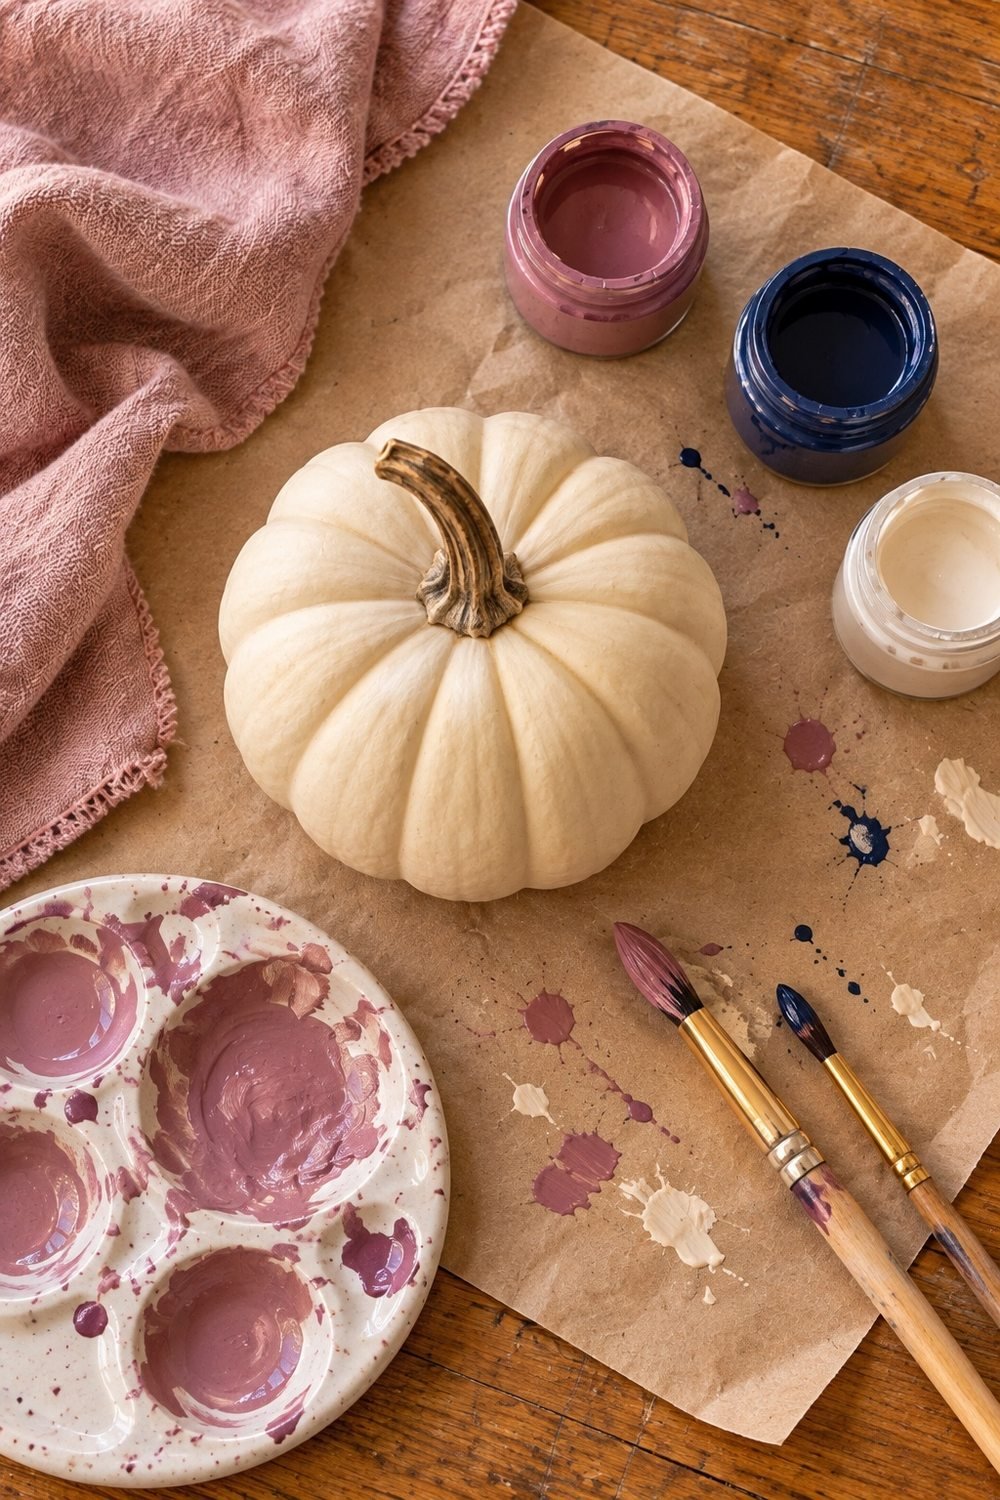
For four people, plan one small pumpkin each, a brush for each person, a few shared paint colors, and something to use as palettes. Add water cups, paper towels, and enough table covering for every place. Bring spare paper for trying a design before painting it on a curved surface.
A small pumpkin leaves you room to turn it while you work. Choose one that sits flat and feels firm, with an intact stem. Wipe off loose dirt and let the surface dry before painting. Skip a pumpkin with soft or damaged spots.
You can ask everyone to bring a pumpkin, or buy them together and agree on how to split the cost. Check what supplies you already have before shopping. One friend may have brushes left from a class, while another has paint from a past project.
Choose paint made for the surface you plan to decorate. Crayola makes an acrylic paint set for pumpkin crafts, for example. Follow the directions on the paint you use, including its drying and cleanup instructions. Acrylic paint can stain, so wear clothes you are comfortable crafting in.
A small color palette can give everyone plenty to work with. Try cream, navy, and mauve, or use orange pumpkins with white and pink paint. Pour a little paint at a time so you can add more as needed.
Protect the table and make room for drying
Cover the work surface with a suitable protective layer before setting out the paint. Make sure spills cannot soak through to the table. Put a palette within reach of each pair of people, with water cups on a steady part of the surface.
Keep food and drinks away from the painting area. A counter or side table gives snacks their own place. Use water cups that look different from drinking cups, and keep them with the brushes.
Give wet brushes a sensible place to rest. A palette edge or brush rest can hold the handle while keeping wet bristles over the protected work area. Keep decorative cloth out of the paint, and use paper towels when you need to wipe a brush.
Set aside a drying spot before the first pumpkin gets painted. Leave enough space that nobody has to reach over a wet design to get a snack. Put clean paper beneath each pumpkin and keep it clear of sleeves, bags, and chair backs.
If you want more ideas for using a small room for a gathering, these things to do with friends at home give you other plans to try with the space you have.
Pick a pumpkin design you will enjoy painting
Choose a design based on the shapes you want to paint. Dots, stripes, and loose flowers give you a place to begin. Leave some natural pumpkin color showing if you want to spend more time on details than on a full base coat.
Dots and stripes
For dots, use a small brush to paint circles in one or two colors. Leave room between them and turn the pumpkin as you work. Let one side dry before handling it to reach the other side.
For stripes, follow the pumpkin ribs with your brush. Paint every other section, or add thin lines down a few ribs. The shape of the pumpkin gives you a guide, and the lines can keep the look of your brush strokes.
Tiny flowers
For flowers, paint a small center and add short petal strokes around it. Try the shape on scrap paper first to see how much paint your brush holds. You can use the same flower around the pumpkin or mix a few sizes.
Let the first color dry before adding a second color over it. Keep checking the directions for your paint rather than relying on a fixed number of minutes. A thick patch and a thin line may dry at different speeds.
Color drips and mixed designs
If you like a flowing pattern, Crayola has a drip-painted pumpkin project using its washable paint. Follow that project's materials and directions if you choose it. Give a drip design its own tray or protected area to catch the paint.
Your group can also share colors while choosing different designs. One pumpkin can have flowers, another stripes, and another a mix of dots and little stars. Set out a few ideas, then let everyone choose what sounds fun to make.
Add snacks, music, and time to catch up
Pick food that you can put out before painting starts. Popcorn, pretzels, cookies, or sliced fruit can make a snack table. Ask about food allergies and keep packaging available so friends can check ingredients.
If the gathering falls over dinner, agree on that in the invite. Everyone can eat first, then clear the dishes and start painting. Pizza or a shared takeout order lets you spend the evening at the table instead of moving between the kitchen and your pumpkin.
Let friends add songs to a shared playlist before they arrive. Keep the volume low enough to talk across the table. If you put on a movie, choose whether it is background company or something you want to watch after painting.
The breaks between coats give you time to refill drinks and hear what everyone has been up to. Take a photo of the table partway through if you want to remember the night. Ask before sharing photos that include your friends.
If you are planning your first gathering since graduation, our guide to making new friends after college has ideas for finding people and making plans together. A craft night gives an invite a clear activity and a place to start.
Help everyone get their pumpkins home
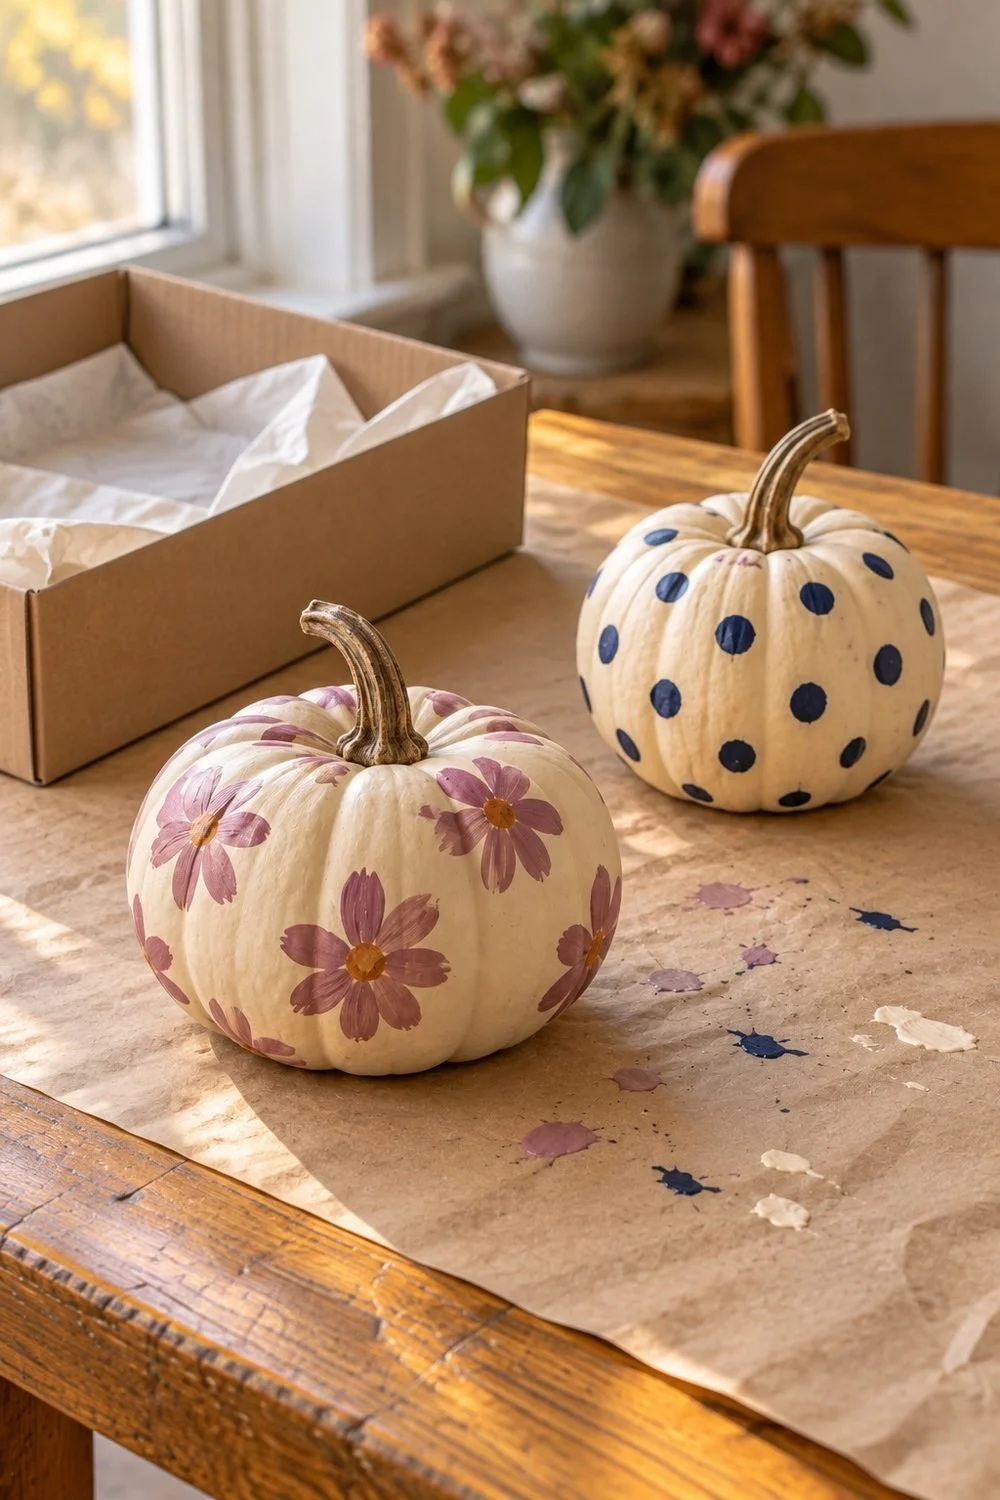
Check the painted surfaces before moving them. Follow the paint maker's drying directions and avoid pressing on a design to test it. If a pumpkin still needs time, let it stay in the drying spot while you finish snacks or clean the supplies.
Ask friends to bring a shallow box or a tray if they need to carry their pumpkin home. Put it on a flat, protected base with room around the painted sides. Hold the pumpkin from underneath rather than lifting it by the stem.
For a ride home, place the box where it can stay upright. Keep bags and coats away from the painted surface. If a design is still wet, leaving the pumpkin overnight and collecting it later may be the better plan.
Follow your paint's display guidance too. Crayola recommends keeping pumpkins decorated with its pumpkin paint indoors for best results. Other products may have different directions, so keep the bottle handy.
Before friends leave, share a photo of the finished pumpkins in the group chat. Then someone can pick the date for the next craft night while the paint colors are still getting compliments.
You might also like
More fun plans for college friends
Craft projects using recycled materials