A Christmas craft night gives you a few hours to make things and spend time with friends. This plan serves four people, with supplies and steps for flat paper tree ornaments, collage cards and striped gift tags.
You can make all three or spend the evening on the one you enjoy most. Set out a few samples, leave room for everyone's own colors and plan a finish time that works with class or work the next day.
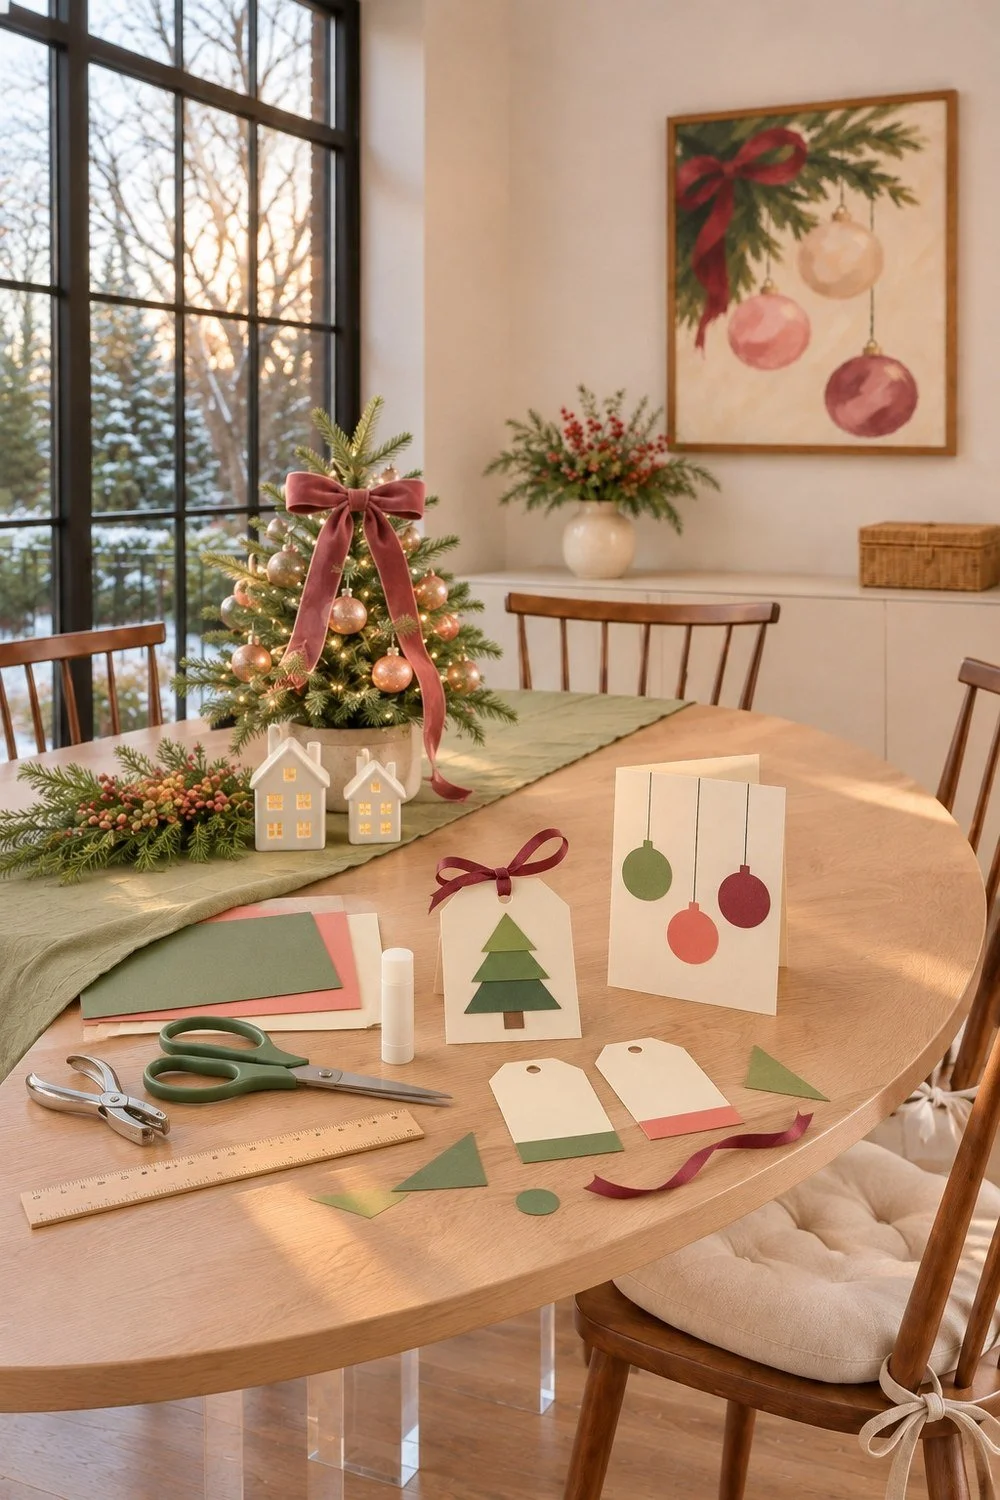
Plan a two-hour Christmas craft night
Invite up to four people for a two-hour paper craft session. Each person has supplies for two ornaments, one card and six tags.
Before you invite friends, make one sample of each craft with the supplies you plan to use. Check that your glue holds, your punch reaches the marked holes and the finished pieces fit in the bags or envelopes you have. Keep the samples on the table so people can see the steps.
You can send an invitation like this: “Want to make paper Christmas crafts at my place on Saturday from 6 to 8? We can make tree ornaments, cards and tags. I have some supplies already. Let us agree on the rest before anyone buys anything.” Replace the day, time and place with your own plan.
Ask about access to the space and anything friends want to bring. If you share your home, check with the other people who live there. Keep the plan flexible for someone who wants to chat while making one card.
For two people, halve the paper and finished-piece quantities. If you invite more than four, count the seats and work space before doubling supplies. Everyone needs room to use scissors without reaching across someone else's hands.
Gather supplies for four people
Gather eight sheets of US Letter cardstock, six sheets of colored paper and any small scraps you already have. The cardstock sheets measure 8.5 by 11 inches.
Use four cardstock sheets for the folded cards. Set aside two for eight ornament backings and two for 24 tags. The colored paper supplies the tree triangles, circles, trunks and tag strips. You can use plain paper or unbranded wrapping-paper scraps for these details.
Share two pairs of scissors, two rulers, two glue sticks and one hole punch. Add pencils and four pens. For the ornament loops, cut twelve lengths of ribbon, each about 20 centimeters long. Eight go on the ornaments. Four are spare pieces.
Keep the tags without ribbon during this session. You can attach them to gifts later. If you want ribbon for every tag too, count those extra lengths separately before the evening.
Bring a table cover, a bowl for scraps and a few envelopes or paper bags for taking pieces home. If you use borrowed scissors or pens, put them in their own tray so they return to the right person.
Count what the group already owns before buying anything. Agree on a total supply cap and how you will split it. These crafts do not need a cutting machine, paint, hot glue or a craft knife.
Set up the table before friends arrive
Give each person a place to cut and glue, with shared tools in the middle of the table.
Keep drinks and snacks on a separate surface. A loose sheet of paper takes up more space than it seems once you add a ruler, scissors and several tiny circles. Leave a dry spot for finished pieces too.
Sort cardstock for each craft into three small stacks. Put a sample beside each stack. You can mark cutting lines in pencil ahead of time, but leave the color choices to your friends.
If a guest prefers a different way to join in, offer pre-cut shapes, larger pieces or the option to decorate only. Ask what works for them. You can also work in pairs and share the cutting and gluing.
A craft evening can become one of your small traditions with friends. You can try this night once before deciding whether you want to repeat it.
Make flat paper tree ornaments
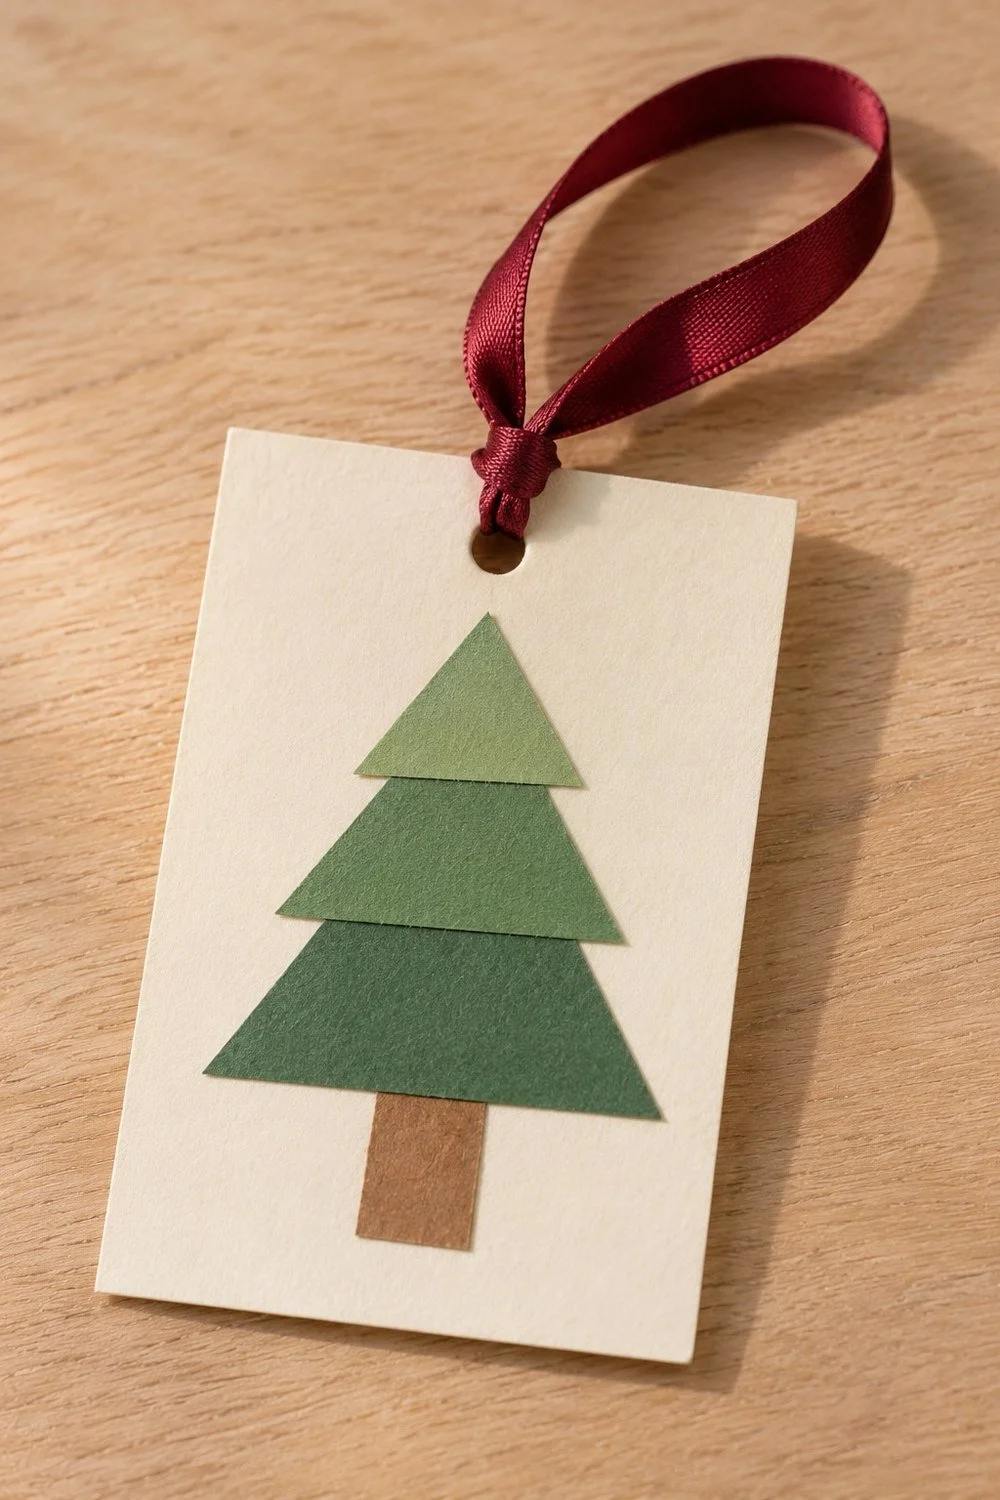
Make each ornament on a three-by-four-inch cardstock backing. Layer three paper triangles into a tree, then add a ribbon loop through the backing.
For eight ornaments, cut eight backings from two cardstock sheets. Mark two three-inch columns across each sheet and two four-inch rows down it. That gives you four backings per sheet, with paper left over. Save those scraps for the other crafts.
For each tree, cut three green triangles. Make their base widths about two inches, one and a half inches, and one inch. Cut each triangle a little shorter than it is wide. Cut a small brown rectangle for the trunk.
Place the backing with its four-inch edge upright. Leave a half-inch border clear at the top for the hanging hole. Lay the largest triangle near the bottom, with the trunk tucked beneath it. Overlap the middle triangle above it, then place the smallest at the top. Check that the tree fits within the backing before gluing.
Glue the trunk first, then the triangles from largest to smallest. Keep the layers flat. Let the glue set as its label directs before you punch the hole.
Punch one hole in the clear top border. Pass one 20-centimeter ribbon piece through it and tie the ends into a loop. Check that the knot holds before hanging the ornament. If the hole tears, glue the tree onto a new backing and leave more paper around the hole.
You can add the year on the back. Each ornament stays flat, with its backing visible. It can hang on a small branch, join your decorations at home or travel in an envelope once the glue is dry.
Make a collage Christmas card
Fold a six-by-eight-inch piece of cardstock into a four-by-six-inch card. Decorate the front with three paper circles that look like hanging baubles.
For paper keepsakes you want to save, see the National Archives guide to storing paper keepsakes.
For four cards, trim one six-by-eight-inch rectangle from each of four cardstock sheets. Keep the cut edges as straight as you can. Save the extra strips for tags or smaller details.
To fold the card, bring the two six-inch edges together. The eight-inch side folds in half, leaving a front that measures four inches across and six inches high. Press the fold with your fingers, then run a ruler gently along it.
Cut three colored-paper circles about one inch wide. You can trace around a small round object before cutting. Arrange the circles on the card front, leaving space between them and room for a greeting if you want one.
Glue the circles down. Draw a thin line from the top of each circle toward the card's upper edge. You can place the circles at different heights so each hanging line has room.
Write your personal message inside after the glue has set. Keep it in your own words. If you plan to mail the card, check that it fits your envelope before adding anything else.
Make striped gift tags
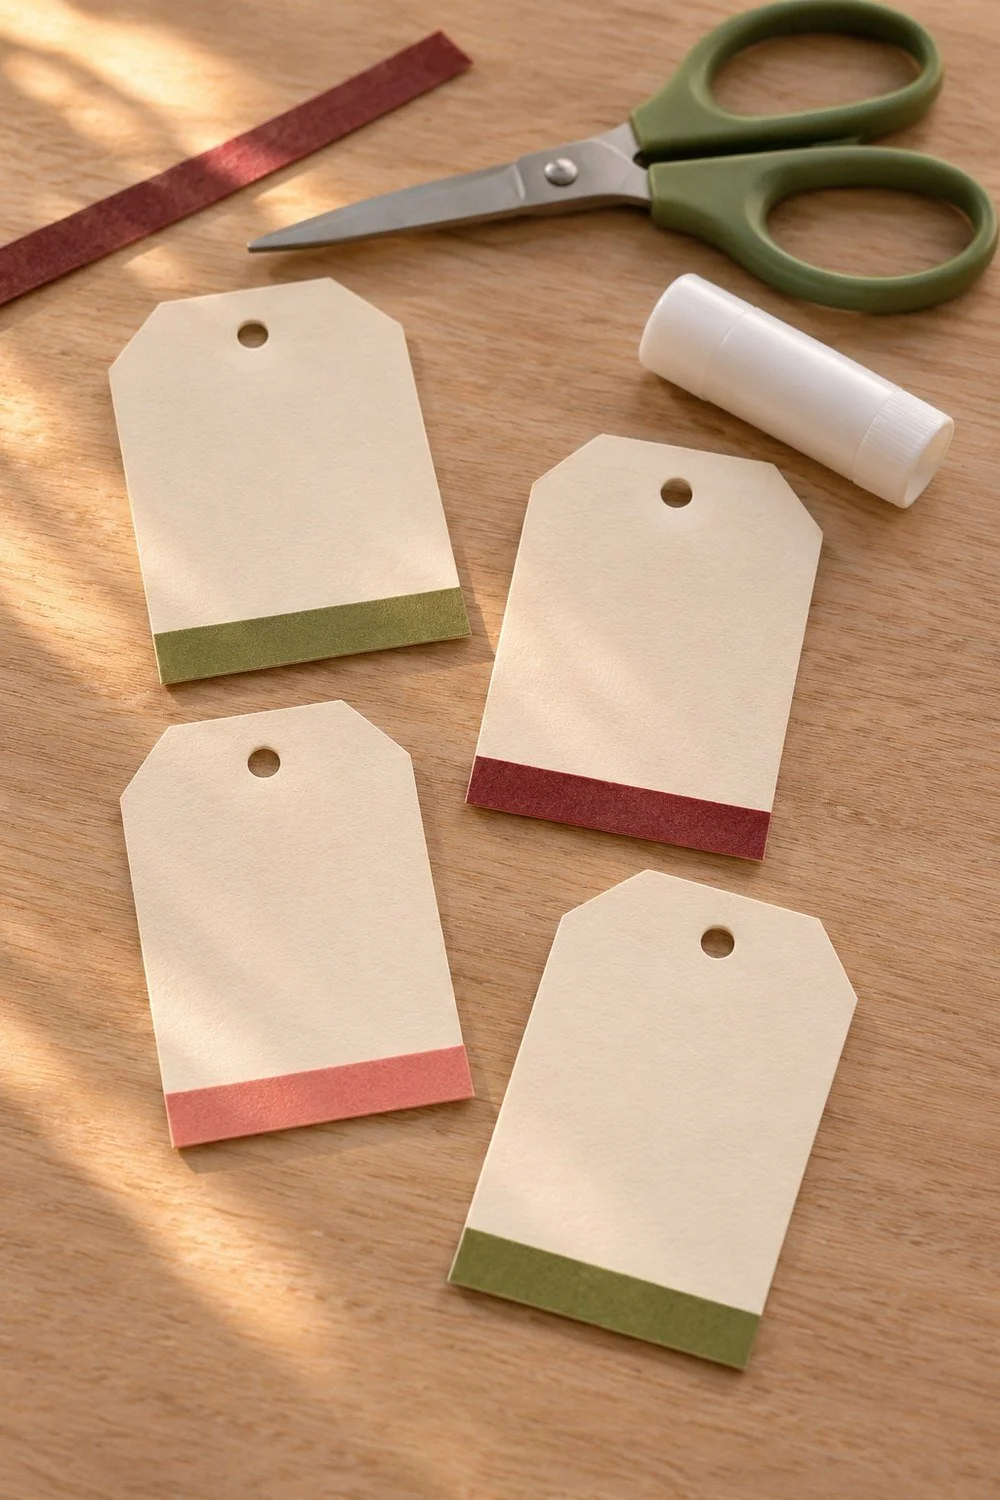
Cut small cardstock rectangles, add a strip of color near the bottom and punch a hole near the top. Leave the middle clear for a name and message.
For 24 tags, use two cardstock sheets. On each sheet, mark four two-inch columns and three three-inch rows. The marked grid uses an eight-by-nine-inch area and makes twelve tags per sheet. Cut along the pencil lines.
For each tag, cut a colored-paper strip about two inches long and a quarter inch high. Glue it across the lower edge of the tag. Trim any paper that sticks past the sides.
Punch a hole near the top, at least a quarter inch from the edge. If your hole punch makes a large hole, leave a wider border. Keep the tag flat while the glue sets.
You can write names now or leave the tags blank until you know which gifts they belong with. These tags do not require an exchange. You can use them on a book for a friend, a wrapped gift for family or something you are bringing to a host.
Use a loose schedule for the evening
Plan fifteen minutes to settle in, thirty for ornaments, twenty-five for cards and twenty for tags. Add a fifteen-minute snack break and fifteen minutes to clean up and pack.
That fills two hours, but nobody needs to follow the order exactly. One person may finish a tag set while another stays with their card. Keep the samples nearby so you can return to a step without stopping the whole table.
If the evening runs short, choose one craft to finish. Divide the unused paper so friends can take their pieces home if they want. You can also leave the remaining supplies for another day.
If you want to save a photo from the table afterward, the fall scrapbook guide shows how to pair a small memory with a note. Ask before taking or sharing photos of people or their personal messages.
Pack finished pieces and share the cleanup
Check that glue is dry enough before stacking cards, tags and ornaments. Follow its label, and keep damp pieces separate while you clear the rest of the table.
If the cards include printed photos, see the Library of Congress guide to caring for photos before storing them.
Ask everyone to find their own finished work. Put cards and tags in envelopes or between clean sheets of paper. Keep ornament loops loose so they do not pull against the punched holes in transit.
Return shared tools, collect scraps and wipe the table as needed. Save clean paper pieces you want to use again. Sort the rest according to your local waste rules.
You can leave with two ornaments, a card and a handful of tags. You can also leave with one card you spent the whole evening making. Both fit the plan.