Make a Fall Scrapbook from Six Everyday Moments
Make a small fall scrapbook by choosing six everyday moments and giving each one a page. Use your own photos, drawings or copies of paper keepsakes, then add a short note about what you want to remember.
Your six moments can come from the fall you are already having. A walk, a favorite snack, a visit with a friend or a corner of your room can all belong in the same little album. You get to choose what makes you want to look back.
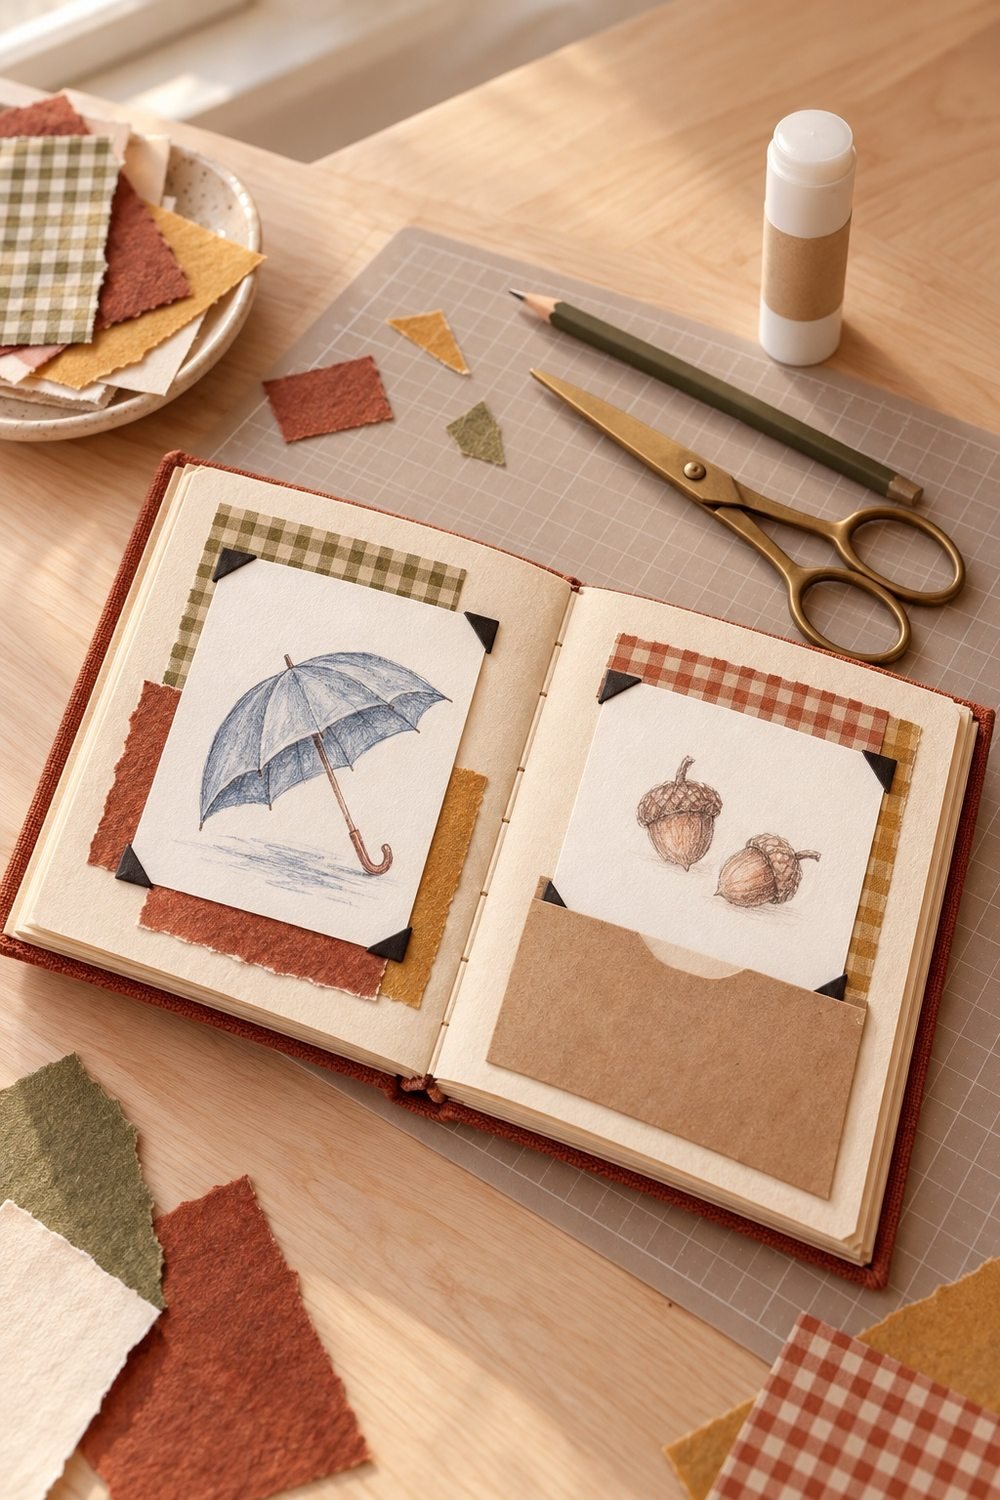
Choose the stretch of fall you want to save
Pick a week, a month or the whole season as your starting point. A clear date range helps you choose six moments from the things you already have.
Look through your own photos, calendar and saved paper from that time. Notice which moments you remember when you see them. You might have a photo from an afternoon out, a note from a friend or a drawing you made during a rainy day.
Use the date range as a guide, rather than a rule you have to enforce. If a moment from the edge of the month belongs with the others, you can include it. Write the dates you know and leave any uncertain detail out.
You can start this project in mid-October and add later moments as fall continues. Choose a few pages now, then leave space for the rest. Or wait until the end of November and pick your six together. Both give you a small project with a clear place to stop.
For more moments you might enjoy making before the season ends, our fall activities to try with friends offer ideas to choose from.
Find six moments that feel different from each other
Choose six things you want to keep, with enough variety to show your own fall. They can be quiet moments, social plans or something you made.
If you want a starting set, look for a place you went, time with a friend, something you ate or drank, something you made, a small daily routine, and one detail you noticed outside. These are optional categories. Swap any of them for a moment you would rather save.
A place might be a seat you like or a path you take. A detail outside could be a tree changing color or the view on a wet morning. You can draw it if you did not take a photo.
For the friend page, choose a photo you both like or an object that reminds you of your time together. A cup from your planned coffee-shop study date with a friend could lead to a page about the visit. The page can say more than the picture does.
Put your six choices in one folder or a small pile. Keep other possible moments somewhere else for now. That gives you a clear set to work with when you open the album.
Gather one image and one detail for each page
Give each moment one main image and one short note. An image can be a photo copy, a drawing or a flat paper piece you have permission to use.
Choose the image first. Then ask what you know about that moment that the image does not show. You might remember who suggested the plan, the route you took or the snack you shared. Write that detail in your own words.
For a picture of a drink, the note could name the place and what you enjoyed about the visit. For a drawing of an umbrella, it might name the day or the walk it reminds you of. Use only details from your own experience.
If you want to keep a message from a friend, ask before copying or sharing it. A private note can stay private even when you show someone the album. You could write your own sentence about the moment instead of including the message itself.
This project can use pictures and short captions throughout. If you also want a place for longer entries, our guide to starting your own journal gives you another way to keep those thoughts.
Make a page plan before printing or cutting
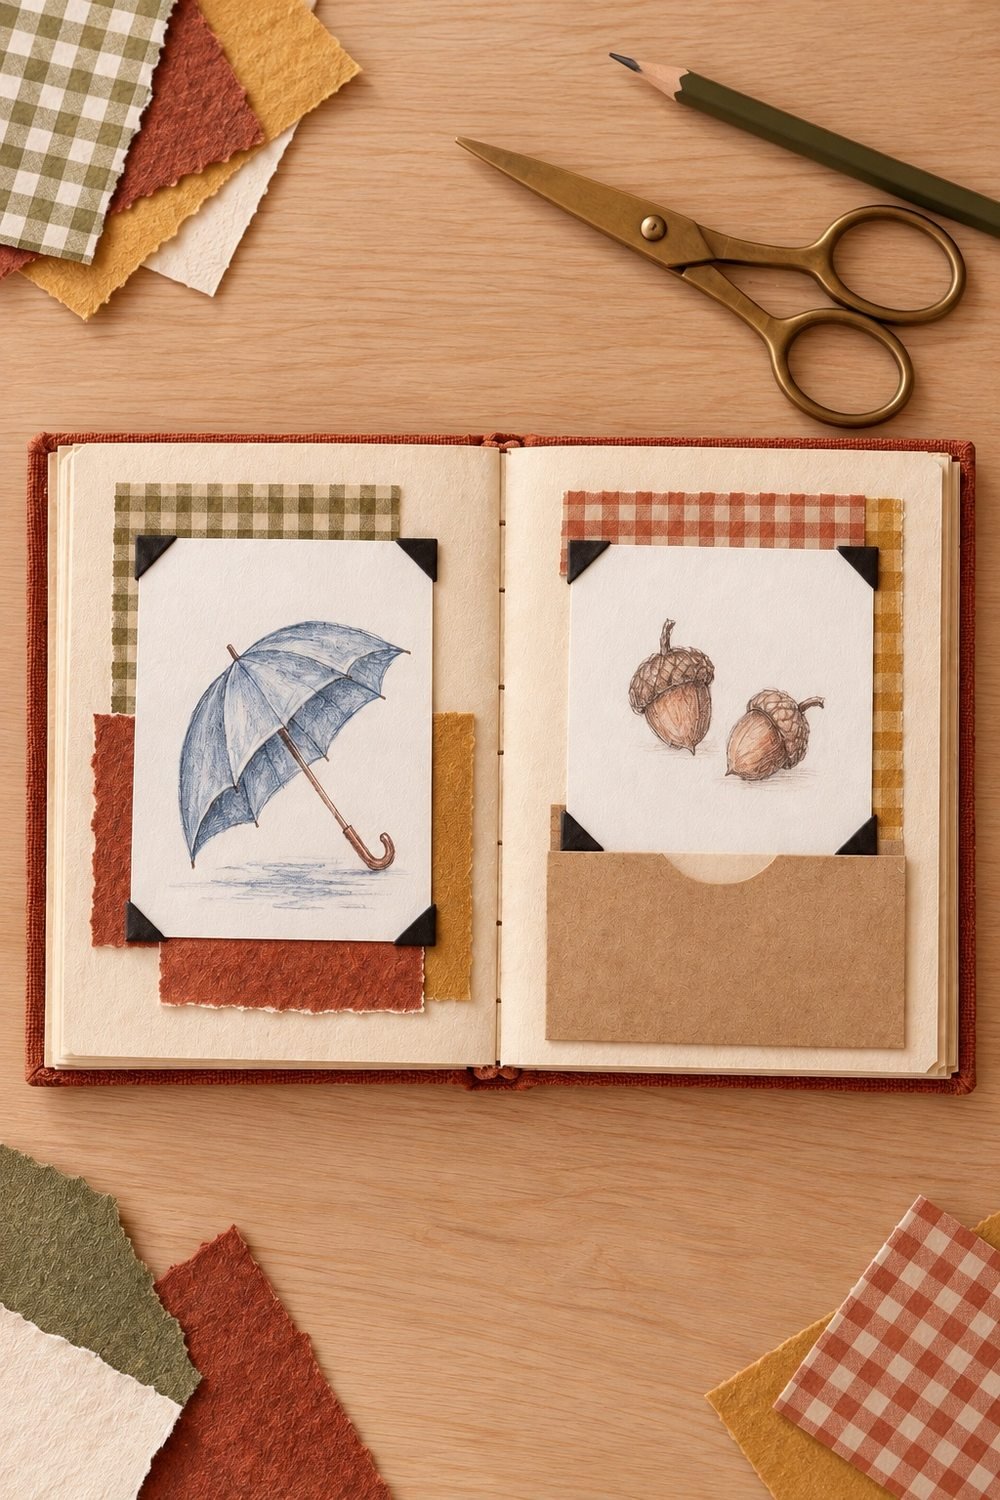
Set aside three pairs of facing pages, with one moment on each page. That gives you six pages and a plan you can see before you attach anything.
Try pairing the moments in order by date. You could also put a day out beside a day at home, then use the next spread for two things you made or enjoyed. Choose an order that makes sense when you turn the pages.
Write the page order on a scrap of paper. Use rough paper shapes to test where images and captions could fit. If you already have prints, place them loose on the pages while you try the layout.
Check the image size against the actual album. Leave room for a caption, and keep important faces or details away from the center fold. For a digital print order, check the preview for any crop before paying. A smaller print may fit better than cutting a larger one later.
Use copies for the craft project when an original matters to you. Keep the original file or print somewhere safe. Your page can hold a copy while you try different sizes and arrangements.
Use a small set of supplies
Start with the album or notebook, your six images, a pen or pencil, and the materials you need to hold the pieces in place. Add paper scraps when they serve the pages you planned.
Choose paper and mounting supplies made for photographs when you use photo prints. The Library of Congress recommends photo corners for paper-page albums and warns against self-stick tape on photographs. Follow the supplier's instructions and keep valuable originals out of craft experiments.
For drawings or disposable paper copies, choose a glue suited to that paper and test it on a spare piece first. Let it dry before closing the book. A page with ordinary craft paper is a creative project; it does not come with a promise that every material will last forever.
Choose two or three paper colors you like with your images. Rust, green and cream might suit one set. Blue and yellow might fit another. Your own pictures can guide the colors, even when the result looks different from a fall craft aisle.
Keep scissors, a pencil and spare paper within reach on a firm surface. Put drinks somewhere separate from the album. A small tray or folder can hold the project between sessions.
Repeat one layout across the six pages
Use the same basic arrangement for each moment: one main image, one short caption and an optional scrap of color. Repeating it gives the little album a shared look.
Place the largest piece first while it is still loose. Leave space for your note, then add any paper layer behind it. Check that the book still closes and that pieces stay clear of the fold.
You can vary the image position slightly from page to page. Put a photo higher on one page and lower on the next, or change which side holds the caption. Keep the space for the memory itself as the main part of the page.
If you use photo corners, fit the image as the package directs and check that it stays secure when you turn the page. If you use glue on a paper copy, apply it as the label directs and let the piece dry flat.
Finish one page before you decide whether to add more decoration. Turn back through the pages as you go. You may find the colors and captions already give the album the look you wanted.
Add captions that hold the part you remember
Write a date or a place when you know it, then add one or two sentences about the moment. Keep the caption long enough to be useful when you return to the page.
Try naming one detail you enjoyed, one person who was there with permission, or one thing that made this moment feel like your fall. You can also write what you were doing just before or after the picture.
Use the words you would say to a friend. A caption can sound like you, with a favorite phrase or a small joke you will still understand later. Check that the note makes sense without someone having to hear the whole story first.
If a detail is uncertain, use the part you know. A month or a general place can be enough when the exact day is unclear. There is no need to invent a date to fill a label.
For a page about something you made, you could note the materials or the friend who joined you. Our pumpkin-painting night with friends guide is one fall plan that could give you a craft and a memory to keep.
Keep bulky keepsakes and private details separate
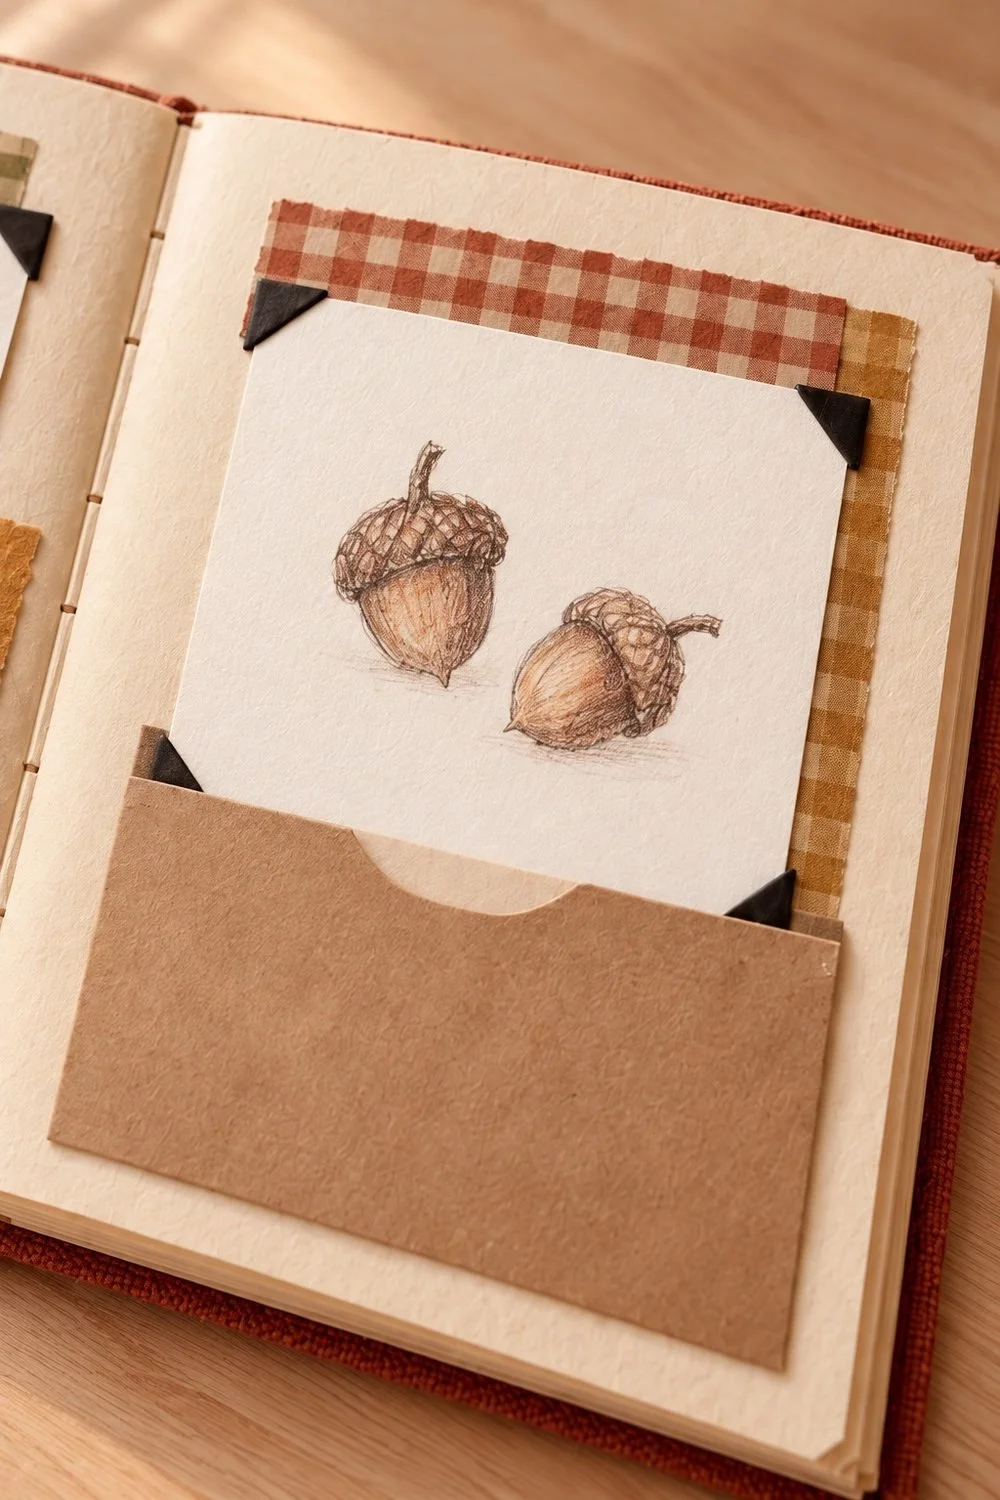
Use a flat copy or a drawing when the original item would make the book hard to close. Give important keepsakes their own suitable storage.
A paper pocket can hold a small flat note or a copy you want to take out and read. Check that it stays closed when you lift the book and that the contents do not press against a photo. Store larger pieces in a separate envelope or box and note where they are.
Keep damp leaves, food wrappers with residue and other wet or messy pieces out of the album. A photo or your own sketch can stand in for the object. Let any art materials dry fully before pages touch.
Before sharing a page online, check faces, names, addresses, account details, tickets and codes. Ask friends before sharing their images or messages. You can show a small part of the spread or keep the album for yourself.
Finish the small album at your own pace
Work on one or two pages at a time, and stop when the six moments have their places. You can leave the rest of the notebook for another project.
If you want company, invite a friend to bring their own photos or drawings and supplies. Each of you can make your own pages while you catch up. Agree before sharing tools, pictures or private stories.
For a night at home, this project can be one of your cozy fall plans for after work. Keep the loose pieces together when you stop so you can pick up the same page later.
When the pages are dry, check the captions, loose corners and page order. Close the album gently and store it away from spills and direct sun. Your six moments now have a place you can open when you want to look back.
You might also like
Planning a fall friend date within your budget
Hosting a cozy bring-your-own-book night