You can photograph a book without glare by moving the light or your camera until the bright reflection leaves the cover. Start beside a window, turn off your flash, and watch the book on your screen as you shift your angle. You can do this with your phone and a table you already have.
A book gives you plenty to work with: a bright cover, a cloth spine, a folded corner, or the curve of an open page. The goal is to show the part you like clearly. A coffee cup can wait until the title is readable (even a very cute coffee cup).
This guide takes you from a plain cover shot to an open-book photo. Start with one book and one light source, then add the setting once the light looks right.
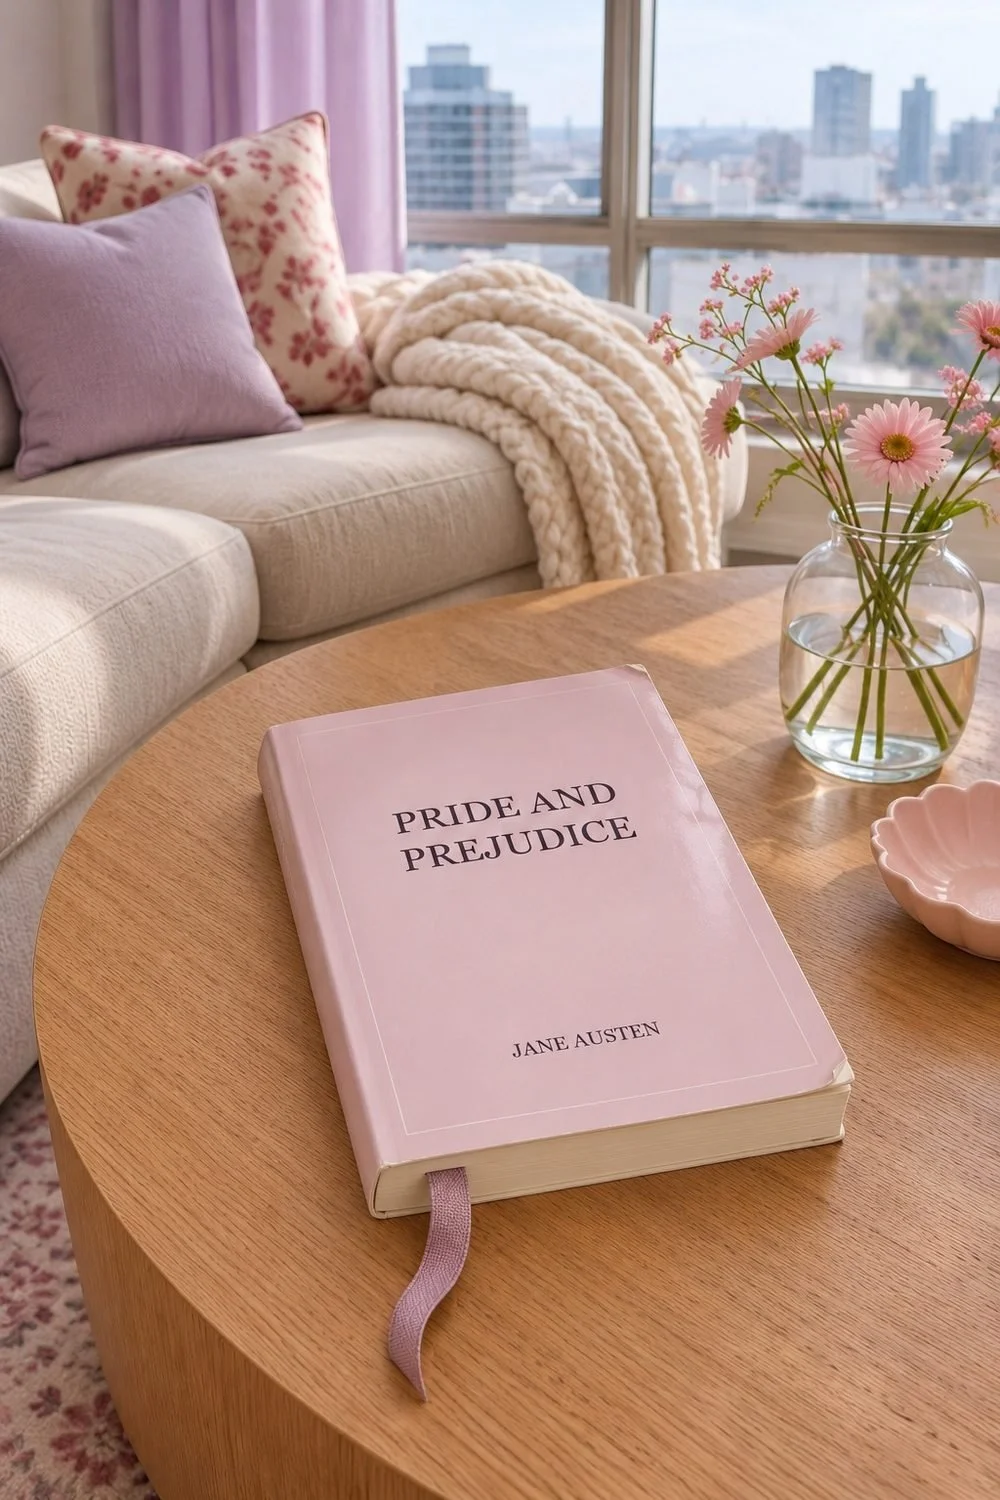
How to photograph a book without glare
Move the camera, book, or light so the bright reflection falls away from the part you want to show. Change one thing at a time while you watch the screen. A small move can help you find a better view without rebuilding the whole scene.
Glare is light reflected toward your camera. A glossy cover can show a bright window, a lamp, or your phone's flash. Canon explains how shooting angle changes reflections: light bounces from a smooth surface at the same angle at which it arrives. Your camera's position helps decide which reflection it sees.
Place a closed book on the table with its cover facing up. Hold your phone above it and look for the brightest patch. Move your phone a little to one side. If the patch moves, you've found a reflection you can work around. Keep shifting until the title or cover art is clear.
For a straight cover shot, keep the phone level with the book and move the light instead. If you use a lamp, move it to one side. If you use a window, turn the table setup so the light comes from the side. Check again before you add any props.
Take a photo after each useful change. Compare those saved photos at the same screen brightness. That makes it easier to see which position shows the cover best. You don't need to remember six slightly different views while your arm hangs over the table.
Put soft light beside the book
Start with indirect window light from one side. Choose a spot where the book looks bright, but a sharp beam of sun doesn't land on it. If direct sun crosses the table, use a white blind to soften it or try another time of day.
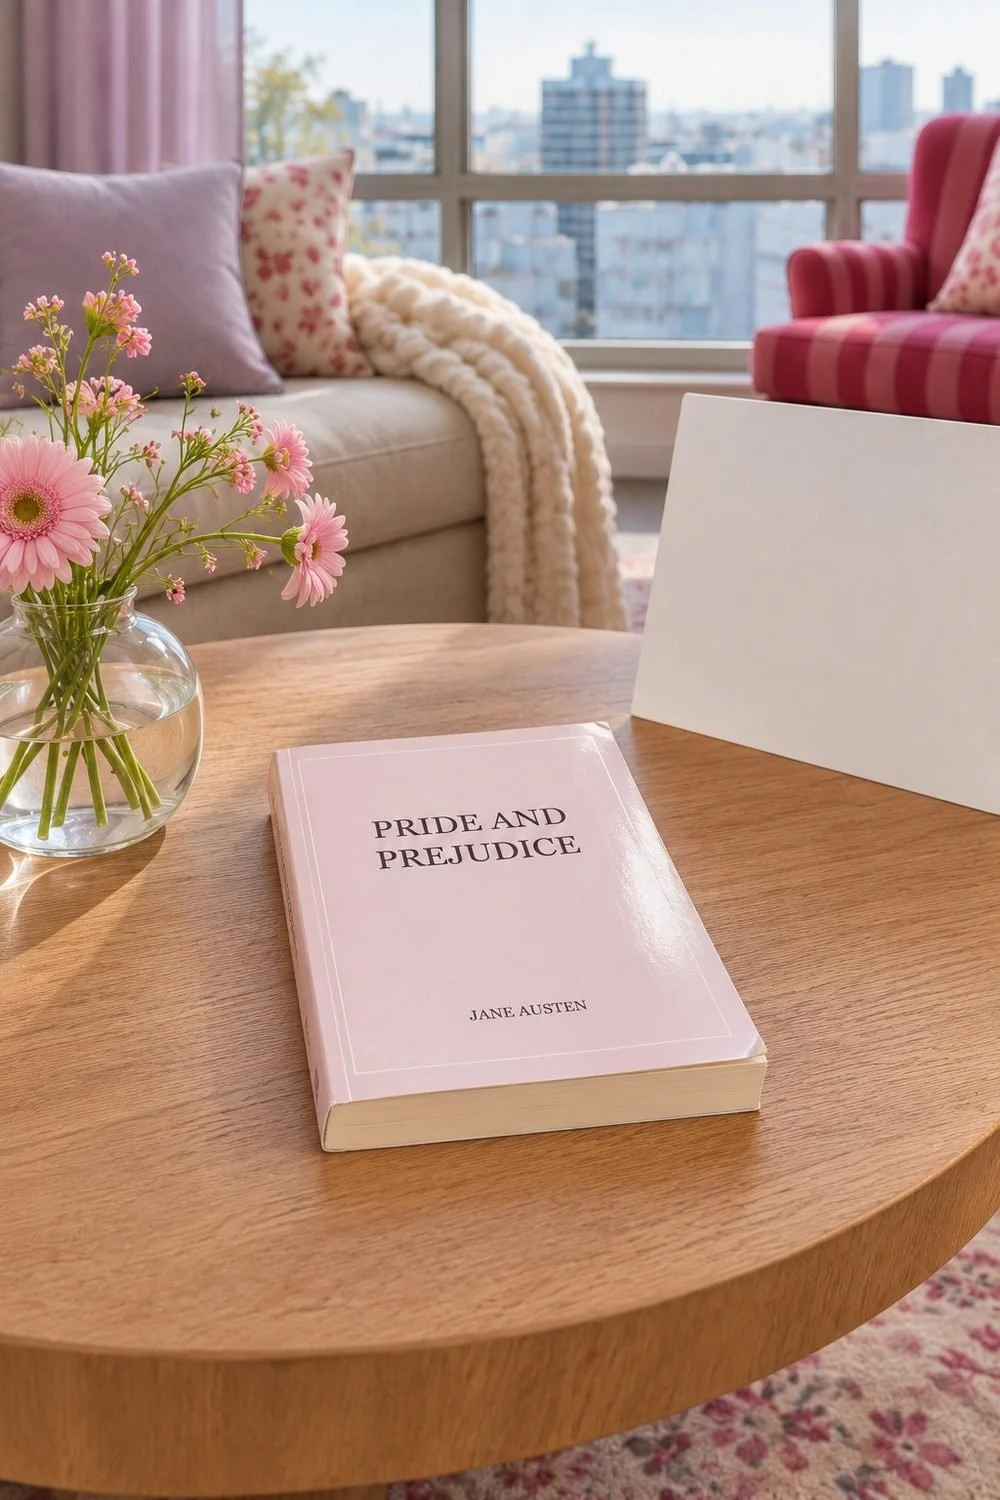
National Museums Scotland's window-light guidance suggests a side-on setup, with clean white card opposite the window to bounce light back. You can try that with a sheet of white card you already have. Place it beyond the book's darker edge and move it closer or farther away while you watch the shadow.
Keep the card out of the picture unless you want a white background. It should help you see the book's shape and detail. Check the glossy cover again after you move it, since a bright card can also show up as a reflection.
Turn off nearby room lights for your first attempt. That gives you one light source to track. If the cover looks warm on one side and cool on the other, try the window alone and compare. Our guide to finding window light for indoor photos gives you more ways to choose a spot at home.
A sheer curtain may soften a hard patch, but soft light can still reflect on a shiny jacket. Keep checking the angle. A wide pale reflection across the title still needs a change in position, even when its edges look gentle.
Keep a glossy cover clear and in shape
For a clear cover photo, aim for readable words, visible artwork, and book edges that look like the book in front of you. Start without other objects so you can judge those details on their own.
Turn the phone's flash off. If you use a ring light or desk lamp, check whether you can see its shape on the cover. Move that light away from the camera's line of sight, then take another photo. Keep the setup steady enough to compare the change.
If you're making an overhead photo, hold the phone square above the cover. Look at the top and bottom edges on the screen. When one end looks much wider, adjust your phone so its face stays parallel to the cover. Leave a little room around all four corners for a later crop.
For a relaxed photo at an angle, you can tilt the book a small amount and let its depth show. Choose the view with care: the title should still be readable, and the cover shouldn't look stretched. A small angled stack can work well when you're showing several current reads.
Check shiny foil words separately from the rest of the cover. Move until you can see their shape without a bright patch hiding them. Some shine helps show what the cover is made of. You can keep that shine where it adds detail, away from the words you want someone to read.
If you'd like a refresher on focus and camera controls, start with using your camera for the first time. Settings vary by camera, so use its own guide when you need to find a control.
Photograph open pages without forcing the spine
Let the book open to a comfortable angle, then frame the pages you can see. Support it on a clean, dry surface. If it won't lie flat, use a view that shows the curve through the center.
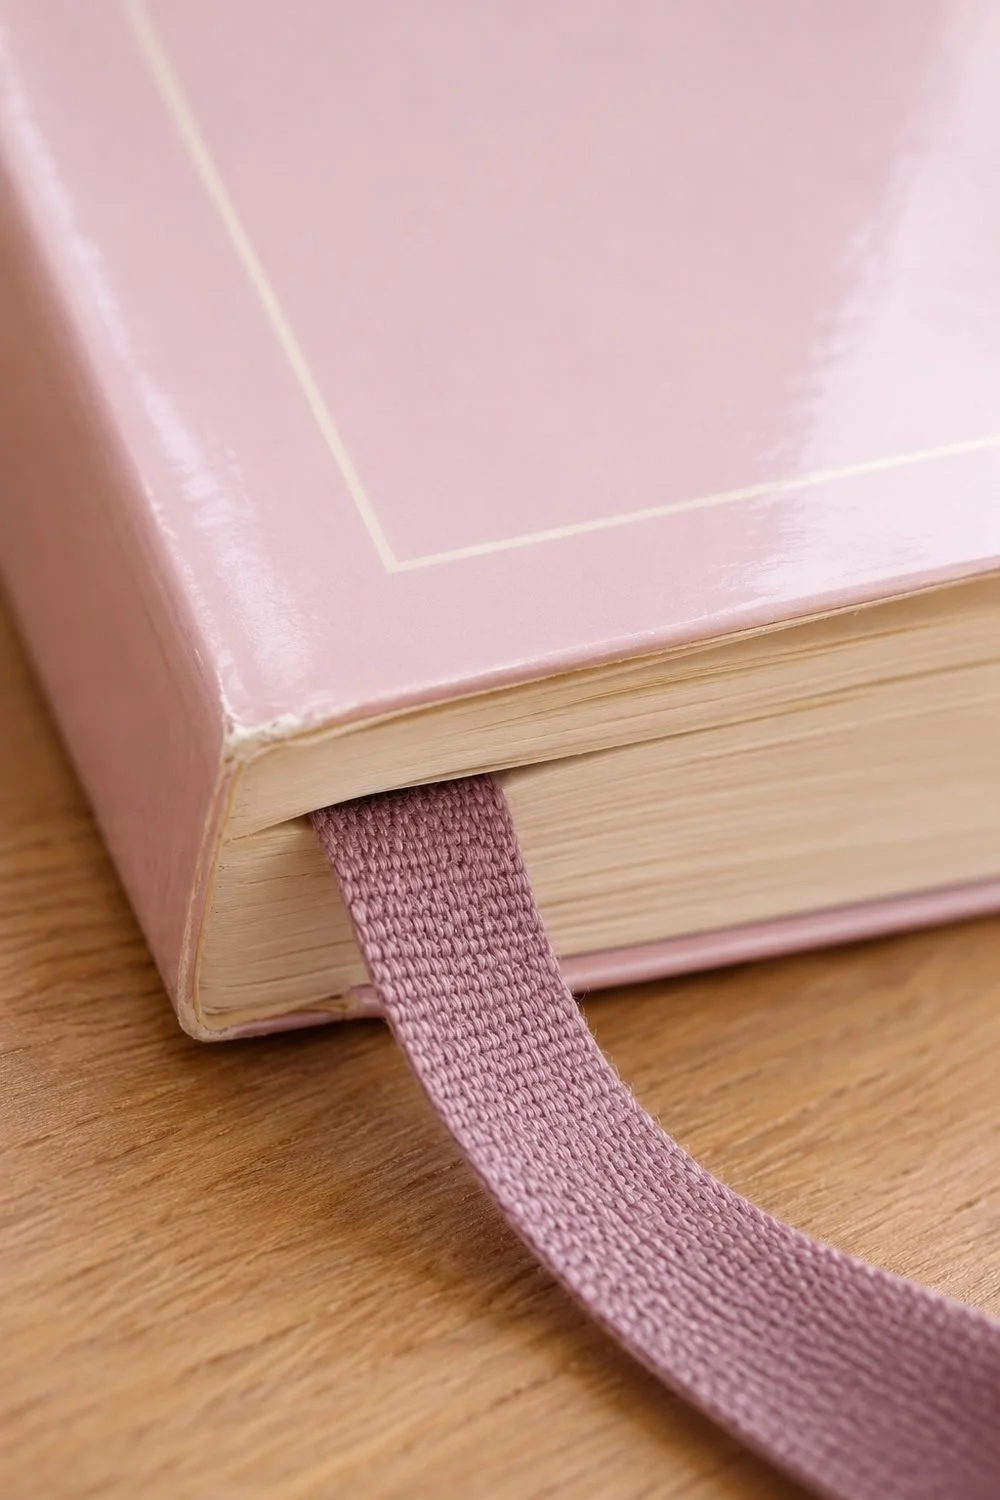
Choose your purpose before you open it. A reading photo might show the page edges and a hand holding the book. A close view of a printed detail needs the camera aimed at that page. You can make two different photos rather than ask one view to show everything.
For an open spread, check both pages for glare. The curve can make each side catch light in a different way. Shift the whole book a little, then inspect the left page and the right page again. If only one page matters, frame that page and let the other one fall toward the edge.
Keep hands away from the words or picture you want to show. Hold the page lightly so the cover or page stays in view.
Zoom in on your saved photo to check the important detail. If the words you need look soft, take another picture before you move the setup. Check for a hand shadow too. A finger can hold the page exactly where you want it and still block the light from reaching it.
Add the reading setting after the light works
Once the book looks clear, add one or two objects that belong with it. A tote, a bookmark, or a folded blanket can suggest the reading moment without covering the subject.
Penguin Random House's book-photo guidance recommends keeping the book prominent and avoiding a crowded scene. Try one photo of the book alone, then one with your chosen object. Compare them at the size someone will see on their phone.
Give each object a place. A bookmark can sit beside an open page. A tote can sit behind a small stack.
Look around the frame before you take it. Check for a lamp base cut through the corner, a loose charging cord, or a bright object behind the title. Move what you can, then leave some clear space around the book. The whole room doesn't need to appear.
You might find a good setting in a reading corner with comfortable warm light. Keep the light for the photo in mind, though. A lamp that feels lovely for reading may need a new position before you photograph a shiny cover.
For a small set, try a cover view, an open-book view, and a close detail of the binding. Those views each show something different. Let the book stay in the same place while you move around it and check the reflection each time.
Check the saved photo before you pack up
Open the saved image and inspect the title, corners, and brightest area before you clear the table. Choose the view that shows the book clearly, then make a small crop if it helps the frame.
If glare hides part of the cover, return to the setup and change the angle. Making the whole picture darker may leave the reflection in place while the rest of the book gets harder to see. Find the clearer view while the book and light are still in front of you.
Compare the cover color with the real book in the same light. Keep any edits gentle enough that the cover still looks like itself. Save your original photo so you can return to it later. For a book listing, show the actual book and its condition clearly.
Look at the image once more at normal phone size. You should be able to find the book right away and see the detail you chose to show. When those parts work, you have your photo. The bookmark can go back between the pages.
You Might Also Like
Plan a bring-your-own-book night with friends