
These Christmas scrapbook ideas give you three layouts for photos, notes and flat paper keepsakes. Each fits on a portrait US Letter sheet, so you can start with loose pages and add them to a binder or album that fits.
Choose one photo you want to keep looking at, two moments that belong together or a photo with a small paper keepsake. You can make one page now and leave the others for another afternoon.
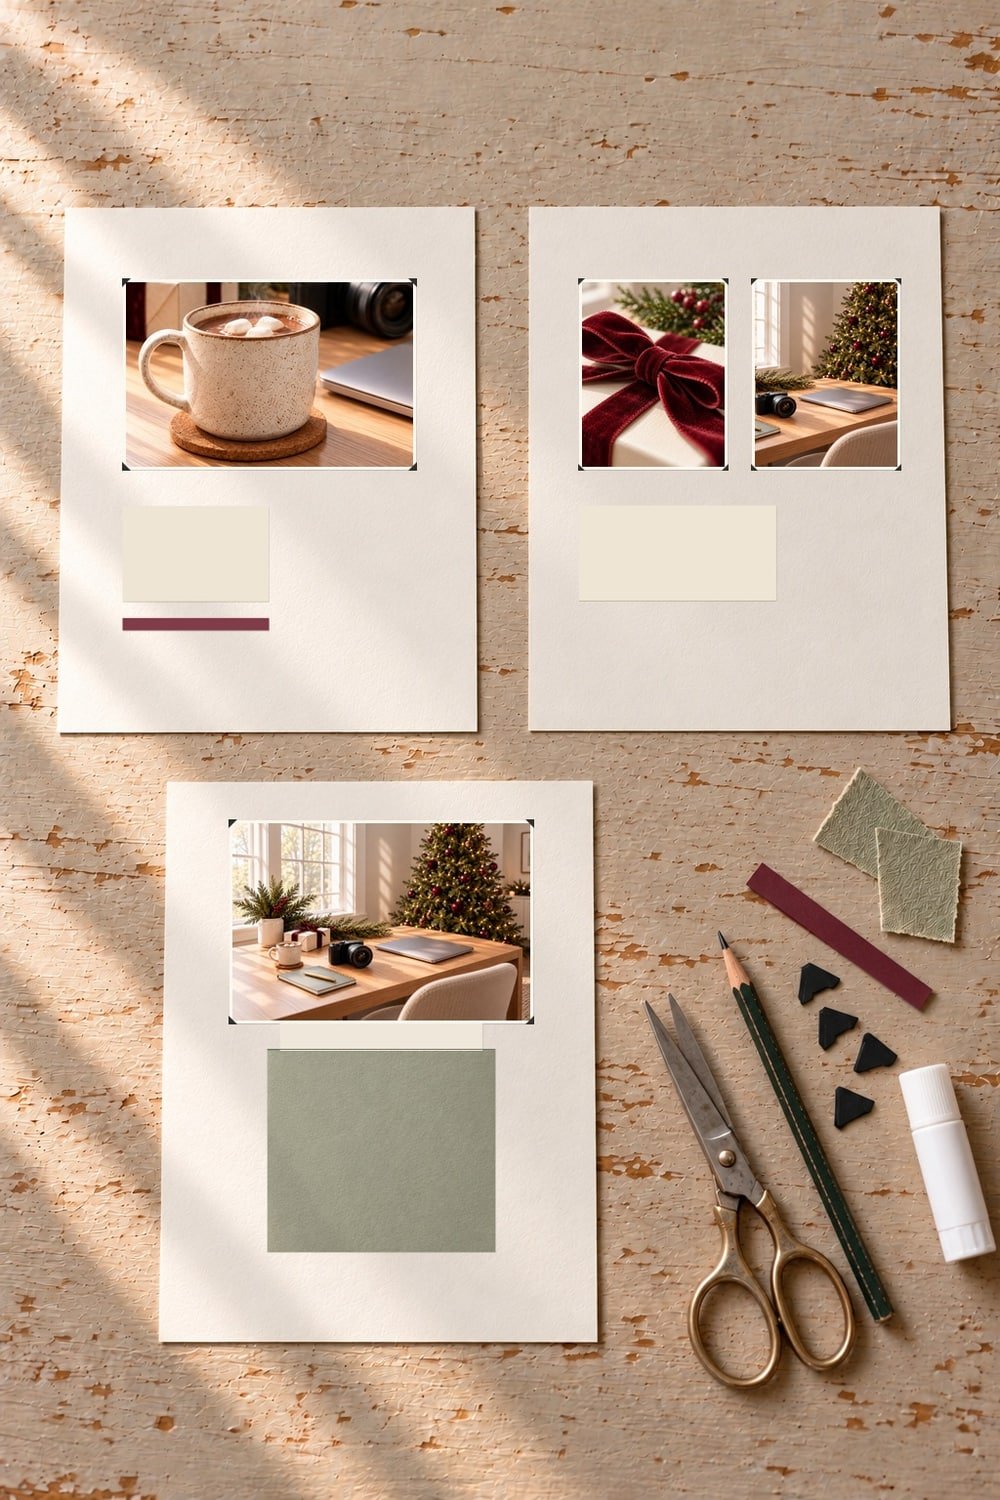
Choose a Christmas memory and a page size
Start with one moment and one 8.5-by-11-inch sheet. Keep the sheet upright, with the short edge across the top.
Your memory can come from any part of the season. A mug on the kitchen table, the decorations you put up with a friend or a card you received can all give you a page. You do not need photos from a large gathering.
Use copies of images and paper keepsakes when you want to keep the originals separate. Ask before printing someone else's photo or sharing a page that includes another person. Keep private messages, names and addresses out of any photo you post online.
For these layouts, measure from the top-left corner of the page. Across means from left to right. Down means from the top edge toward the bottom. You can mark each position with a faint pencil dot, then erase it after checking the fit.
If you prefer a smaller page, use the layouts as a guide and test the pieces loose before attaching them. The measurements below are for US Letter sheets. They will not fit every notebook without changes.
The fall scrapbook guide uses one repeated page idea across six moments. Here, you can choose among three different arrangements based on what you want to save.
Gather paper, photos and a few shared tools
Gather three cardstock sheets, a ruler, a pencil, scissors and paper scraps in colors you enjoy. Add a pen, photo corners or an adhesive labeled for your photo materials, and a small note card.
Before handling the prints, see the Library of Congress guide to caring for photos.
For all three example pages, you need two six-by-four-inch landscape prints and two three-by-four-inch portrait prints. Landscape means the longer edge runs across the page. Portrait means the longer edge runs down it.
Check your print settings before ordering or printing. A phone image may crop differently at these sizes. Look at the preview so a face or detail you want to keep stays in the frame. You can also use drawings at the same sizes.
For the pocket page, set aside a five-and-a-half-by-four-and-a-half-inch rectangle of paper. Choose one flat keepsake copy no larger than four by three inches. Keep thicker objects in separate storage rather than making the page hold them.
Use adhesive as its maker directs. Try it on scrap material first if you are unsure how it dries. Avoid putting glue or tape on an irreplaceable original. These pages are a craft project, so choose suitable storage for items you want to preserve over time.
Layout one: one landscape photo and a short note
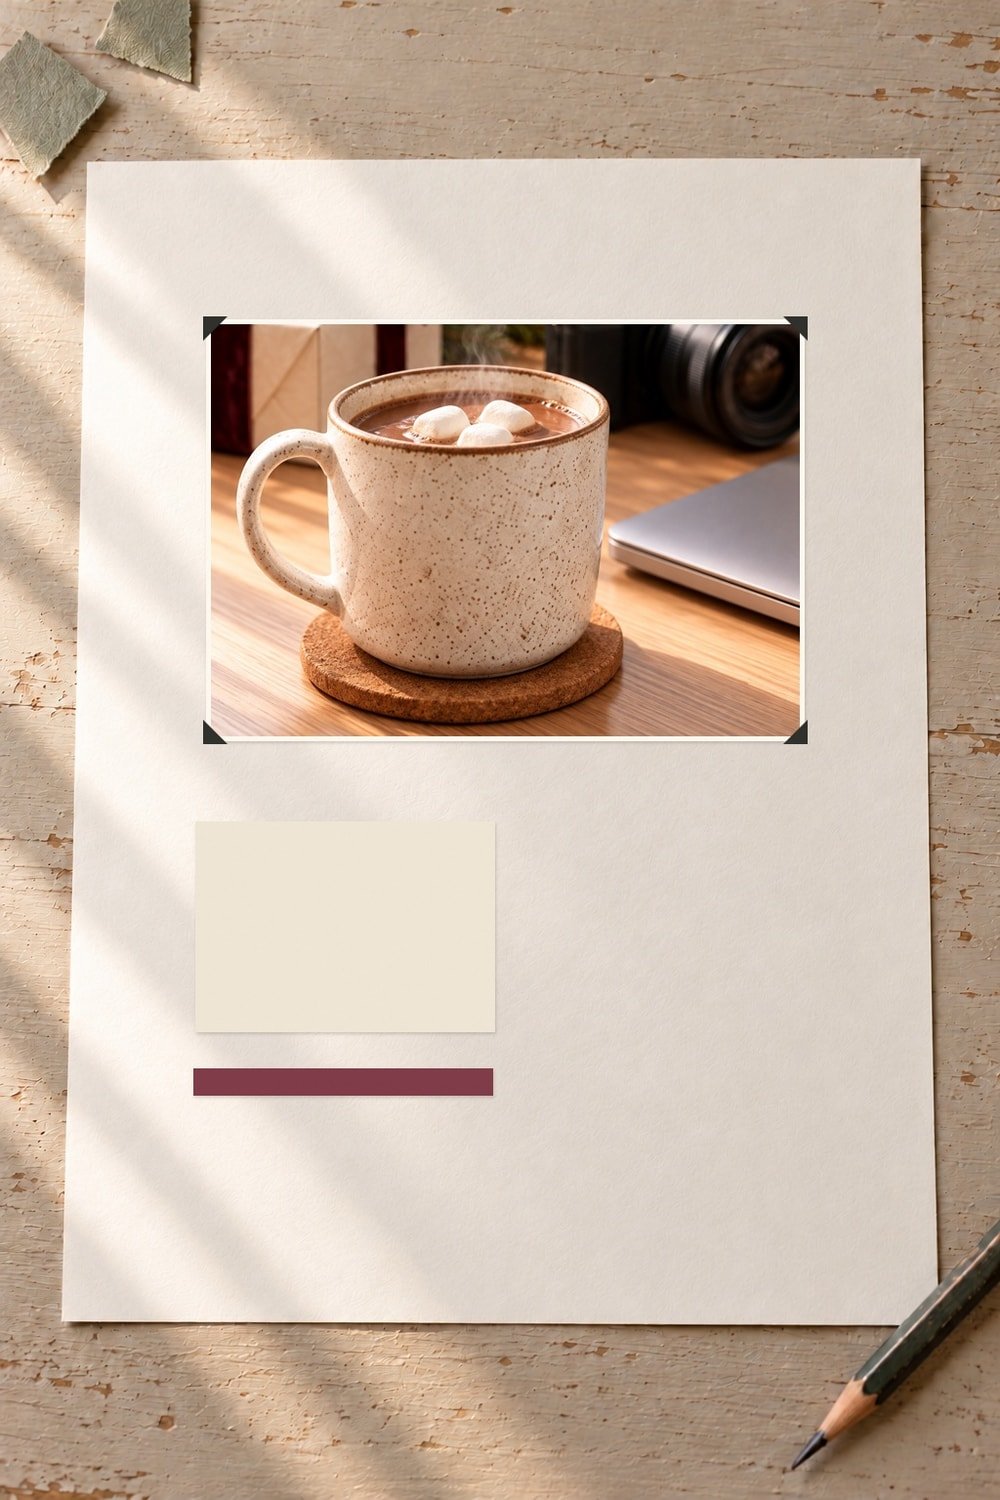
Give one six-by-four-inch landscape photo the upper half of the page. Place a short note below it, with open space around both pieces.
This layout suits a moment with one image you want to lead. You might use the finished table from a card night, a view of the tree or a photo of your own decorations. The note can hold the part the photo does not show.
On your upright sheet, mark a point one and a quarter inches from the left edge and one and a half inches from the top. Put the photo's upper-left corner at that point. Its six-inch edge runs across the page. The lower edge ends five and a half inches from the top.
Below the photo, place a three-by-two-inch note rectangle. Start it one and a quarter inches from the left edge and six and a quarter inches from the top. This leaves a gap between the photo and the note.
Keep both pieces loose while you check the layout. If you want a strip of colored paper, place a narrow one beneath the note. Let the margins stay clear so the photo and words have room.
Once you like the fit, attach the photo with corners or your chosen photo-suitable adhesive. Attach the note as the adhesive label directs. Write the date you know and one detail you want to remember. You could name what you made, what you enjoyed or who joined you, with their permission.
You can leave the note short. Two sentences about an ordinary afternoon can be enough for this page.
Layout two: two portrait photos from the same plan
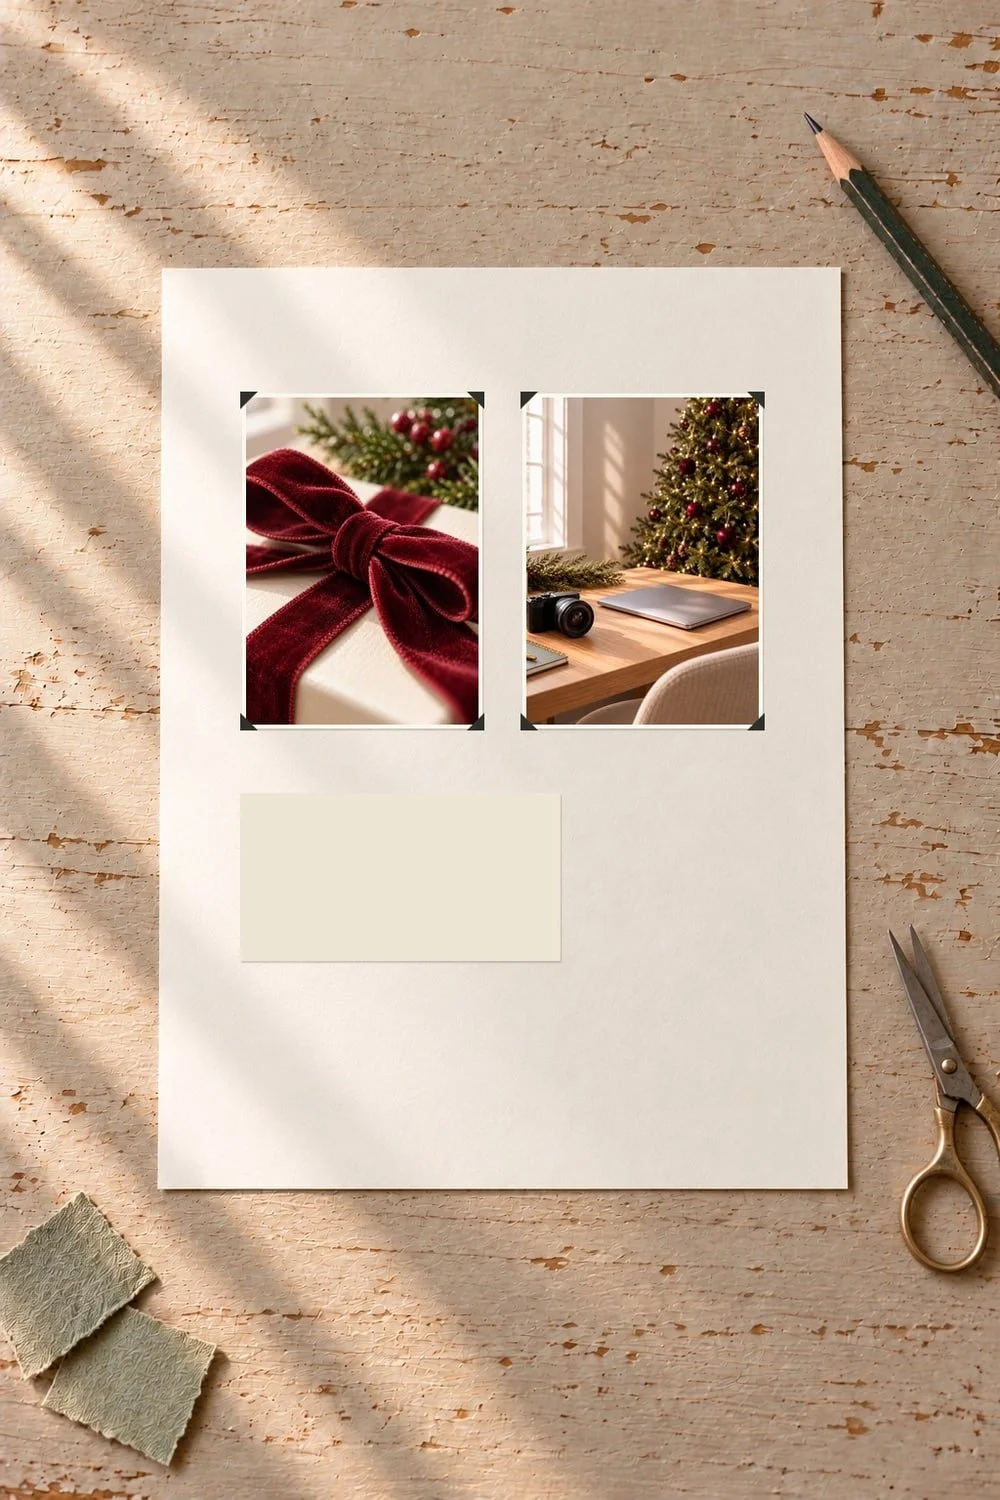
Place two three-by-four-inch portrait photos side by side. Add one note below them to connect the moments.
Choose images that show two parts of the same event or activity. One could show paper and scissors before a craft night. The other could show the finished cards. Two photos from different angles can also work when each adds a detail.
Start the first photo one inch from the left edge and one and a half inches from the top. Start the second four and a half inches from the left edge, at the same height. Each photo is three inches across and four inches down.
This leaves a half-inch gap between the prints. The second photo ends seven and a half inches from the left edge, leaving a one-inch right margin. Both lower edges sit five and a half inches from the top.
Place a four-by-two-inch note block below the pair. Start it one inch from the left edge and six and a quarter inches from the top. You can write directly on the page in that space or attach a separate piece of paper.
Before attaching anything, look at the photos together. Check that the sizes and orientation match your plan. If an important part of a photo needs more space, use the one-photo layout for that image instead.
Your note can say what changed between the pictures. You might name the colors you chose, the thing you finished or the friend who taught you a step. Use the details you remember, and leave out any date or story you are unsure about.
Layout three: a landscape photo with a keepsake pocket
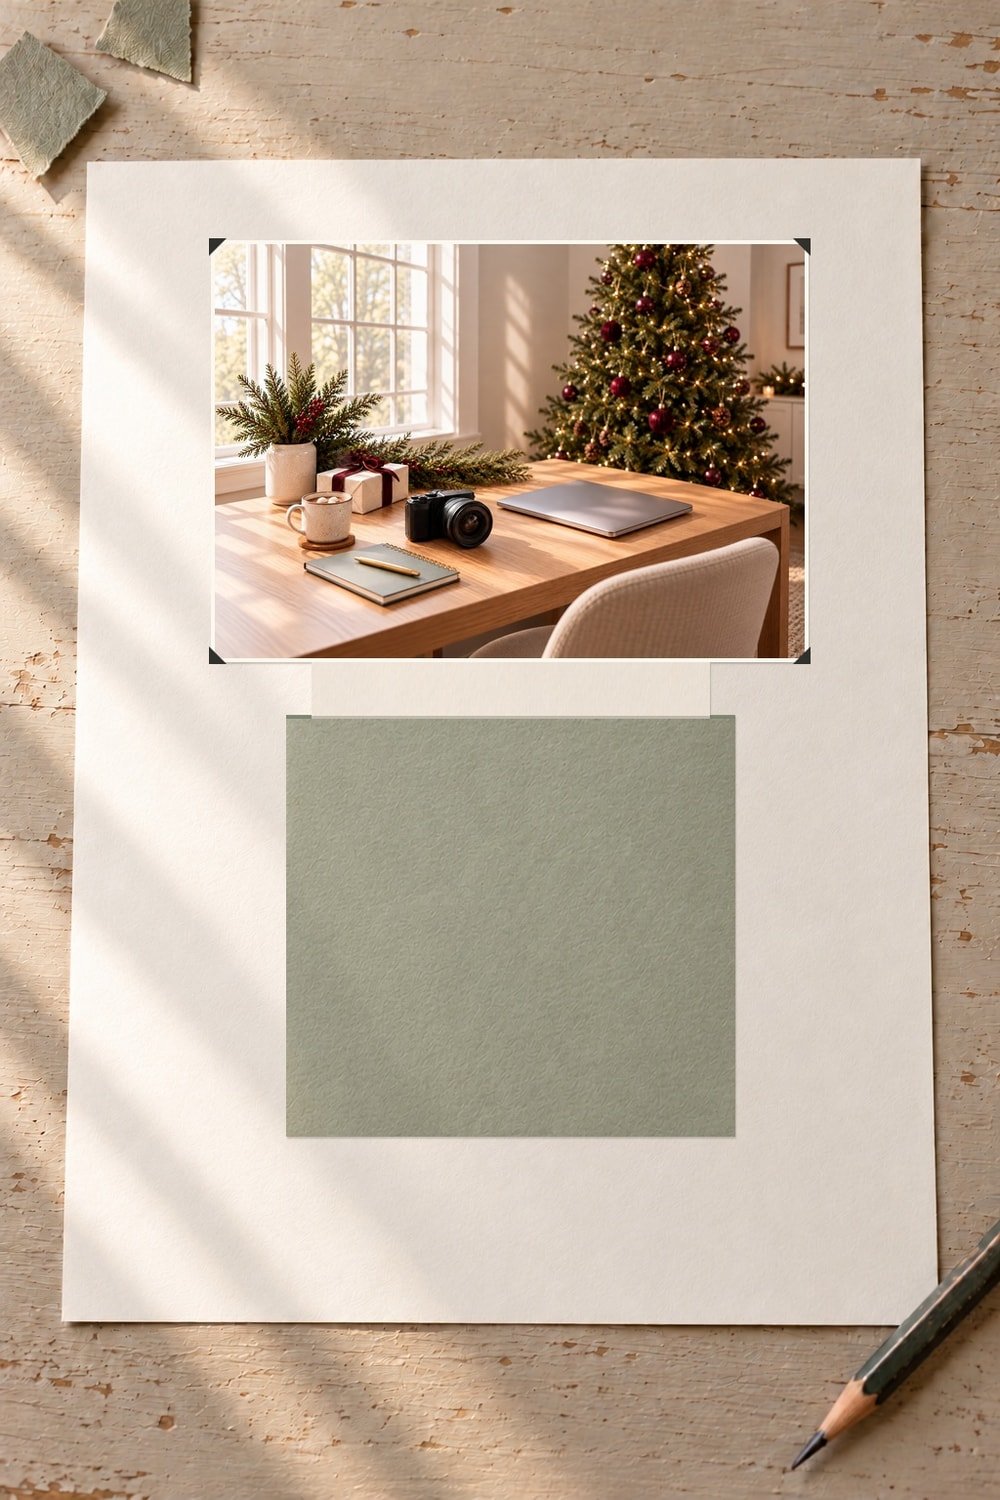
Put a six-by-four-inch landscape photo above a small open-top pocket. The pocket gives a flat note or paper copy a place on the page without gluing that item down.
Start the photo one and a quarter inches from the left edge and three quarters of an inch from the top. Its lower edge ends four and three quarters inches from the top. Keep it loose while you build the pocket below.
To make the pocket, cut paper five and a half inches across and four and a half inches down. On the back, draw a half-inch tab along the left edge, right edge and bottom. Leave the top edge without a tab.
At each bottom corner, cut out the small half-inch square where the side and bottom tabs cross. Fold the three tabs behind the front of the pocket. The front now measures four and a half inches across and four inches down.
Place the pocket's upper-left corner two inches from the page's left edge and five and a quarter inches from the top. Its bottom ends nine and a quarter inches from the top, leaving room below it.
Apply glue only to the three folded tabs, then attach them to the page. Keep the upper edge open. Follow the glue's drying directions before testing the pocket with a paper scrap.
When it is ready, slide in a flat four-by-three-inch keepsake copy. You can let part of it show above the pocket's opening. Check that it moves in and out without catching on glue. Do not force in a larger card or a bulky item.
Add a short note beside or above the pocket if you want to explain what it holds. You can write on the keepsake's copy too. Keep the original somewhere suitable if it has value or personal meaning you want to protect.
Add details from the Christmas you are having
Use a small set of colors and details that come from your own season. A paper scrap from a card night or a copy of a note can be part of the page.
You can start with the colors already in your photos. Pick one or two of them for the paper pieces. If you like a fuller page, try extra scraps while everything is loose, then check whether the photo and note still have room.
For a page about a gathering, you can ask each friend for one detail they want included. Keep their words private unless they agree to share them. You do not need a quotation or a long written reflection to finish the layout.
If you want a plan that could give you a new memory to save, small traditions with friends offers a few choices. You can also make a page from something you already enjoyed this week.
Check the page before putting it away
Check that every piece is secure, the glue has set and the page fits your chosen storage. Turn it gently to see whether a corner lifts or a loose item slides out.
For help choosing storage materials, see the National Archives guide to storing paper keepsakes.
If you use a page protector, measure it before putting the finished page inside. A raised pocket or thick paper stack may need more room. Keep the pocket opening clear if you want to take the keepsake out later.
Store pages somewhere dry and away from direct light. Follow the storage guidance for the paper, prints and album you use. Keep digital copies of photos you want to retain.
You can begin with one sheet and one photo. The next page can wait until you find another moment you want to keep.
