
Curly braided hairstyles can keep most of your curls loose while adding a small braid at the front, side or back. Two front braids work when you want your hair down. A half-up braid holds the front back. Low braids with curly tails gather more of your hair while leaving the ends free.
These six looks use your own hair, a few hair ties and bobby pins. Each starts with a three-strand braid, so you can change the placement without learning a new braid every time. Some suit a curly bob. Others need enough length to reach the back of your head or gather at your neck.
Two extra examples show a half-up braid on looser copper curls and a side braid beside tighter coils.
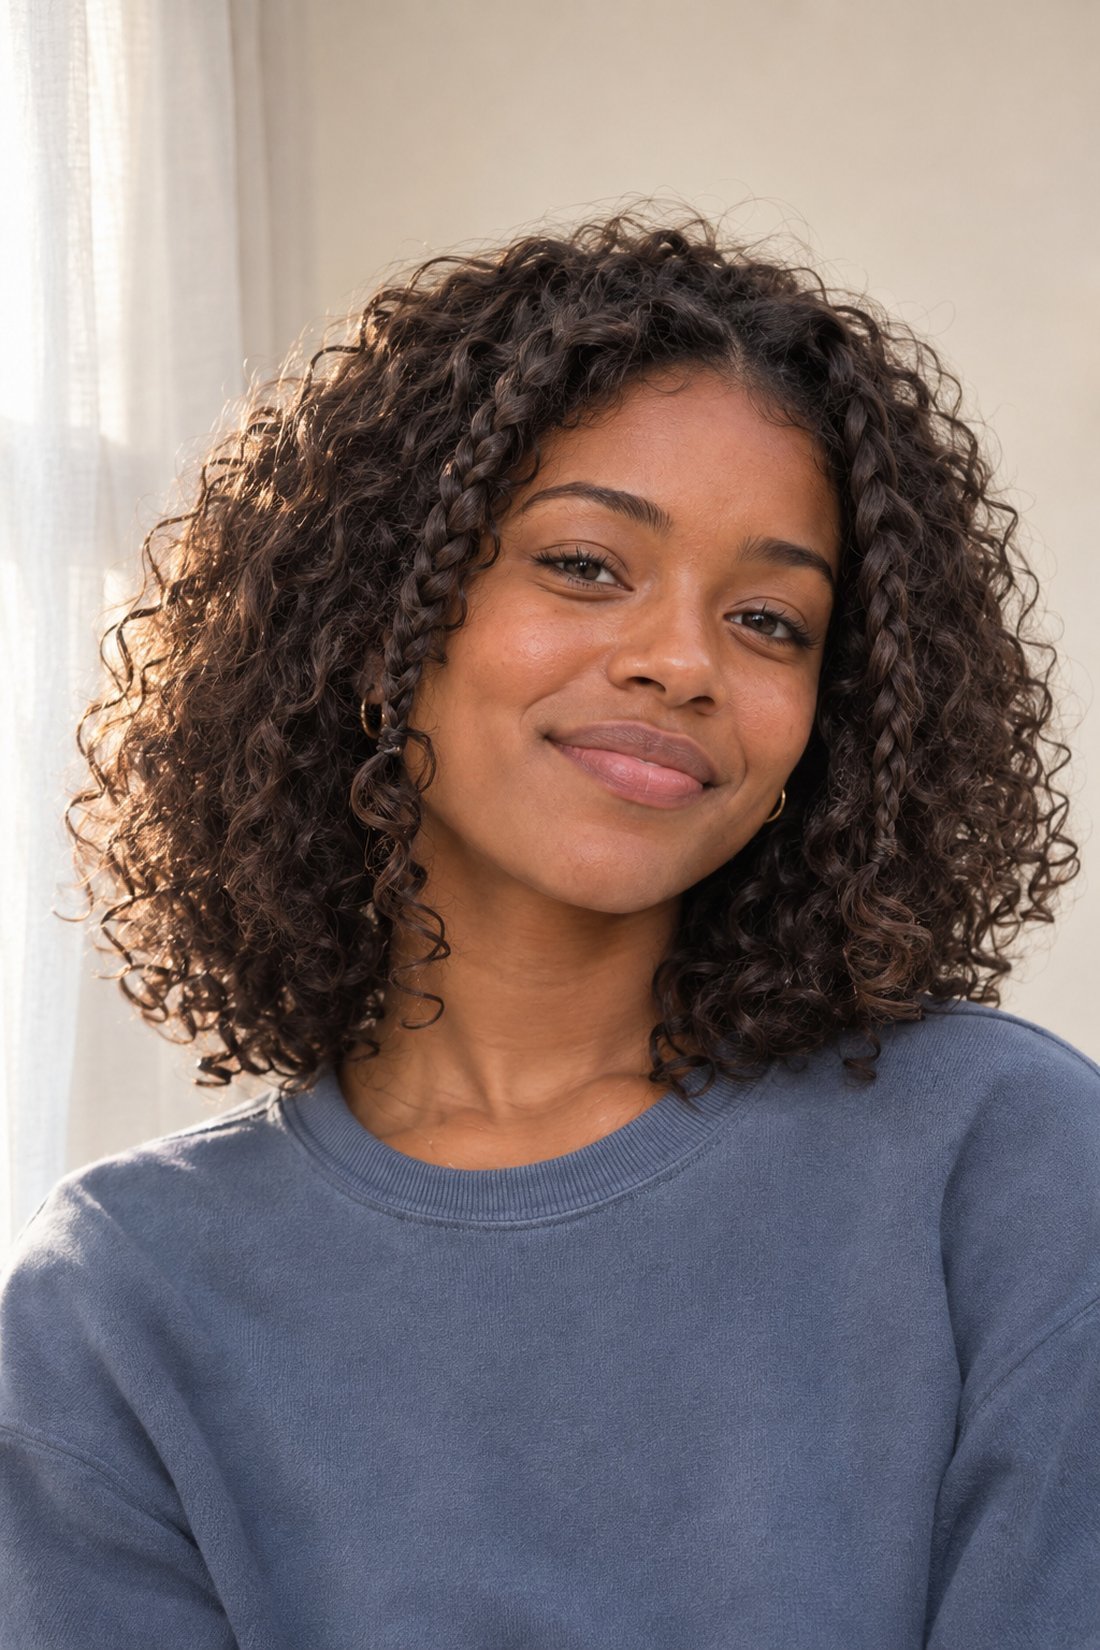
Prep the sections you plan to braid
Start with curls you can separate gently, then work on the small sections you'll braid. The rest of your hair can keep its shape. There's no need to brush out a whole head of curls to make two tiny braids.
If a section needs detangling, dampen it and use your usual leave-in conditioner as directed. The American Academy of Dermatology's care tips for curly hair recommend working through wet, conditioned hair in sections with your fingers or a wide-tooth comb. That gives you a starting point when curls have tangled together.
Set out a few small hair ties, bobby pins and a clip to hold other hair aside. A second mirror helps with the back. If you like to style after washing, our setup for a hair-wash routine has ideas for keeping your comb, towel and styling things within reach.
For each braid, divide one section into three smaller strands. Cross the right strand over the middle, then the left strand over the new middle. Repeat that pattern down the section. Pause to separate the loose ends when they wind around one another. Curls sometimes try to join the braid before you've invited them.
1. Two front braids with the rest left curly
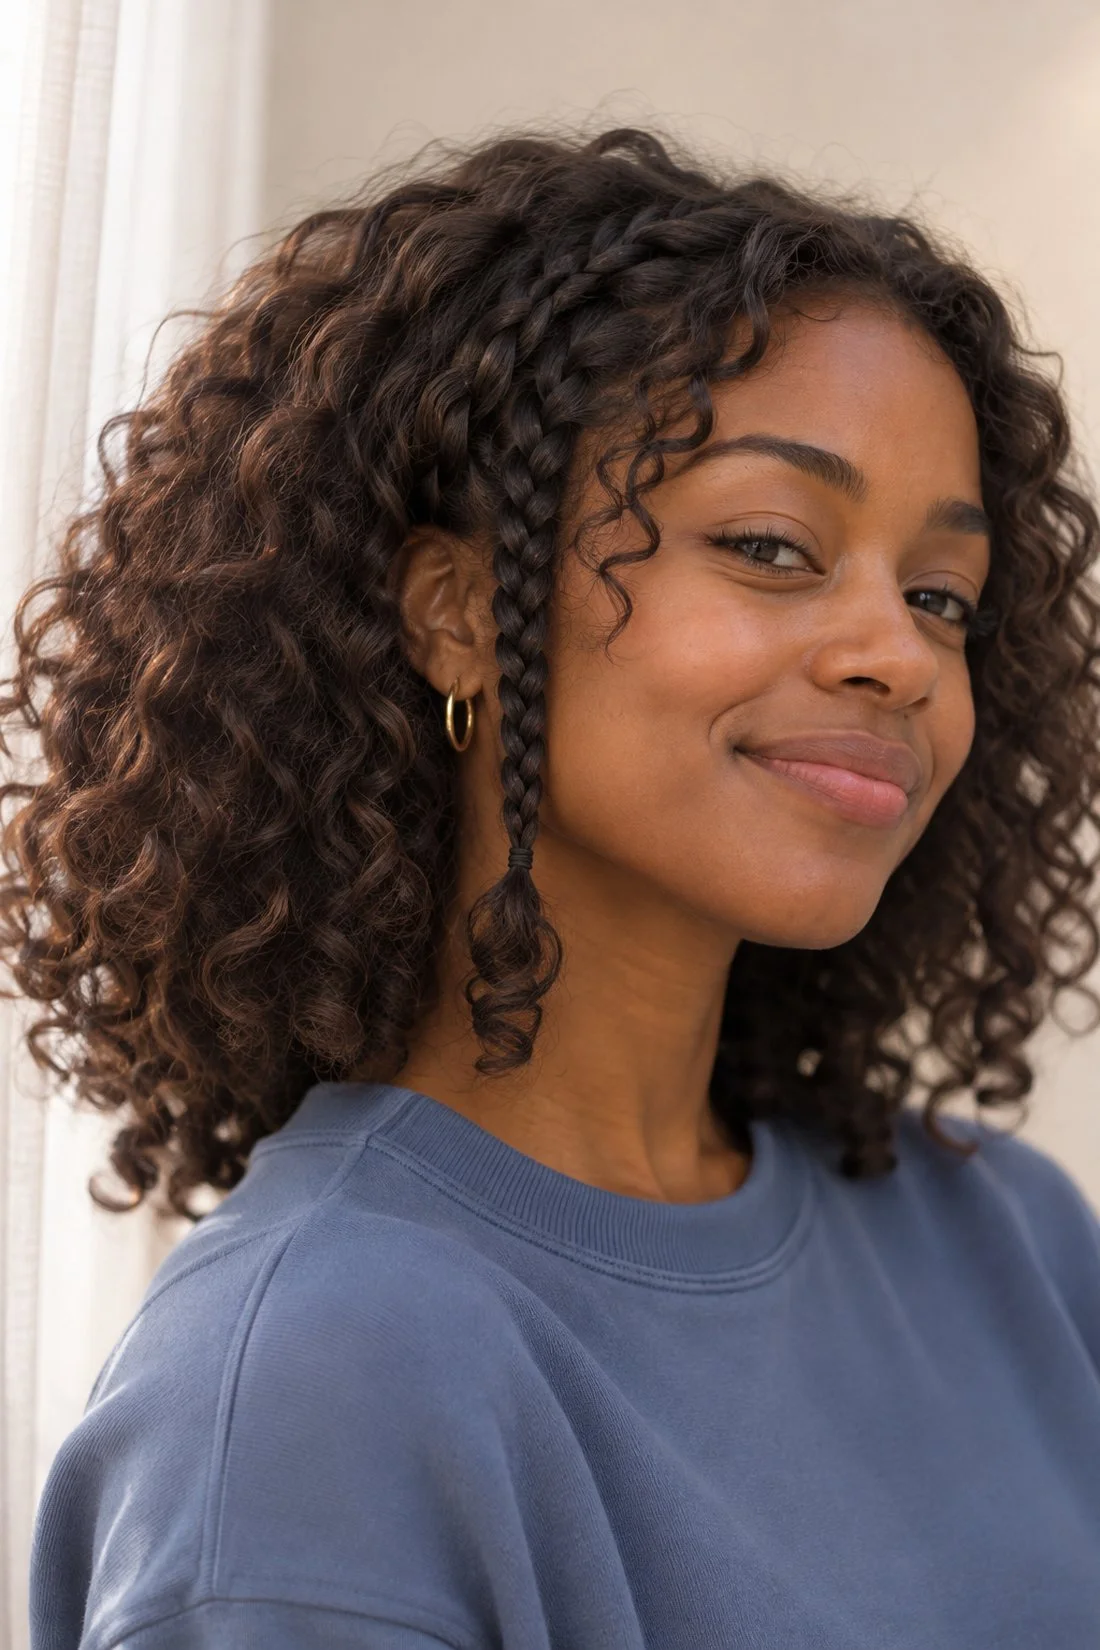
Two small front braids frame your face while leaving nearly all your curls down. This is a fitting first choice for a curly bob or shoulder-length hair because the braids don't have to reach the back.
Choose a small section beside your part on each side. You can leave a curl at the hairline if you like that shape. Clip the nearby hair aside so you can see the section you're holding.
Divide the first section into three strands and braid downward. Stop while there's still a short curly end below your fingers, then secure the braid with a small hair tie. Repeat on the other side. Let both braids fall among the loose curls.
The braid size changes the look. Thin braids give you two small lines through the curls. Slightly wider sections show more of the woven shape. Start small if you want to see how much hair you'd like to pull away from your face.
A middle part makes the pair more even. A side part can work too, with one braid sitting closer to the temple. They can follow the way your hair already falls.
2. Two braids joined in a half-up style
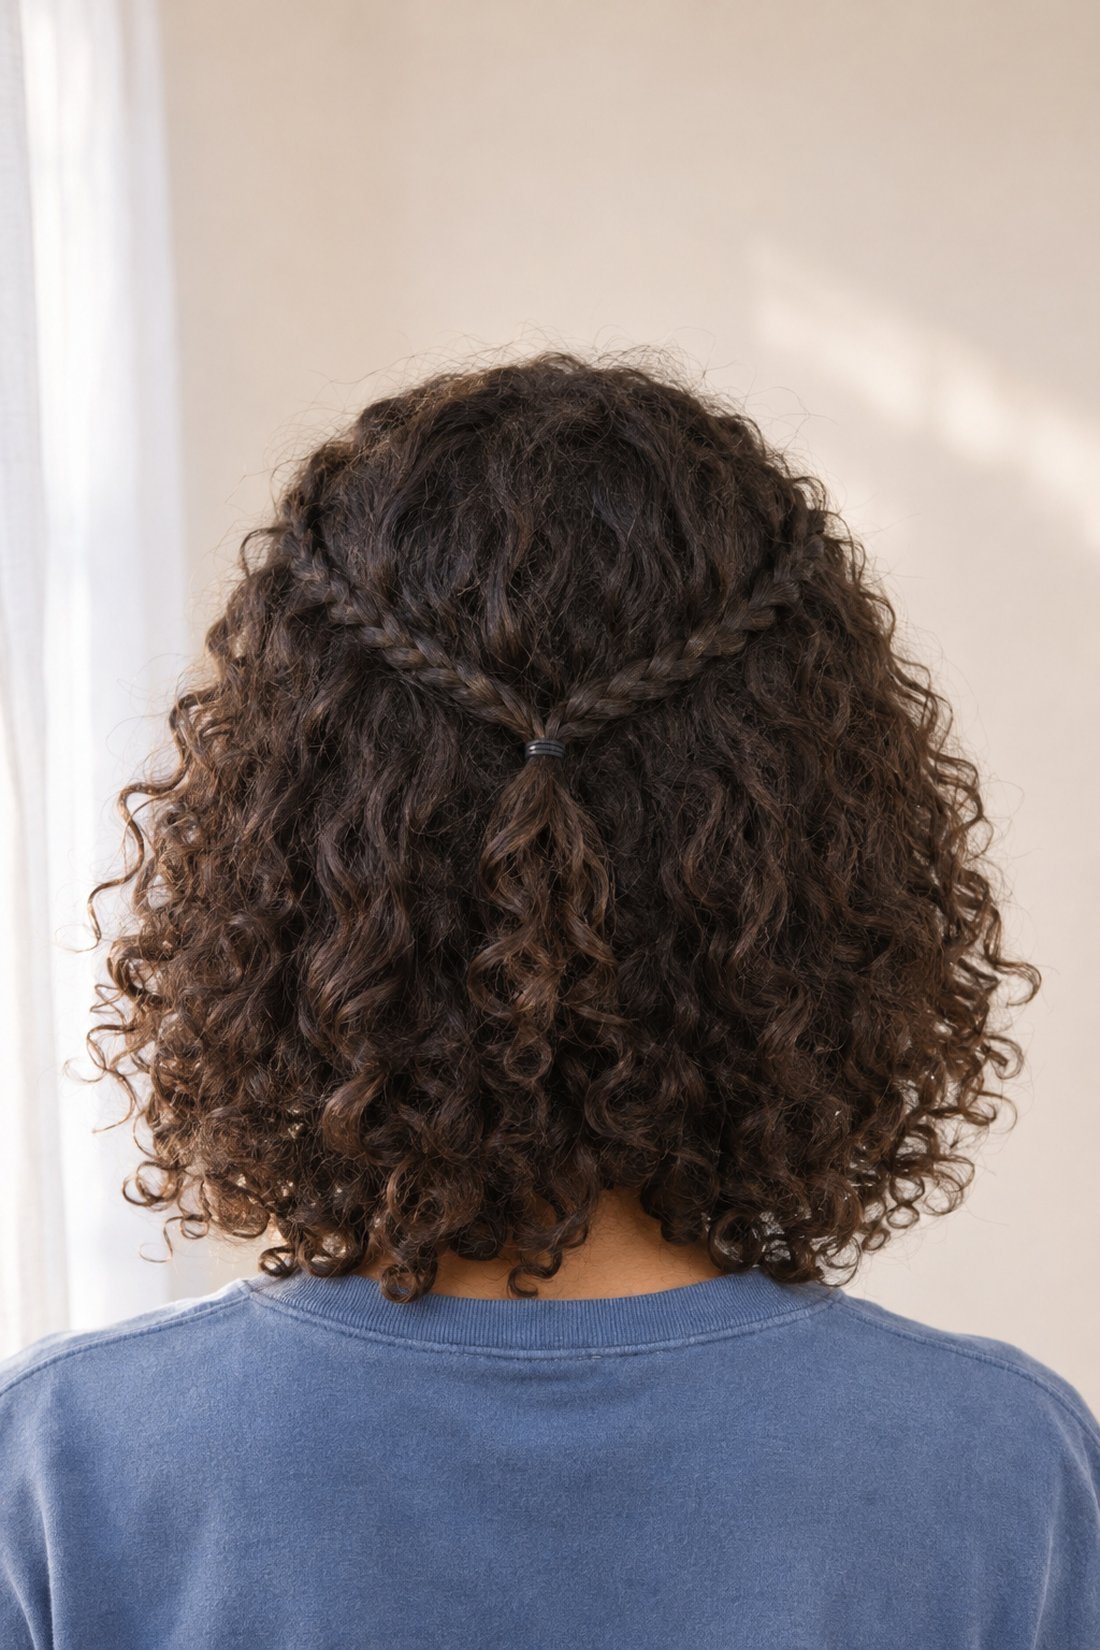
Join two small side braids behind your head to hold the front back and keep the lower curls loose. This works when those side sections are long enough to meet at the back without pulling.
Take a section near each temple. Braid one toward the back, following the path where you want it to sit. Secure it for a moment, then braid the other side. Keep the lower half of your hair out of both sections.
Bring the braids together behind your head. Fasten them with one small tie, then remove any temporary ties below the join. The two loose ends become a little curly tail over the rest of your hair.
If your side sections don't meet, pin each braid behind its own ear instead. That keeps the front held back and lets you use the length you have. Short layers can sit loose around the face.
Before fixing the join, look at where it lands. A higher join lifts the side sections. A lower one follows the curve above your ears. Choose the position that feels good and leaves the curls underneath free to fall.
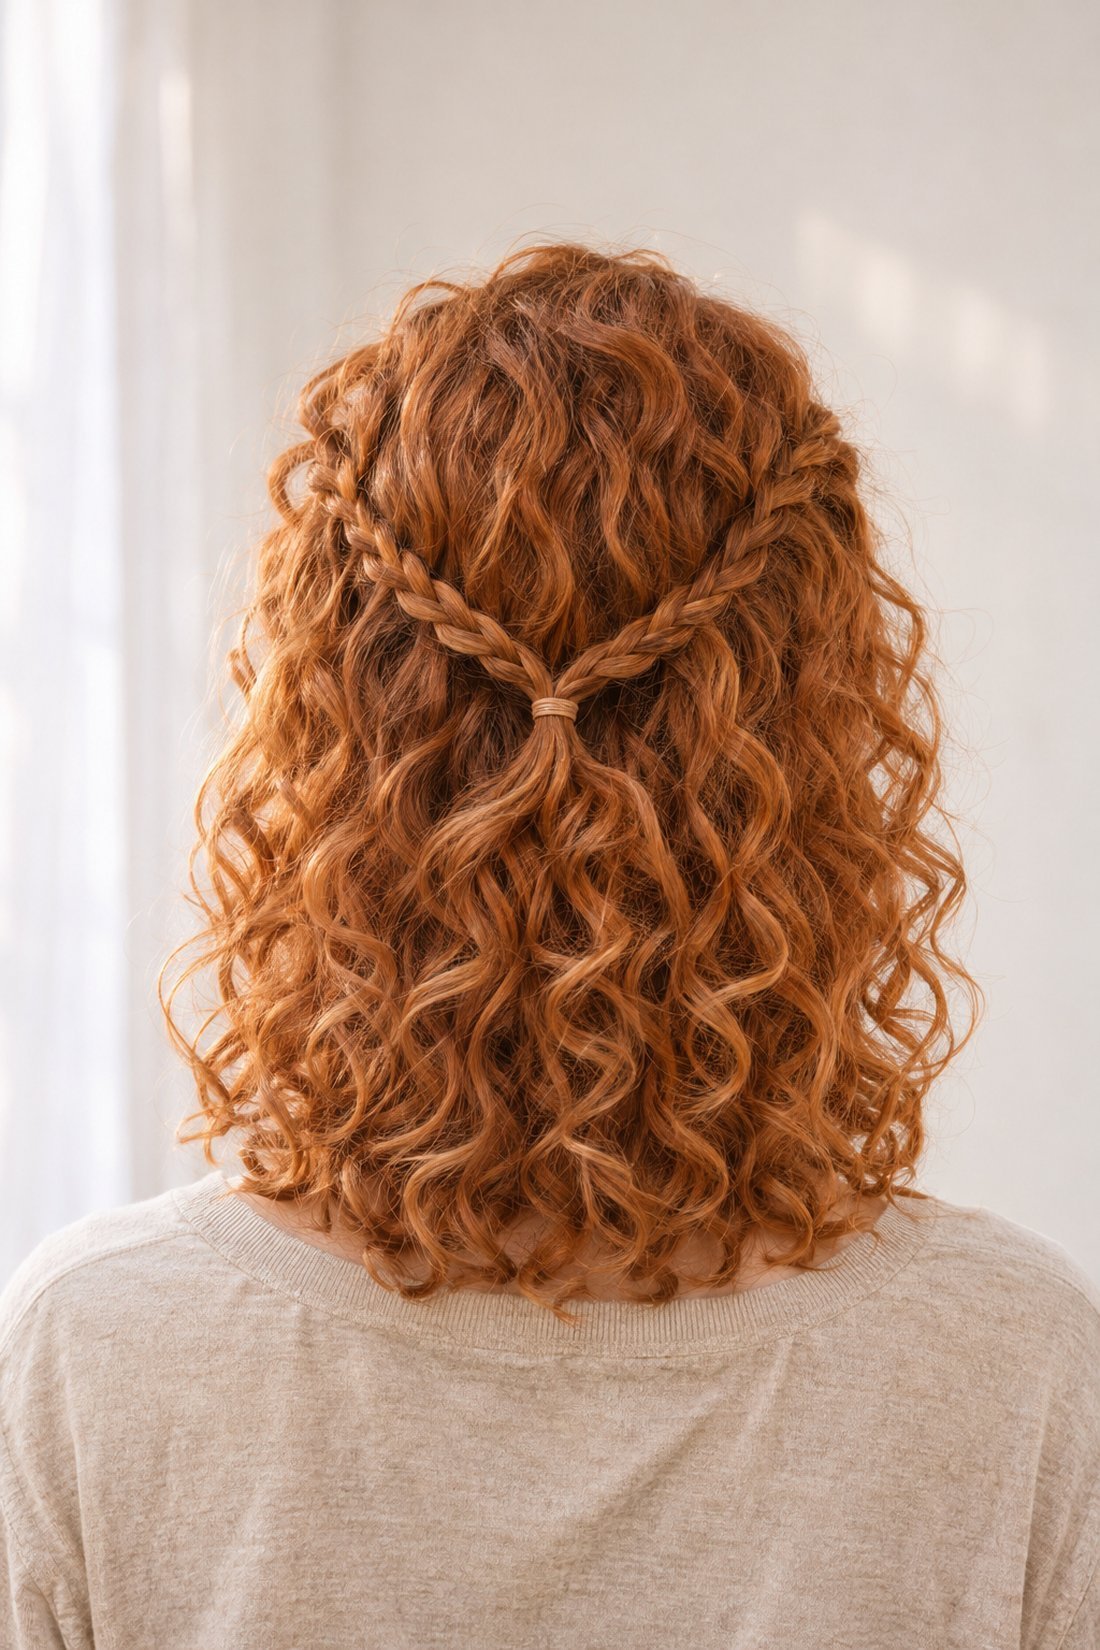
A half-up braid on looser curls
Two small braids meet at one tie in this half-up look, with the longer copper curls left loose below. The braid follows the same steps above. Choose side sections that reach the join while leaving most of the lower hair down.
3. A side accent braid tucked above the ear
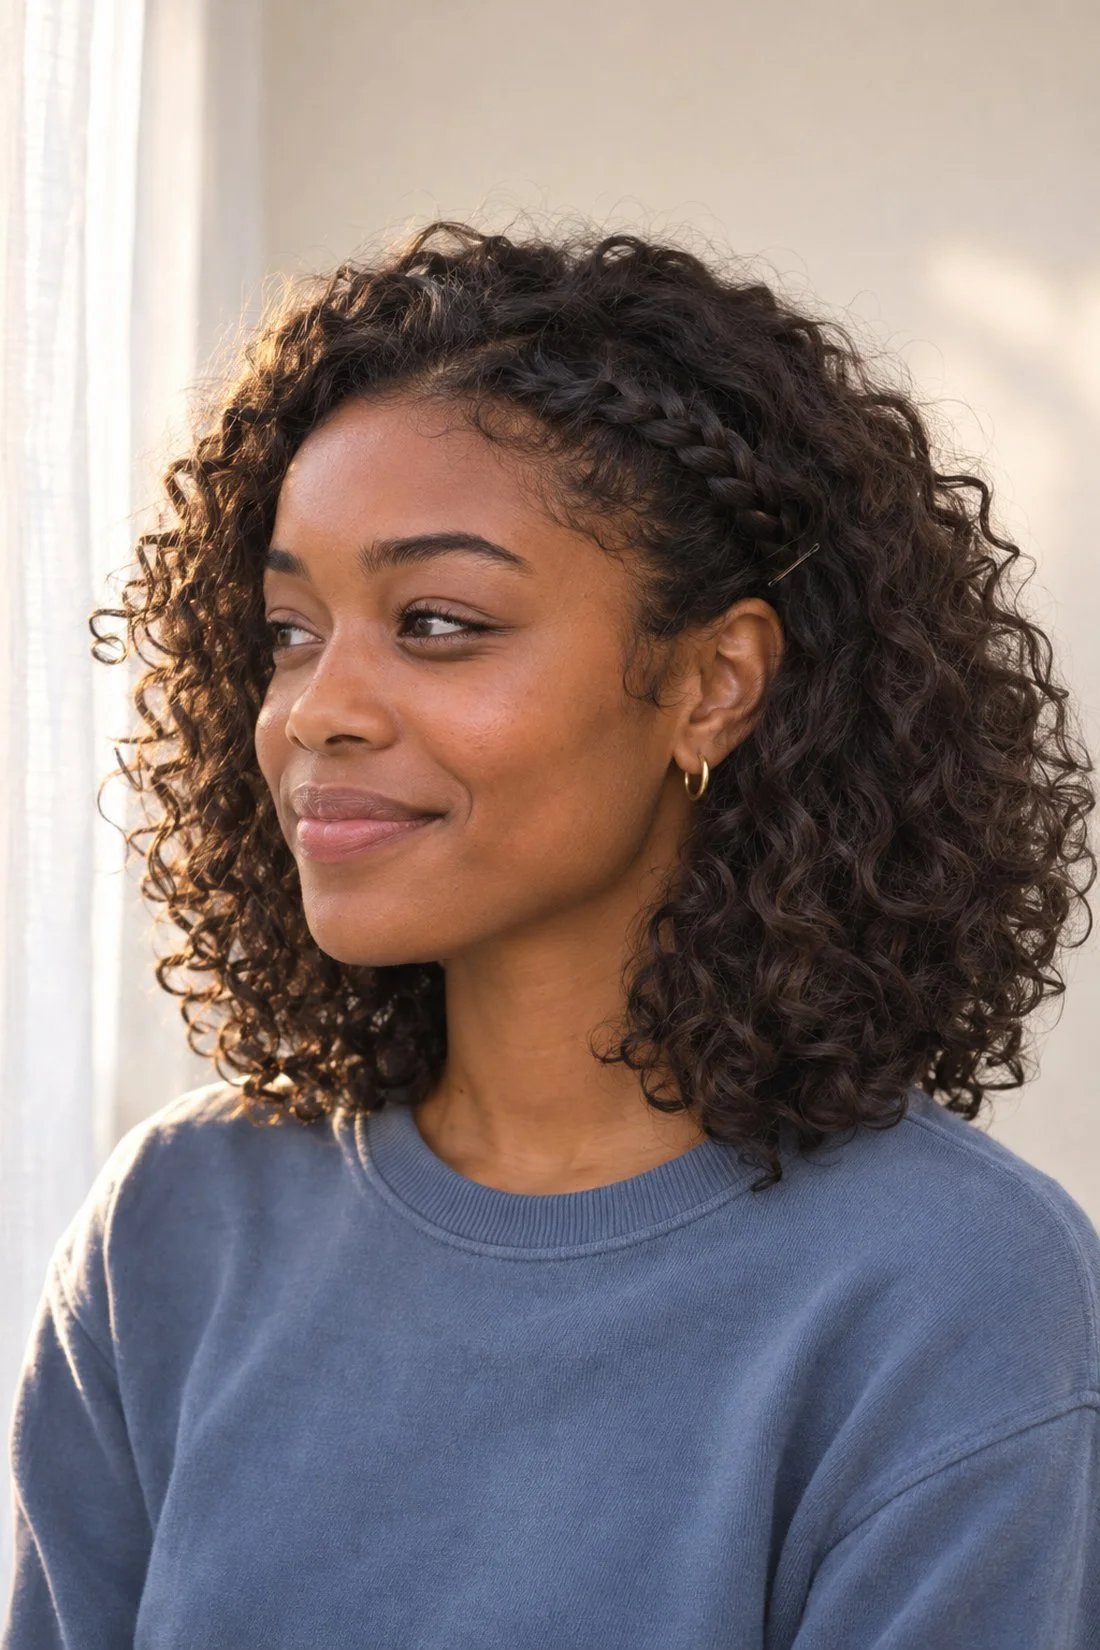
One small braid on the side adds detail to a curly bob or longer hair. The braid follows a short path from your temple toward your ear, so you can keep the other side full.
Choose the side you'd like to hold back. Take a narrow section near the temple and separate it from the curls below. Braid it toward the ear, crossing the outside strands over the middle as you go.
Secure the end, then tuck it under a nearby curl. A bobby pin can hold it in place. Let some loose hair fall over the pin so the braid appears to disappear into your curls.
You can leave the braid close to your face or place it farther back. The front placement shows more of the braid when you look straight ahead. A section above the ear gives a clearer side view.
This is also a useful choice when a few short pieces keep falling forward. Our hairstyles for a breezy day offers other ways to hold those pieces with small clips or a half-up style.
A side braid beside tighter coils
A small side braid can sit beside tighter coils, too. Take a narrow section near the temple, braid it, then pin it above the ear. The rest of the coils can stay loose around it.
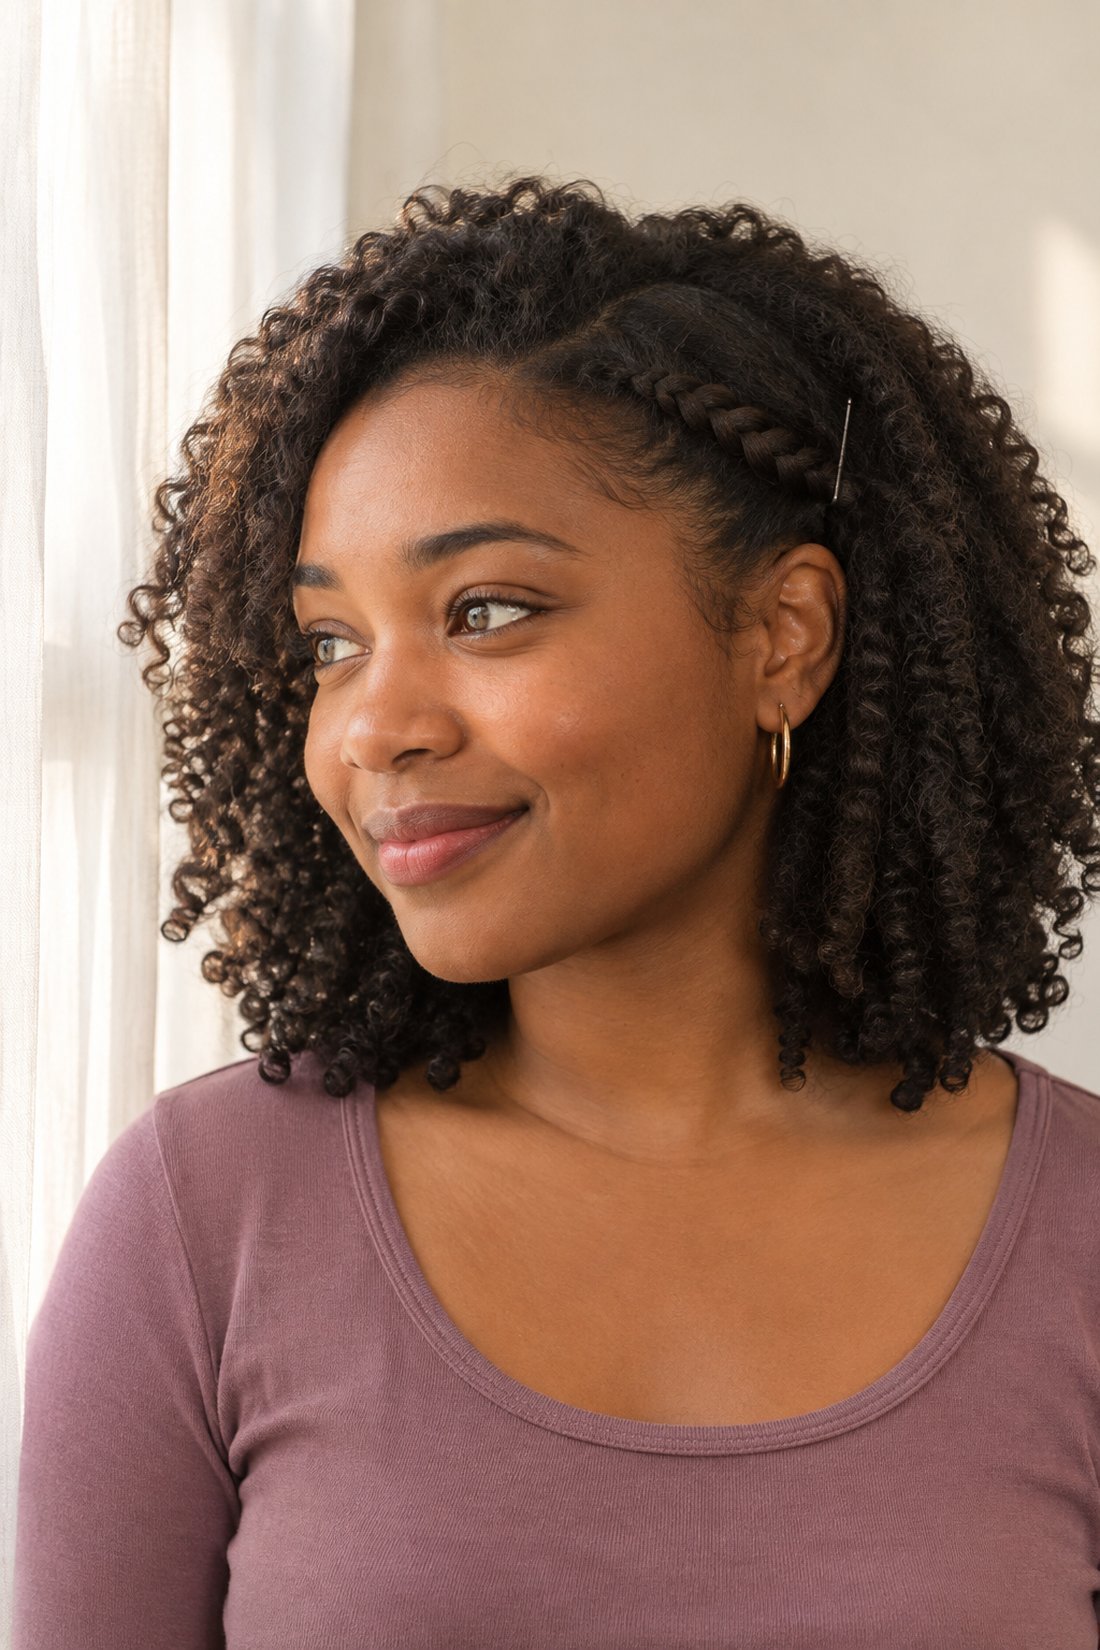
4. Two low braids with curly tails
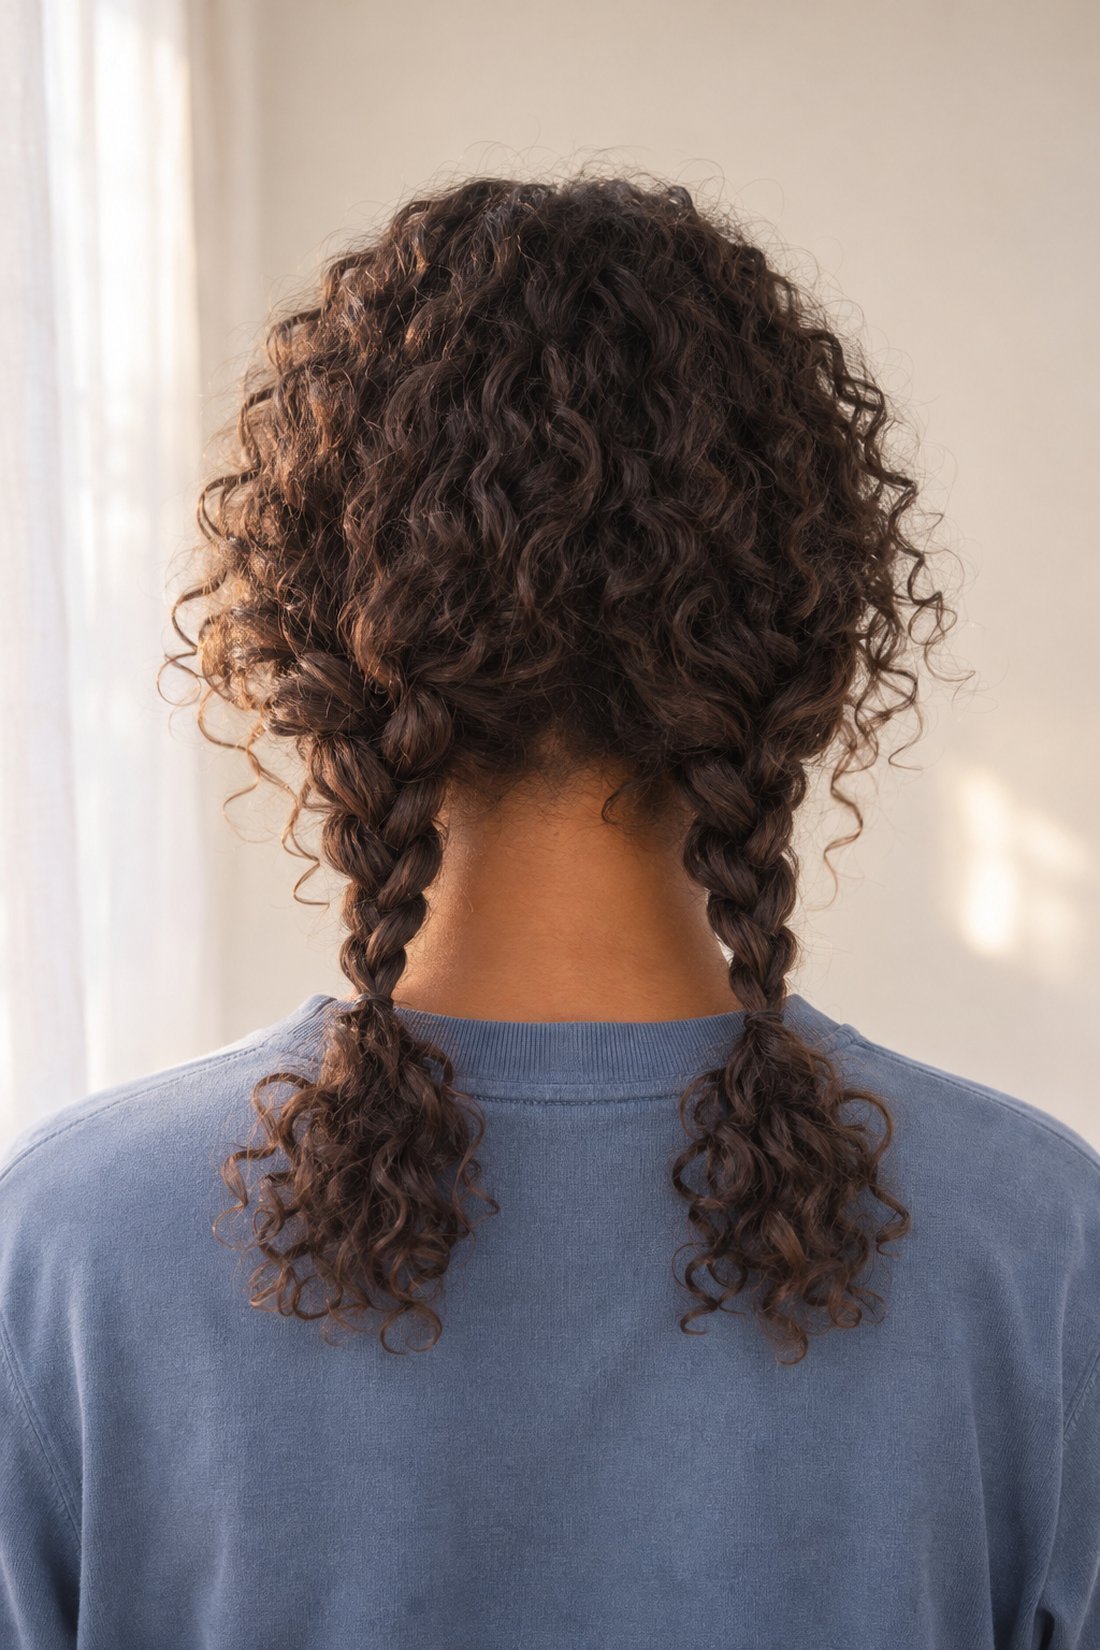
Two low braids gather your hair into a pair of plaits while leaving a few inches of curls loose at the ends. You'll need enough hair on each side to gather near your neck and cross the strands several times.
Part your hair down the middle or follow your usual part. Bring one half forward over your shoulder if that helps you see your hands. Divide it into three sections and start braiding below the ear.
Stop higher than you would for a braid that runs to the ends. Secure the woven part and let the remaining curls form a tail. Repeat on the other side, using the first tail as a guide for where to stop.
Choose covered ties made for hair. The AAD's guide to gentle hair styling recommends covered bands and loosely pulled-back styles. The ties should hold the braids where you placed them.
On shoulder-length hair, the woven section may be short. Longer hair gives you room for more crossings and a larger curly tail. Let the amount of hair in your hands decide where the braid ends.
5. Two side braids pinned back
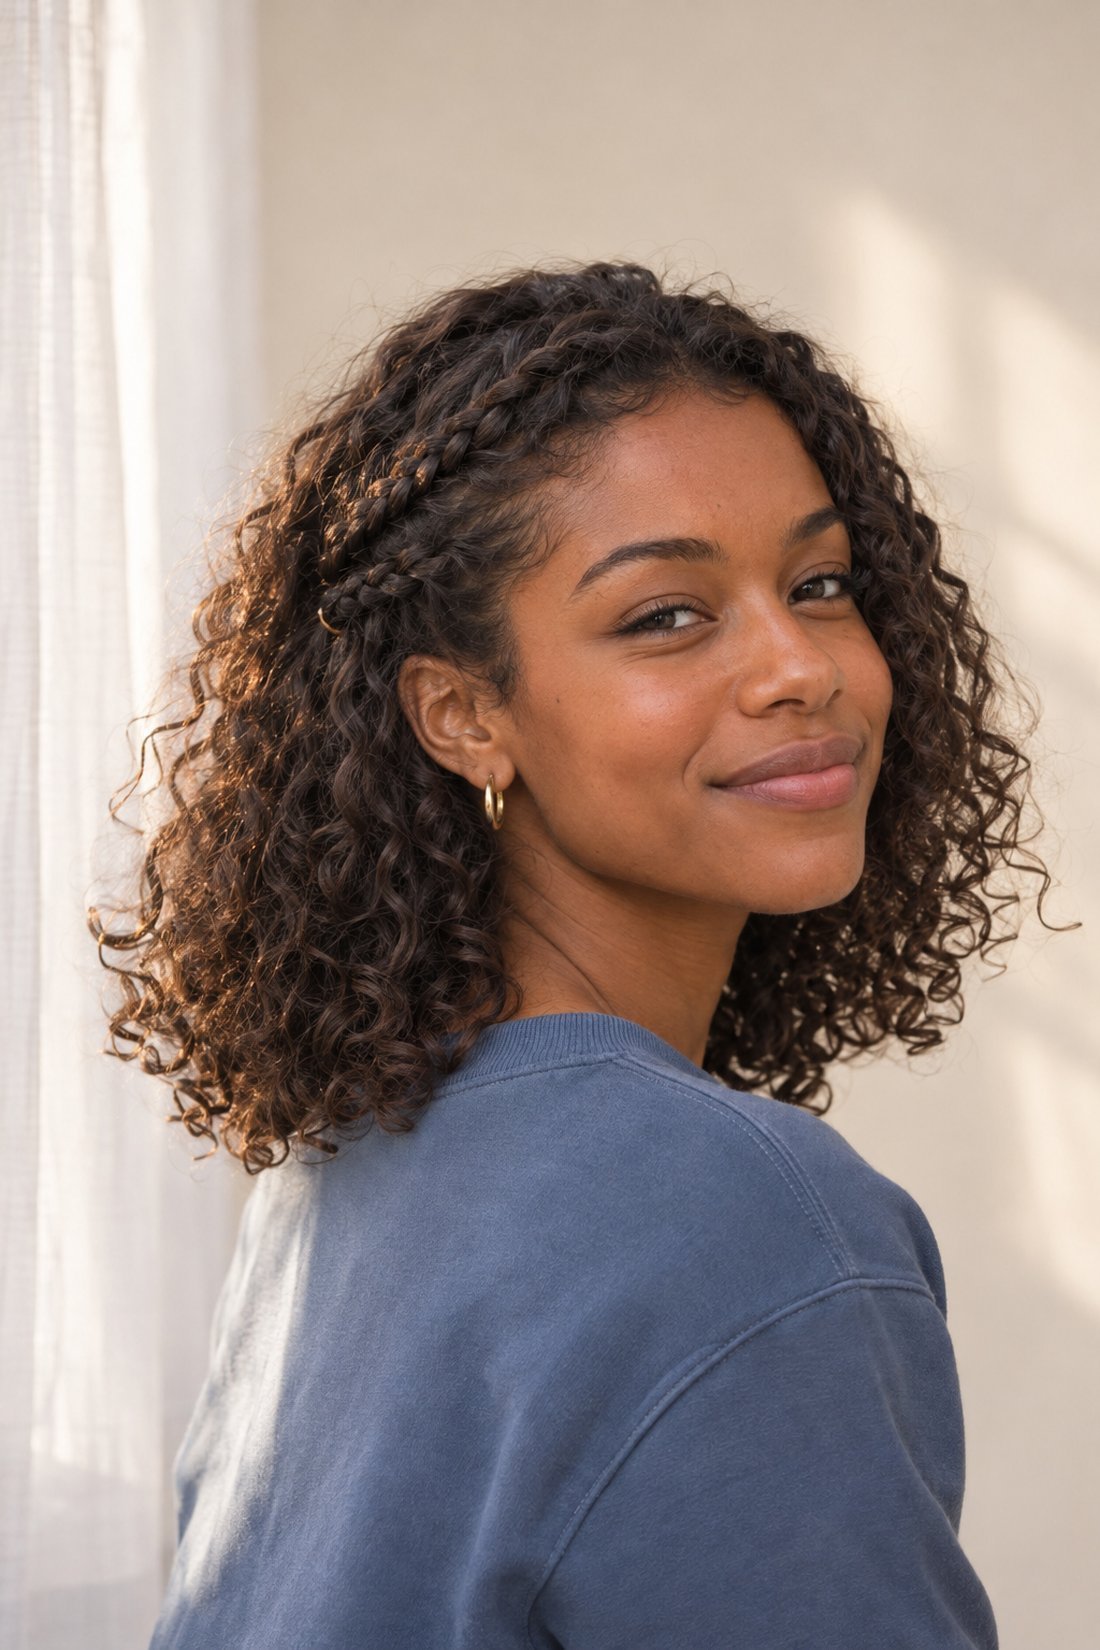
Two slim braids can sit beside each other above one ear, with their ends pinned into the loose curls. This gives you a double-braid detail when your hair is too short for the joined half-up style.
Choose a side, then separate two narrow sections near that temple. Clip one aside while you divide the other into three strands. Braid toward the back, following the line above your ear. Stop where the section gets short, then secure the end with a small tie.
Tuck the end under a curl and pin it on that same side. Braid the second section along a nearby path and pin its end separately. Both braids sit on one side, with the other side left loose.
Keep the sections narrow if you like a full shape around your head. Leave a small gap between them so you can see each braid. A few short curls can stay beside your cheek.
Check each braid from the side as you place its pin. You can hide the ends in the curls or let a small curly tail sit below each pin. This is a pair of short side details, so neither braid needs to reach across your head.
6. A small braid into a low curly ponytail
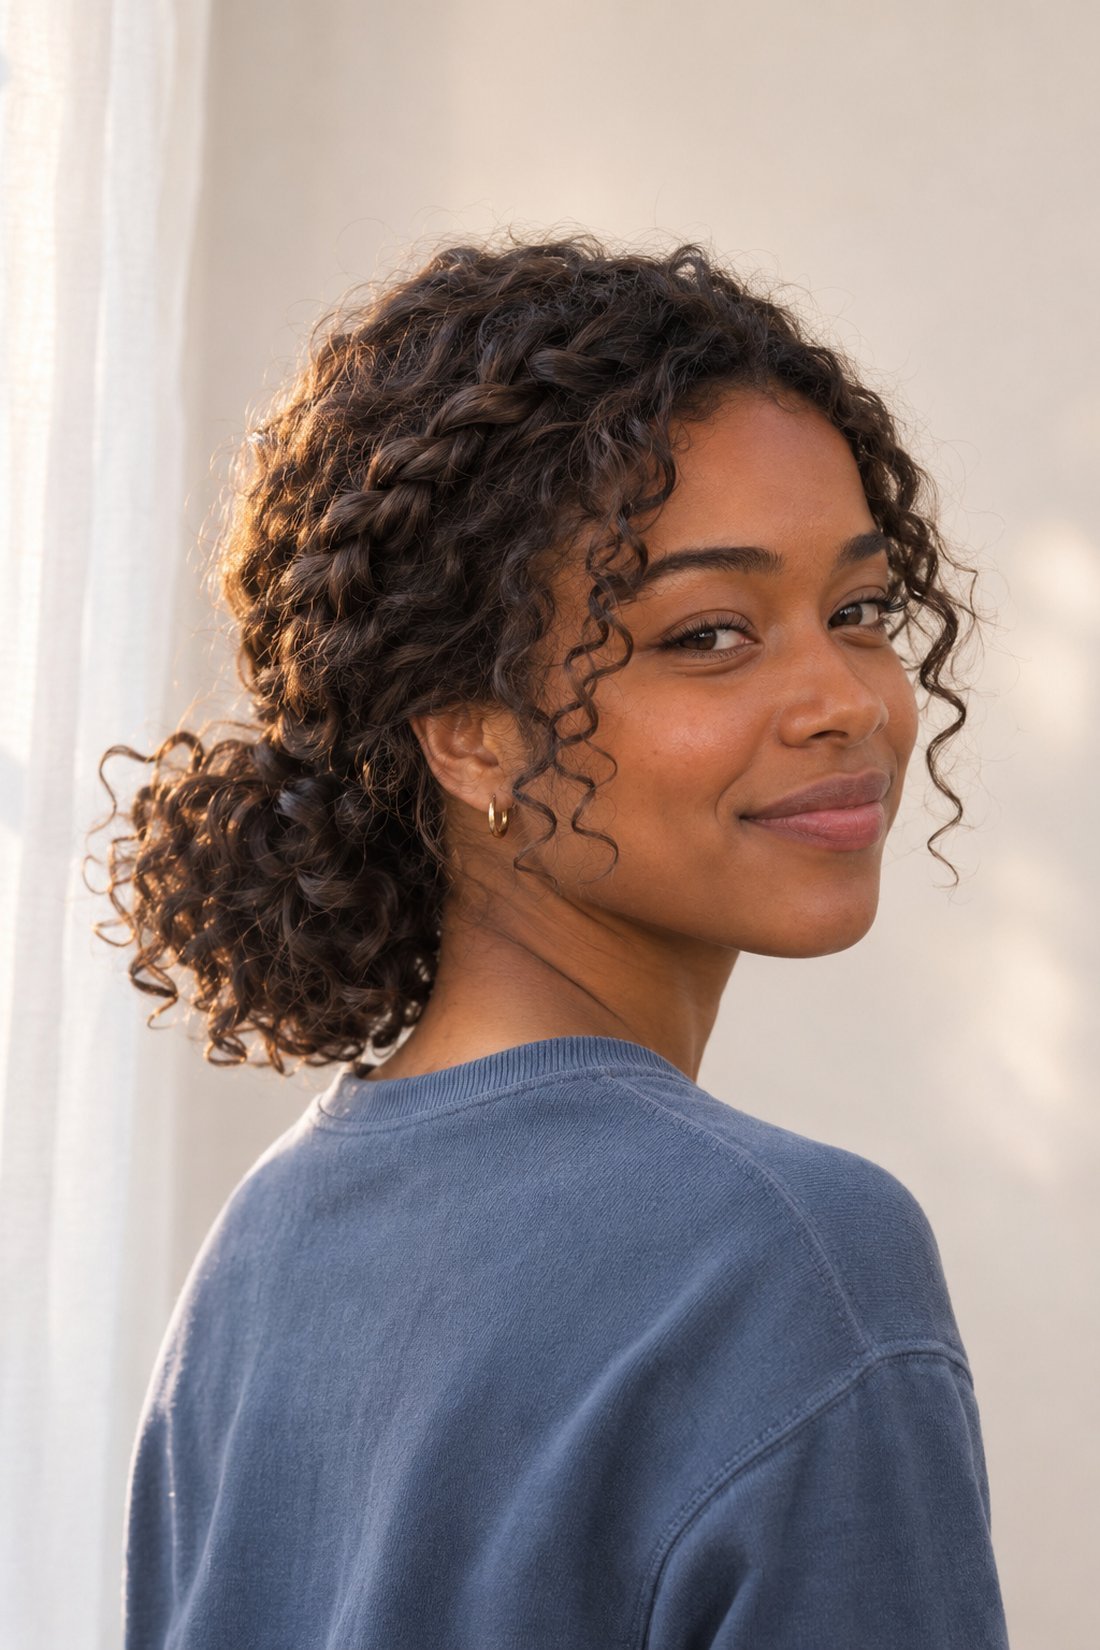
A side braid can join a low ponytail, adding detail above a loose bunch of curls. This works when your hair can gather at the nape of your neck.
Make a small braid from one temple toward the back. Secure its end while you gather the rest of your hair into a low ponytail. Use your hands to bring the curls together, keeping the shape at the top as full as you like.
Add the small braid to the ponytail and fasten everything with a covered tie. Remove the temporary tie if it sits inside the loose ponytail. The braid should run along the side before joining the gathered curls.
For shorter hair, gather only the sections that reach. A pair of side clips can hold shorter layers, or you can leave those layers around your face. The ponytail may be a small curl puff at your neck.
Look at the finished braid from the side before adding more detail. One visible braid gives the ponytail its shape. A second braid on the other side is an option when you want a matching pair.
Choose a braid around your curl length
For a curly bob, start with front braids or a side accent. Shoulder-length hair may also reach a half-up join or low pair, depending on its layers and how much it springs up. Longer hair gives you more room for wider side sections and longer curly tails.
You can test the placement with your hands before braiding. Hold the side sections behind your head, gather a low ponytail or bring one section above your ear. That quick check shows which style your current length can reach.
For the finished look, leave the parts you like visible. That might be the curl beside your cheek, the full shape at the back or the springy ends below each braid.
You Might Also Like
Layer necklaces with pieces you own
Wear a beanie with winter outfits
