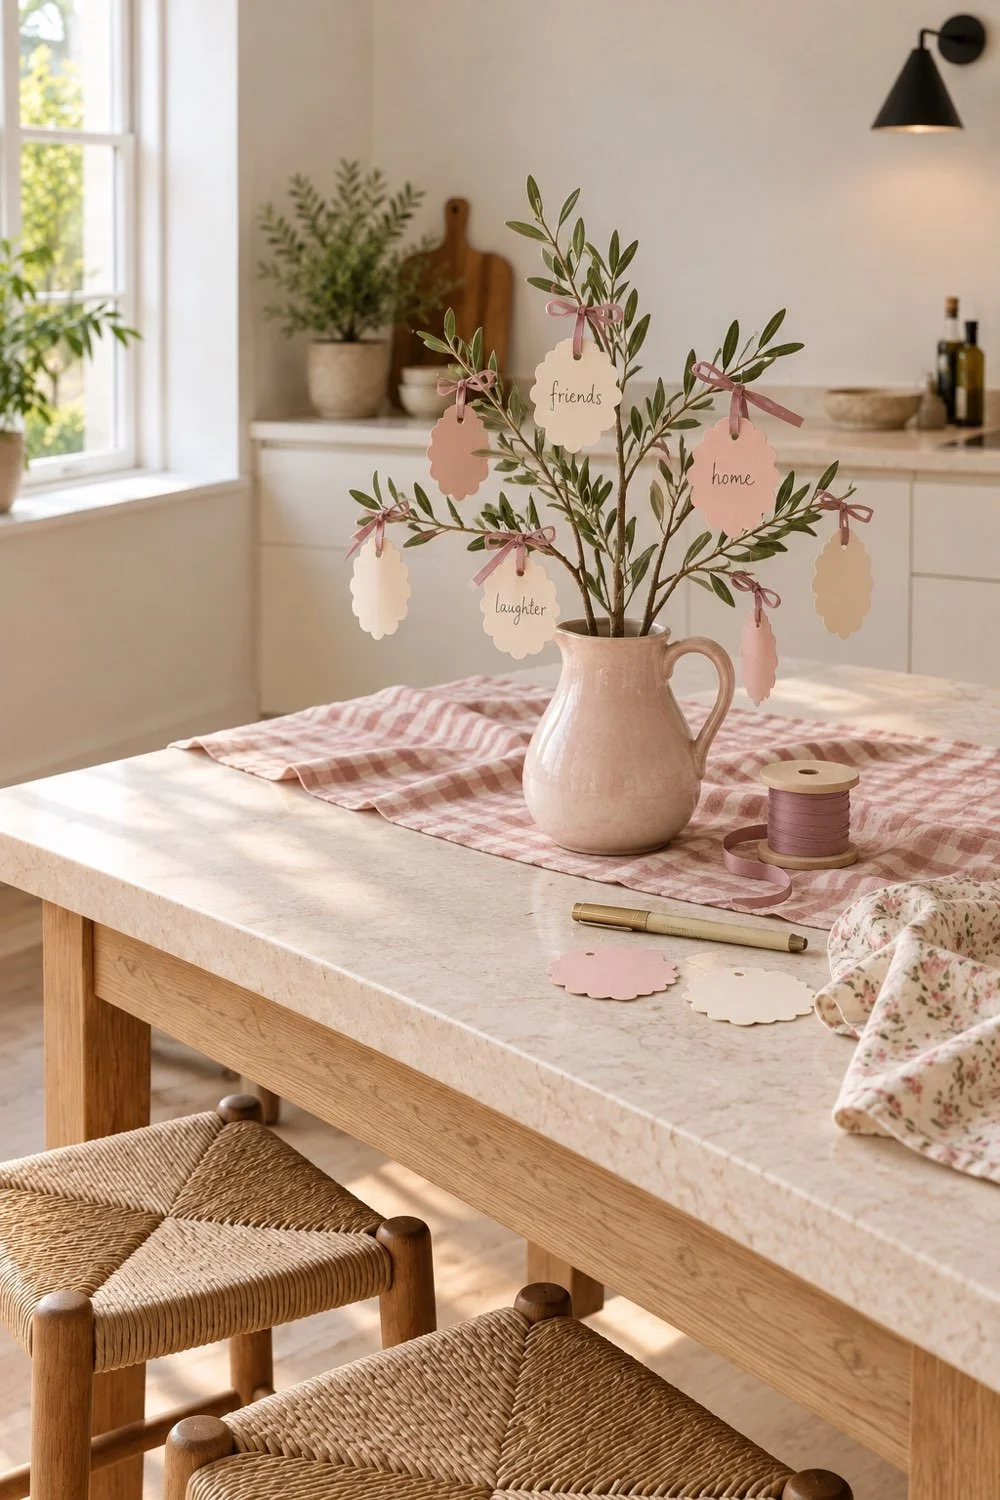
A gratitude tree craft turns a few branches, paper leaves, and ribbon into a fall centerpiece your friends can help finish. This blush-and-cream version works for a Friendsgiving table, a kitchen shelf, or a craft night before Thanksgiving.
The little paper leaves are the best part. Leave some blank, set out a pen, and let each person add a word or a small moment they're thankful for. A pink pitcher and thin mauve ribbon give the whole thing a soft fall look (and give your ribbon stash a reason to come out).
Supplies for a gratitude tree craft
For one small tabletop tree, gather:
- A sturdy pitcher or vase with a narrow opening
- Two or three clean, dry branching stems
- Two sheets of cardstock in cream and blush
- A pencil and paper scissors
- A small hole punch
- Thin ribbon or cotton string
- A pen that writes clearly on your paper
- A few small stones to steady the base, if needed
Use branches with several little offshoots. Those give you places to hang the leaves at different heights. Florist stems or branches you already have from a past display can work. If you're gathering outdoors, take only what you're allowed to collect, and leave living trees alone.
The base matters more than the height. A short, full pitcher can hold a few stems without taking over the table. Test the branches in the empty pitcher first. If it tips when you turn a stem, choose a heavier base or make the branches shorter.
For a shared craft night, put extra cardstock on a side table. Our seasonal craft ideas for your dorm has more paper-and-textile projects if your group wants to make something else, too.
Choose a shape you can cut more than once
Draw one leaf on a scrap of paper before cutting into the cardstock. A rounded oval with a pointed tip works well. For the scalloped look, draw a row of soft bumps around the outside. Keep the center wide enough for a few handwritten words.
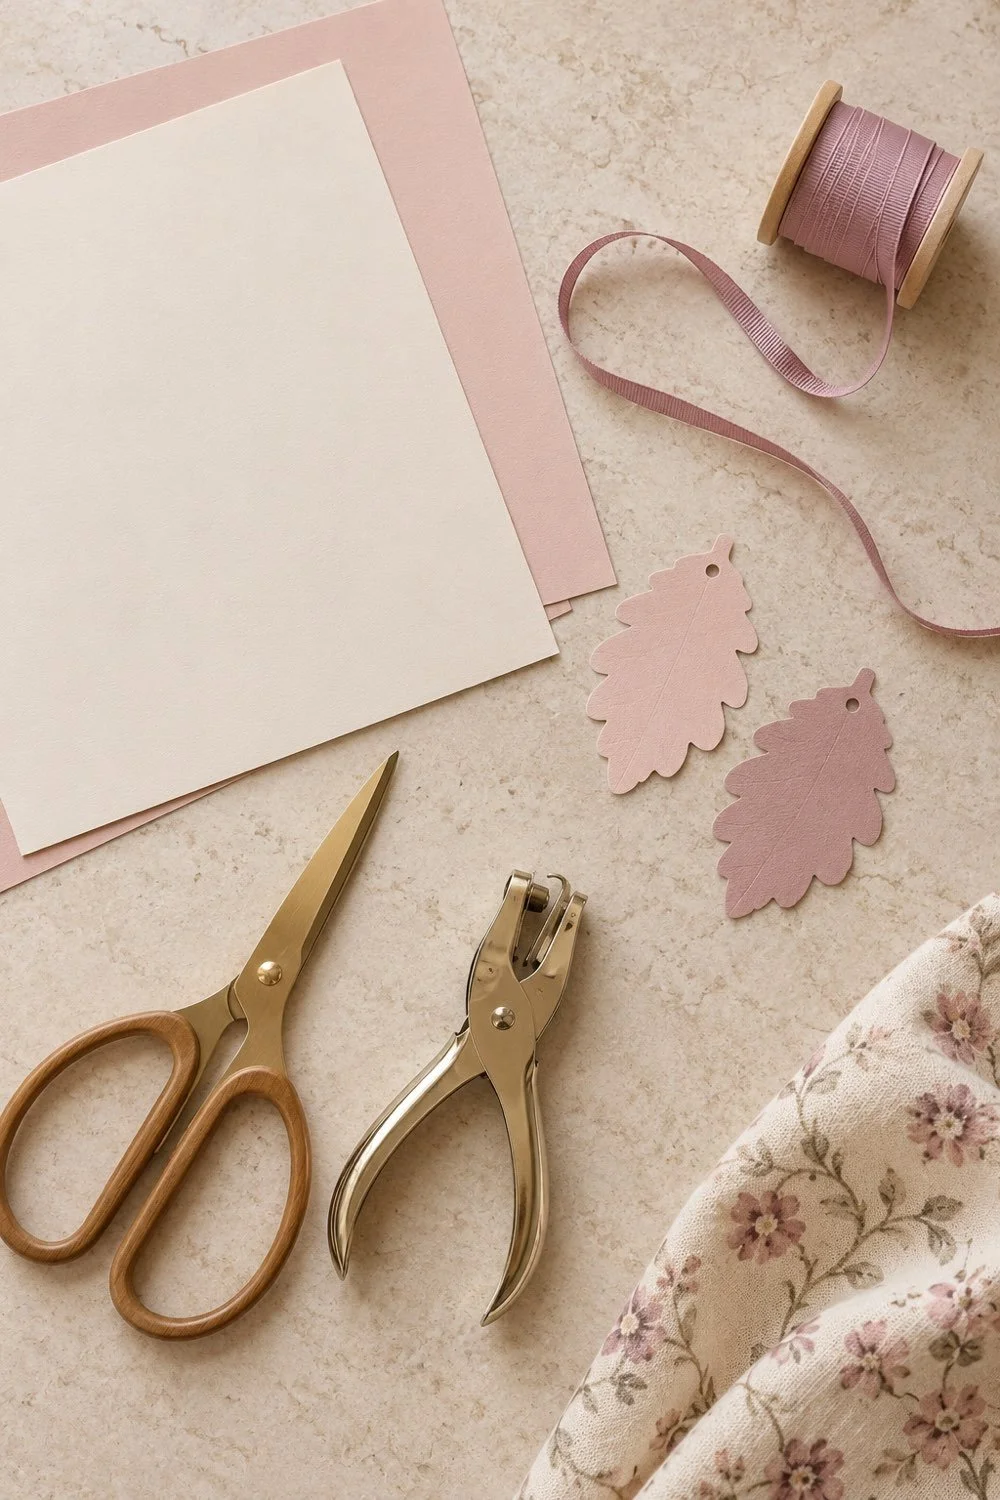
Aim for a leaf about 3 to 4 inches tall. That size gives you room to write while still feeling light on a small branch. Cut out your first leaf, then use it as a guide for the rest. Trace on the back so the pencil lines won't show from the front.
Your leaves can vary a little. A handmade edge looks right beside natural branches. Try to keep the overall sizes close, though. One giant leaf can pull the branch down and hide the smaller ones behind it.
Start with eight leaves. You can cut more if your branches have room, but a little space between them helps each one show. Set aside two or three extra blanks for friends who arrive later.
Cut and punch the paper leaves
Cut along the outline with small turns of the paper. Keep the scissors moving forward as you turn the sheet with your other hand. For tight scallops, use the tip of the scissors and take your time around each curve.
Punch one hole near the top of every leaf. Leave a border of paper between the hole and the edge. If the hole sits too close to the edge, a ribbon can pull through it when the leaf moves.
Before cutting the whole batch, thread ribbon through the first leaf and give it a gentle tug. If the paper creases or the hole starts to tear, move the hole farther in on the next one. A little test now saves a pile of delicate leaves later.
Put the paper scraps in a bowl as you go. The small pink and cream pieces are useful for testing pens. They also keep the main work area clear enough to find the tiny hole punch you set down two minutes ago.
Write small notes that feel like your group
Use a scrap to test your pen before writing on a leaf. Thin ink can look lovely on cream paper, but give it time to dry before you tie the ribbon. Check the back for ink that shows through.
A single word is enough. Friends, home, laughter, music, and Sunday breakfast all fit. If someone wants to write a longer note, use the back. That keeps the front light and gives the leaf its own little story.
You can also choose a shared prompt, such as:
- A small thing you enjoyed this fall
- A person who made your week better
- A place you love coming back to
- A moment from the year you'd like to remember
Keep the writing optional. Some friends love a table activity. Others would rather read the leaves while they snack. Leaving a few blank leaves on the table gives everyone room to join in their own way.
If you're making the tree during a holiday get-together, pair it with one of these plans for friends over Thanksgiving break. The tree can be the part you make before dinner, rather than the whole day's plan.
Add the ribbon without crowding the branches
Cut one short length of ribbon and test it before cutting the rest. About 8 inches is a useful starting point for a thin ribbon, though your branch and knot will change what you need. Thread one end through the hole, then tie the leaf to a twig with a small knot or bow.
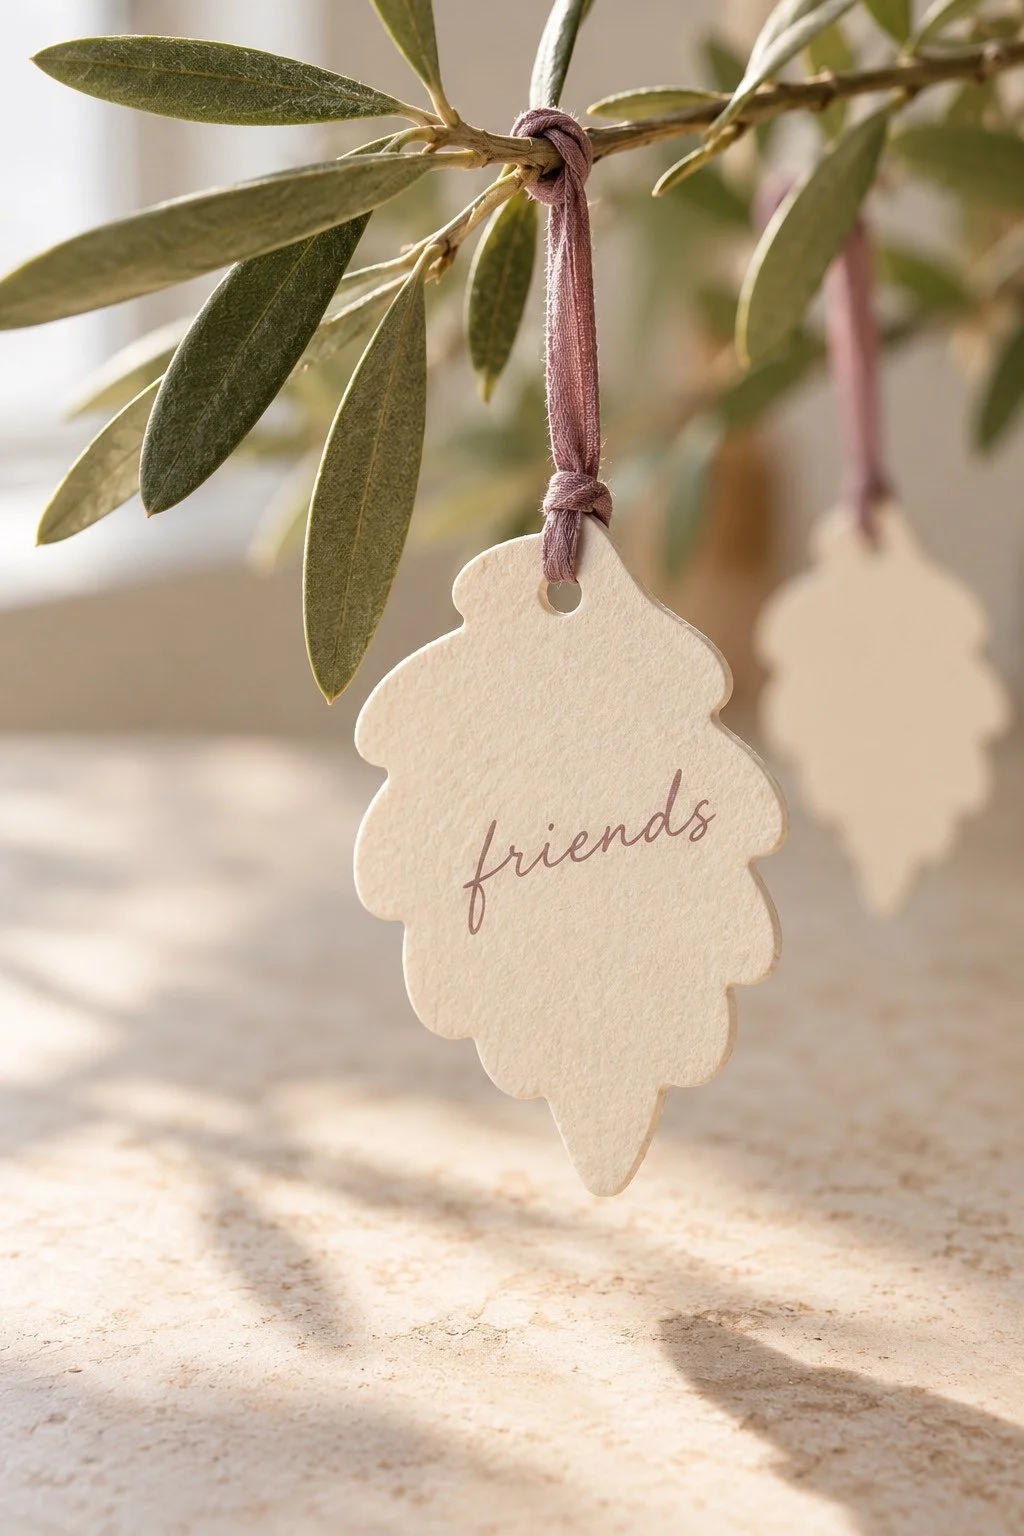
Leave a little space between the paper and the branch. A leaf pressed right against the wood can tilt or disappear behind the greenery. A short hanging loop lets it face outward and move a little when the tree is turned.
Use the first finished leaf to guide the other ribbon lengths. They don't all need to hang at the same height. A mix of short and slightly longer loops helps the leaves sit between the branches rather than in one straight row.
For wider ribbon, make the knot small and trim the tails. Thin ribbon suits this scale best. A large bow on every leaf can make the tree feel heavier than the paper itself.
Arrange the tree from the base up
Set the largest stem in the pitcher first. Add the other stems one at a time, turning each until the branches fan out. Keep the overall shape loose. You want open pockets where the leaves can hang without rubbing against one another.
If the stems slide around, add clean stones to the bottom of the pitcher. Keep them below the rim. They should steady the branches without becoming another visible layer of the display.
Hang the first leaves low, then work upward. Turn the pitcher as you go so you can see the back and sides. Balance a larger leaf with a smaller one on the other side instead of trying to make both sides match exactly.
Sit down at the table before you call it finished. If the branches block the person across from you, shorten the tallest stem or move the pitcher to one end. The seating and serving tips in our small-space Friendsgiving hosting guide help you make room for the meal around the centerpiece.
Make the colors work with what you own
The blush pitcher is lovely, but use your own vase as the starting point. A cream jug works with pink leaves. A clear vase lets the branches show. A brown stoneware pitcher looks good with cream paper and dusty rose ribbon.
Choose two paper colors and one ribbon color before you start cutting. That gives the leaves enough variety while keeping the whole display connected. If your table already has a patterned runner, pull one soft color from that fabric.
You can carry the same ribbon color into a place setting without making every detail match. A mauve bow around a cloth napkin and a few thin mauve ties on the tree feel related. The paper can stay cream so the written notes remain clear.
For a craft afternoon rather than a dinner, put the tree near a bright window and leave the spare leaves nearby. It can sit beside your study things for the rest of the month. Our fall desk decor ideas for studying offers more small details that fit beside things you use every day.
Fix the little things as you go
If a leaf keeps turning backward, shorten its loop or move it to a twig that points outward. If two leaves overlap, shift one to a different height. A small move usually does more than adding another stem.
If the tree feels too full, take off a few leaves and leave them by the pen. Guests can add them later. The branches should still show between the paper shapes.
For torn holes, cut a new leaf instead of trying to hide a thick patch on the front. You can save the written note by placing the damaged leaf over a fresh piece, tracing the outline, and copying the words onto the new one.
After Thanksgiving, untie the leaves and keep the notes in an envelope. Let the ribbon lie flat in a small box for next time. The pitcher goes back to the cupboard, and the little words stay together long after the table is cleared.
You might also like
Make seasonal crafts for your dorm
Plan a small-space Friendsgiving dinner