These pink Friendsgiving table ideas bring three projects together: a paper-leaf gratitude tree, a fall snack board with handmade labels, and velvet bows tied around cloth napkins. Blush stripes, cream dishes, and mauve ribbon connect them without needing a whole new set of tableware.
You can make the paper pieces and napkin bows ahead, then arrange the food close to serving time. This guide shows how the three projects fit on one table, with links to each full tutorial. The ribbon gets a few appearances. It has earned them.
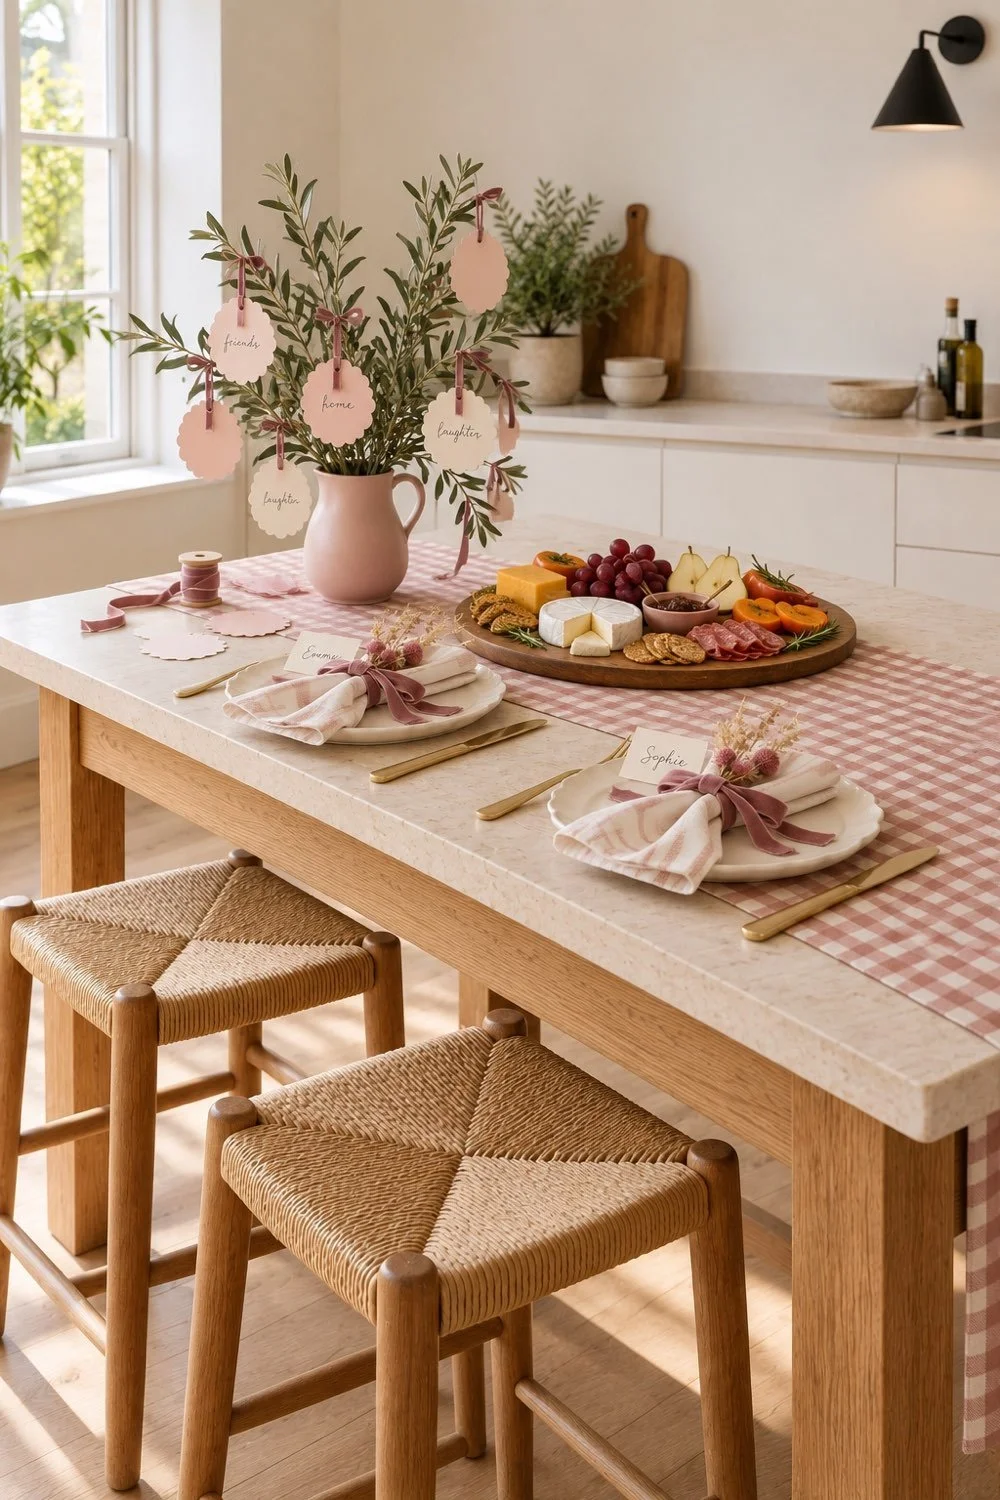
Start with the table you have
Put your everyday plates and glasses on the table before choosing decorations. Add the seats you'll use, then look at the space left in the middle. That space sets the size of the display, rather than the other way around.
On a small table, one compact tree, a serving board, and a short runner can be enough. If you plan to serve dinner from large shared dishes, move the snack board to a counter once the meal is ready. The table can change through the gathering.
Keep this as a styling plan for the surface, with food and craft details that work together. For help with guest numbers, seats, shared dishes, and timing, use our small-space Friendsgiving guide for hosts. Decide those pieces first, then add the colors and handmade details here.
A kitchen table or island can both work. Make sure every seat has legroom and that guests can reach the food without leaning over a tall centerpiece. If you're using stools, check the table height and where plates will sit before setting the whole thing.
Build the colors from your napkins
For this look, blush-and-cream striped napkins are the starting point. Mauve velvet adds a deeper pink, and cream cardstock keeps the paper pieces clear enough to write on. The wood board and fall fruit bring in the warmer colors.
You can get the same feeling with plain cream napkins and pink ribbon. If your plates have a pattern, pull one color from that pattern rather than adding another strong print. One repeated color can connect pieces that came from different cupboards.
Keep the largest surface quiet enough for the food and crafts to show. A short gingham runner adds pattern, while the bare tabletop gives the eye somewhere to rest. You don't need to cover every inch of the table with fabric.
Choose your ribbon colors together before buying or cutting. A thin mauve ribbon for the tree and a wider velvet ribbon for the napkins can share a color while serving different jobs. Use the thin ribbon for small paper leaves; save the fuller loops for the place settings.
Make the gratitude tree your tall detail
A small tree gives the table height and a place for friends to add notes. Use a sturdy pitcher, a few branching stems, and cream and blush paper leaves. Keep the branches open enough that each leaf has space to hang.
Follow the paper-leaf gratitude tree craft tutorial for the full supply list, cutting steps, and ribbon ties. That guide also shows how to steady the pitcher and leave extra leaves for guests.
Place the tree near one end of the table rather than directly between two people. Sit down and look across it before adding the rest. If you can't see the person opposite you, shorten the branches or move the pitcher to a nearby counter.
Leave a few blank leaves and a pen on a small side plate. That keeps the activity visible without filling the dinner plates with paper. Guests can write a word when they arrive or add a note later. The tree can grow through the afternoon.
For a small table, keep the base small and heavy. A low pitcher with two stems can have more presence than a tall vase packed with branches. The paper leaves are the part you want friends to notice.
Add velvet bows at each seat
Fold the napkins to sit inside your plates, then tie a short velvet bow around the middle of each one. The ribbon band holds the fold, so you don't need a separate napkin ring.
Use the velvet bow napkin ties tutorial to test a ribbon length, shape the loops, and trim the tails. The full guide also includes folded name cards and a small dried-flower option.
Short tails are useful here because the tree already has hanging ribbon. Keep the bow on the plate so it won't trail into a neighboring glass or serving dish. Let the napkin stripes show around the loops.
If you're adding dried stems, keep them small and check for shedding. Put them on the outside of the napkin and remove them before using the cloth. You can also skip the stems and let the velvet be the whole detail.
Name cards can repeat the cream paper from the tree. Set one beside each plate, away from any water glass that may leave a wet ring. Small handwriting looks sweet, but make the name large enough to read from the seat.
Let the snack board bring in the fall colors
The food adds purple grapes, orange persimmon, pale pear, and warm yellow cheese to the pink and cream table. A round walnut board helps those colors sit together without needing more decorative objects.
Use the Friendsgiving snack board and paper labels guide for the food mix, folded label cards, and assembly order. It keeps the paper craft beside the board, away from the food itself.
Place the empty board on the table while you're planning, then take it back to the kitchen to fill. That lets you test the space without leaving chilled food out while you tie ribbon or rearrange branches.
Put plates, serving tools, and napkins within reach of the board. Guests should be able to build a snack without moving the tree first. If the center starts feeling crowded, give the board its own counter and leave the place settings on the table.
The small food labels belong on the table beside the board. They can name the cheeses or fruit, but keep the packages for ingredient questions. Ask about food needs ahead and choose separate servings when a shared board isn't a good fit.
Arrange the three pieces at different heights
Start with the flat runner. Add the pitcher tree near the window end, then put the board a little off center. Place the plates along the seats, leaving a clear area in front of each guest.
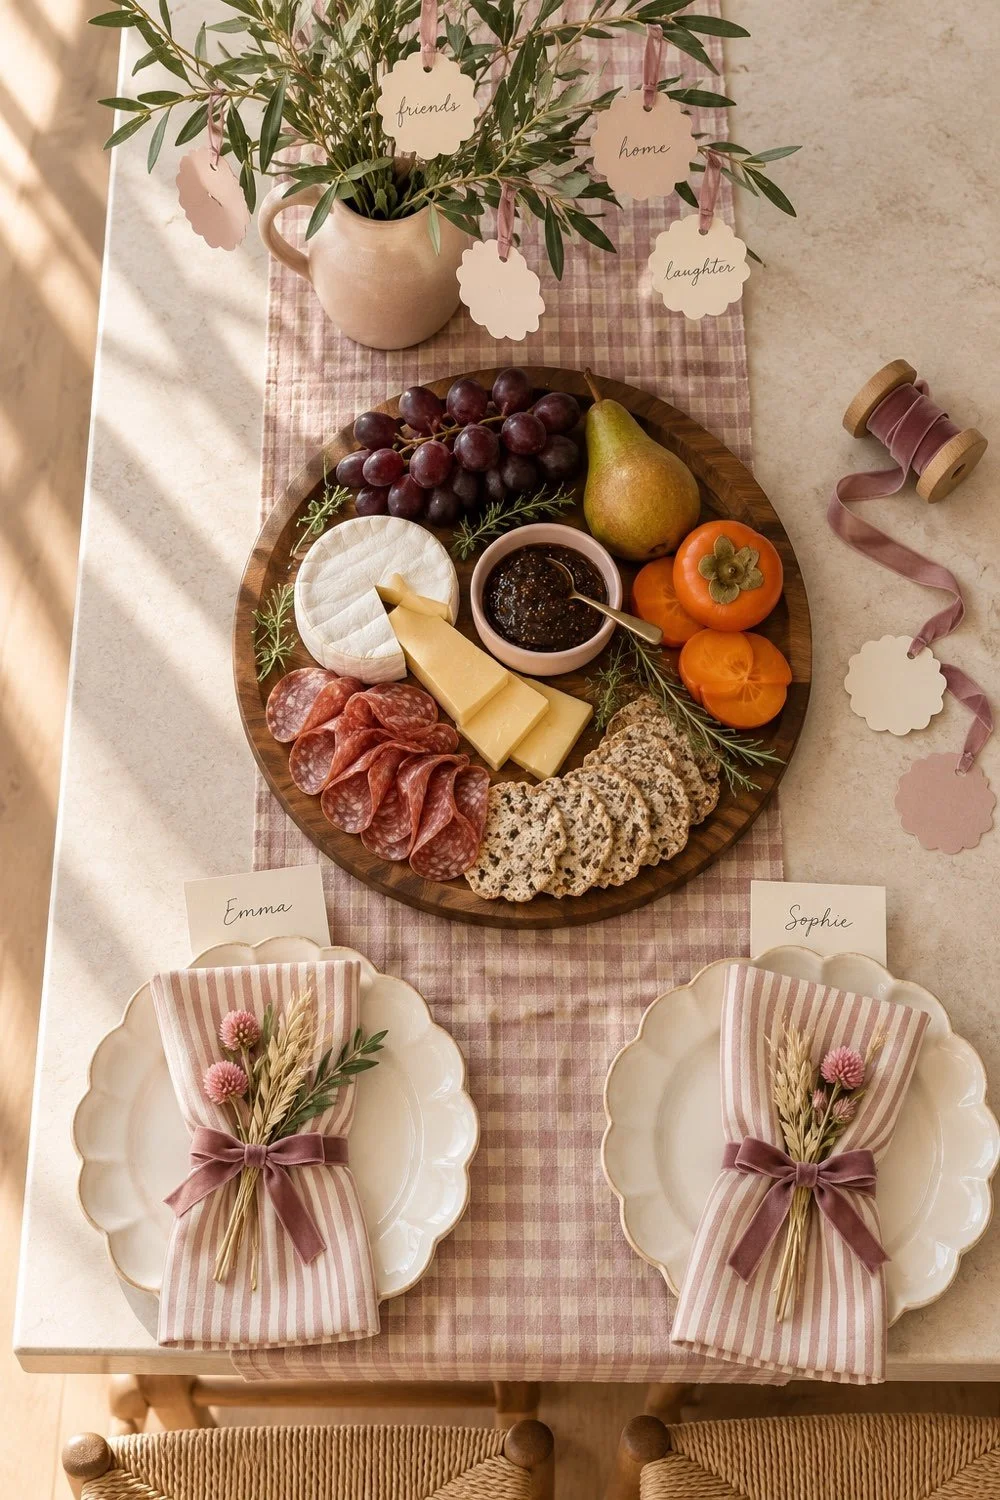
The tree gives height, the board sits low, and the napkin bows add soft detail at each place. Those different levels help all three projects show without lining them up like a display shelf.
Turn the pitcher until its open side faces the table. Let a few paper leaves face the room, too, so the back isn't bare. Keep the branches away from the food and glasses. Guests should have room to lift a plate without catching a ribbon.
Once everything is down, check the table from each seat. Move the board if someone would need to reach across another person's plate. Shift the pitcher if it blocks a face. These small moves matter more than adding another decoration.
Leave a clear landing place for a dish someone brings. You can keep that spot empty during the first round of photos or snacks. An open patch of table is useful, and the handmade details still show around it.
Make the craft pieces the day before
Cut the gratitude leaves, punch the holes, and make the food labels before the gathering. Leave some leaves blank for guests. Keep the cards flat until you're ready to stand them up.
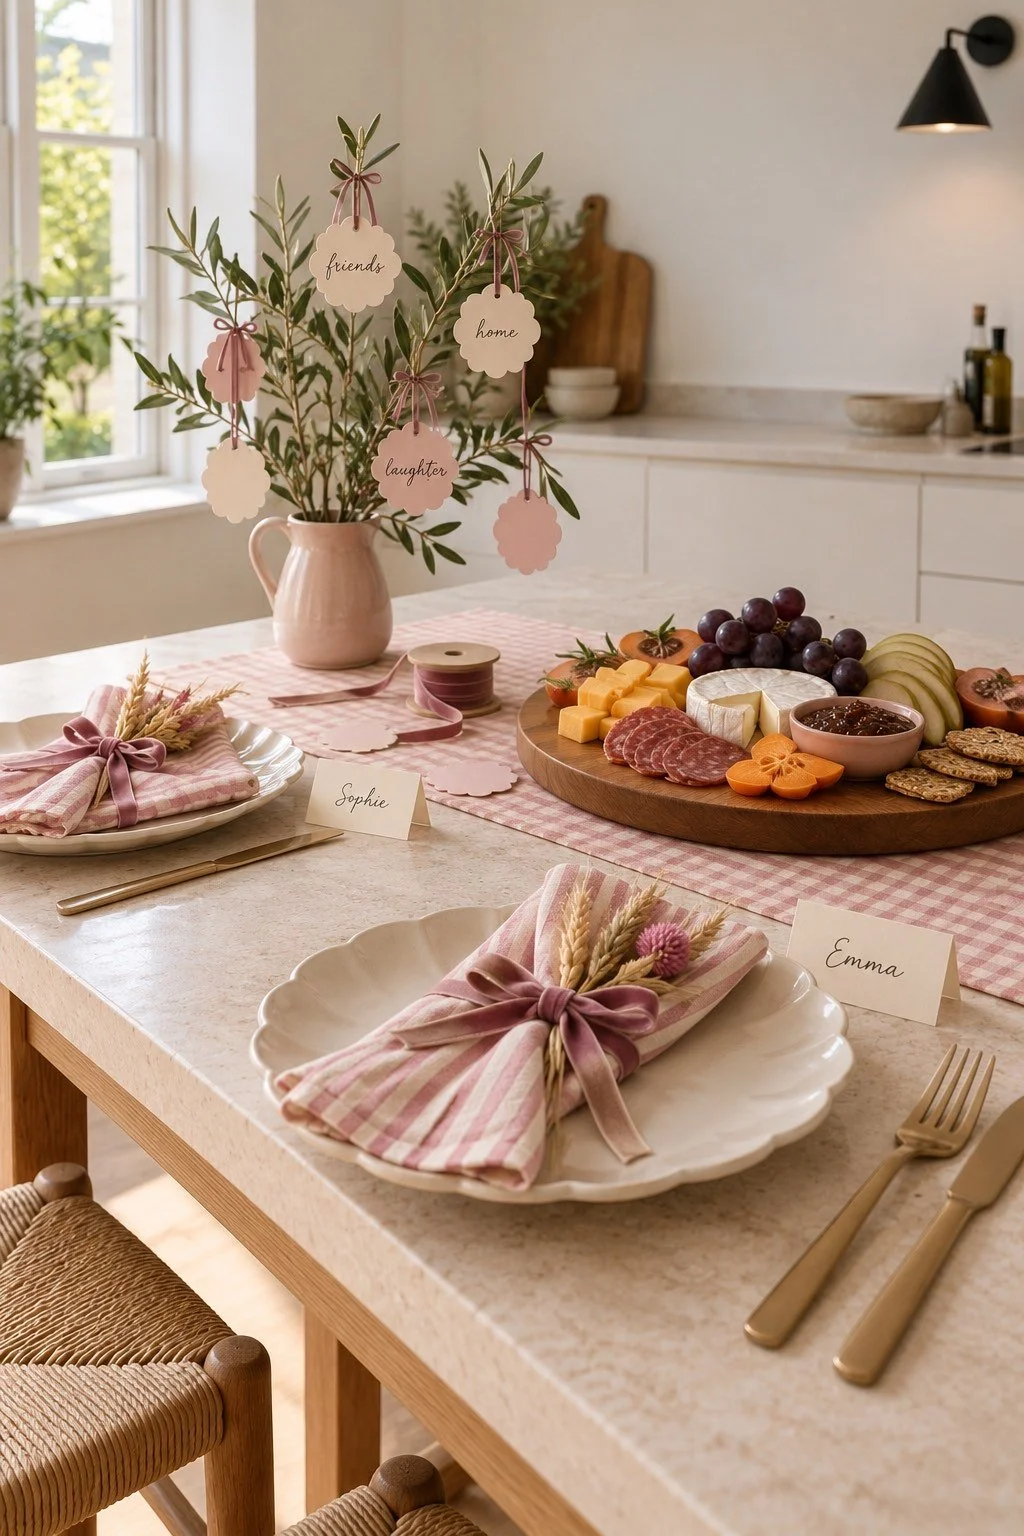
Fold and tie one napkin, then use it as the guide for the rest. Put the finished napkins somewhere clean and dry. Keep the ribbon spool with the spare leaves in case you want to adjust a tie on the day.
Set out the empty serving pieces once the craft scraps are cleared. That gives you a clean area for food prep later. Wipe down the work surface and put scissors, pens, and loose ribbon away before the food comes out.
If friends are helping make the projects, use a side table for the craft supplies. A few more seasonal craft ideas for shared afternoons can give everyone a choice without mixing paper cutting into the food area.
Finish the food when friends are ready
Wash and dry the fruit, slice what needs slicing, and fill the board close to serving time. Keep cheese and meat chilled until then. Put the finished paper cards beside the foods they name, rather than tucking them under a slice or grape bunch.
For food held at room temperature, follow the FDA's safe buffet serving guidance. Discard perishable food after more than two hours out, or one hour when the temperature is above 90°F. For a longer gathering, serve smaller batches and keep the rest chilled.
Once snacks are served, move any spare craft pieces out of the way. Keep the pen and blank gratitude leaves nearby if guests are still adding notes. The napkin bows can stay on the plates until people sit down, then slide off with the dried stems.
Before dinner, check whether the tree still has a good spot. It can move to the counter for the meal and return later. The table doesn't have to keep the same arrangement all evening to feel connected.
Keep the handmade pieces for next time
After the food is cleared, gather the gratitude leaves in an envelope. Save the clean label cards with a few blanks, and roll the velvet ribbon loosely so its loops aren't crushed.
Wash napkins by their care labels and let the serving board dry fully. The pitcher can go back to everyday use. Store the paper and ribbon together if you'd like to use the same colors for another dinner.
A leaf with a note on the back can become a small keepsake from the evening. A clean ribbon can wrap a gift or tie another place setting. The fall colors work for the next meal, too, even when Friendsgiving has come and gone.
You might also like
Make a paper-leaf gratitude tree
Tie velvet bows around cloth napkins