A bunch of flowers gives you plenty to photograph before you move a single stem. There are the curved leaves, the edge of a petal and the pitcher you picked because it looked good on the shelf. That pitcher deserves its moment.
These five indoor photography ideas turn those details into different pictures. You'll change the frame, your height or the part of the flowers you show. Use a phone or a camera, then compare the photos to see which view you like.
Flowers you already have work well here. A single stem can take the lead, too. Keep the same subject while you try the ideas below. It makes the changes easier to spot when you look through your photos afterward.
Set out your flowers and choose a place to shoot
Start with flowers in a stable vase or pitcher on a firm table. Choose a spot where you can move around without stepping over cords or bags. Keep water away from your phone, camera and anything plugged in.
For more on using light from a window, see Nikon’s guide to window light and shadows.
Use daylight that lets you see the flowers clearly. For this project, keep your attention on the frame: what sits inside its edges, where the flowers appear and what shows behind them. You can try the same ideas in another light later.
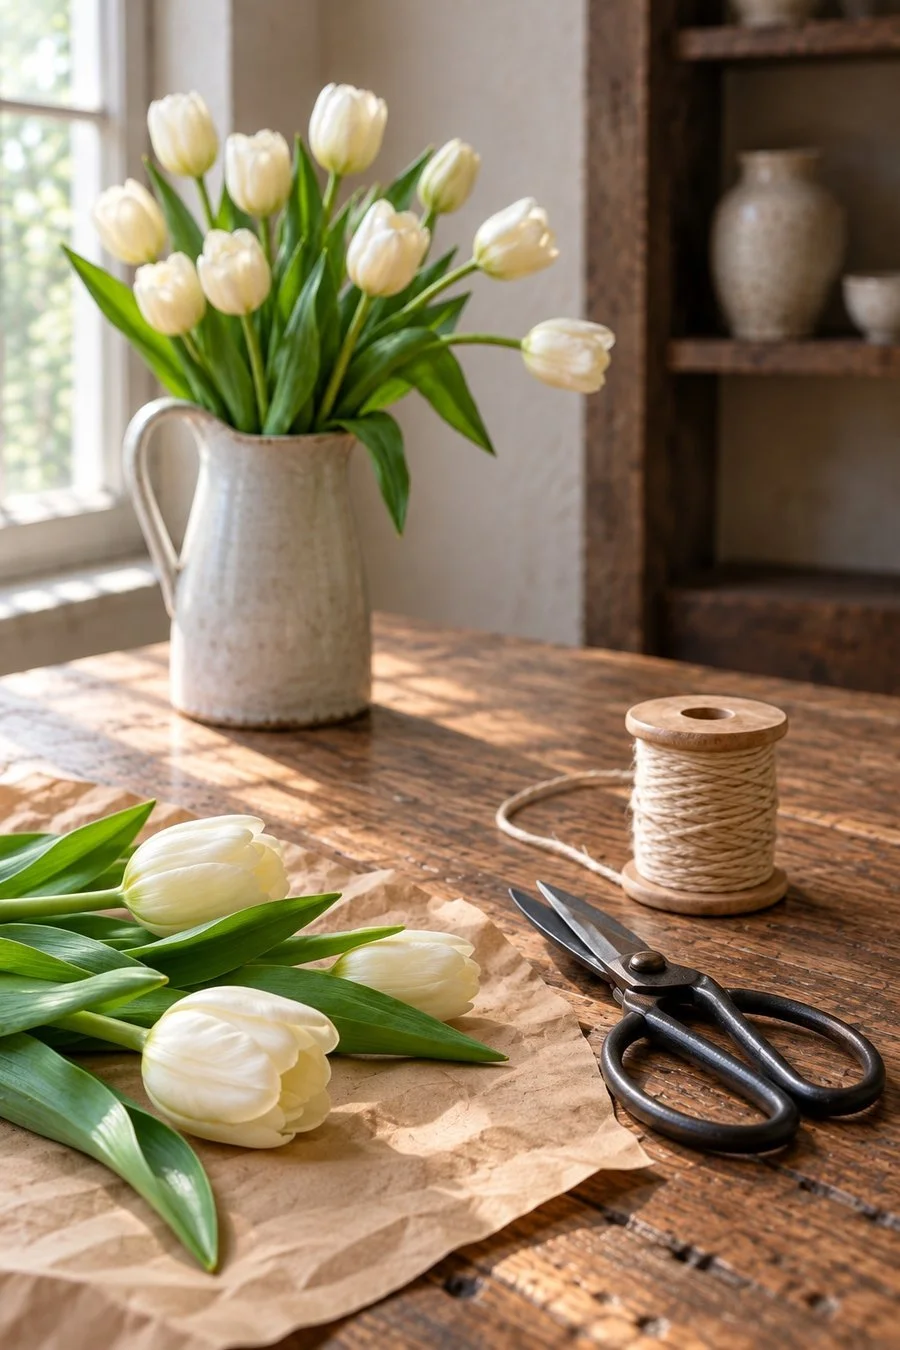
The flowers in these photos sit with brown paper, a spool of twine and scissors. Those objects give the wider scene something to show. You might have a small bowl or a folded cloth nearby. Choose things you like beside your own flowers. Keep sharp tools closed and flat when you're finished using them.
Take a first photo before rearranging anything. Stand where you'd normally stand and include the whole vase. This gives you a starting picture to compare with the others. You don't have to keep that first view in your final set.
If you'd rather photograph something you've made, a paper flower or a small piece from these seasonal crafts for your room can be your subject. Use the same five ideas to explore its shape and the space around it.
1. Give the flowers a background that lets their shape show
Move your camera a little to the left or right while the flowers stay in place. Watch what happens behind the petals. A shelf, a window edge or the corner of a chair can appear to run through a stem from one angle and sit beside it from another.
Start by finding a view where the main flower has room around its outline. You might place a pale bloom against a darker part of the room. With darker flowers, try a lighter wall or tabletop. Look at the photo to see whether the shape is clear at a glance.
Now try a background with more detail. Include the shelf or the window frame on purpose. Notice whether it adds something you like about the room. A picture with a little of your home in it can feel different from one that gives the flowers most of the attention.
Compare the two views at the same size on your screen. Look first at the petal you wanted to show. Then notice where your eyes go next. Keep the frame that holds your interest, even if it has more going on than you expected.
Before moving on, check all four edges. A tiny strip of a bright object at the side can be more noticeable in the picture than it was while you were taking it. Move your feet or turn the camera slightly if you want to leave it out.
2. Let the vase and the tabletop share the picture
Step back far enough to show the vase, the flowers and part of the surface around them. This view gives you room for the things that belong to the scene: loose stems, a curl of paper or the handle of the pitcher.
Choose one of those details to keep near the flowers. Try leaving a few loose stems across the table, then take another photo with them set aside. You can see how each choice changes the picture without building an entirely new setup.
In the workbench scene, the white pitcher stands above the loose tulips and brown paper. The twine and closed scissors sit farther along the table. Your own setup may be much smaller. A glass with one flower and a napkin beside it still gives you a main subject and a nearby detail.
Look at how much tabletop you've included. Tilt the camera down a little for more surface. Raise the frame for more of the room behind the flowers. Keep your feet on the floor while you try different views. You can get a higher angle by holding the phone above the table without climbing onto furniture.
This is a good frame to make before tidying the loose pieces away. A bent strip of paper or a stem resting across another stem can be part of what you like about the scene.
3. Change your height to follow the stems and leaves
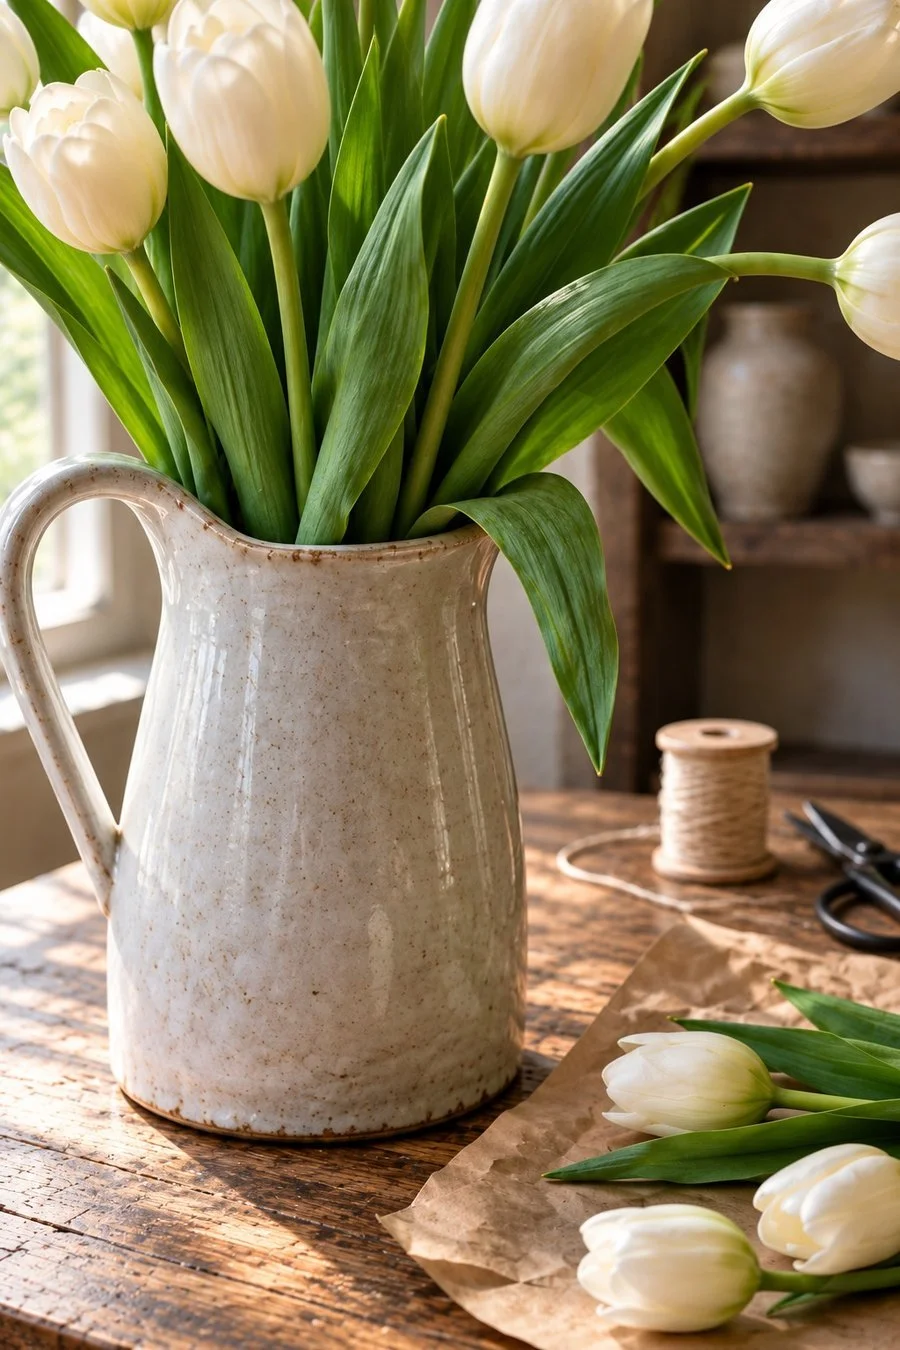
Lower the camera toward the height of the vase. From there, the stems and leaves can take up more of the picture. You'll see different gaps between them than you did while looking down from standing height.
Try framing the handle of the pitcher with a few leaves rising beside it. Then turn slightly so a curved leaf crosses the frame. Keep looking at where each line begins and ends. A leaf that leads toward a flower can connect two parts of the picture.
Take a second view from a little higher up. You may see more of the opening of the vase and the way the stems gather inside it. Notice whether the flowers look spread out or packed together from each height.
You can leave some blooms outside the frame. Try showing the lower part of the bunch, with green leaves and a small edge of white petals near the top. That gives you a picture about the stems rather than a full portrait of the flowers.
Look through these views before you change the arrangement. Pick the height that shows the part you were curious about. If a leaf hides something you want to see, move around the table first. You may find the view you want with the flowers exactly where they are.
4. Leave open space beside one flower
Place a flower toward one side of the frame and leave some wall, table or background beside it. That open area is often called negative space. It gives you another way to arrange the same subject inside the picture.
Start with a bloom near the left edge, then try it near the right. Keep enough of the flower in view for its shape to read clearly. Watch the stem, too. You might like a long curve leading into the open area or a shorter section near the bottom.
Try a vertical photo, then turn the camera for a horizontal version. Each shape gives the open space a different feel. A tall frame can follow the stem. A wider one gives the flower room to lean across the picture.
You can make this view with the whole bunch by shifting your camera until the flowers sit together on one side. Check the background for small objects that fill the area you meant to leave open. Change your position if you'd like that part to stay quieter.
Save both versions while you compare them. The one you'd print might be different from the one you'd use as a phone wallpaper. Let the shape of the picture help you choose where it belongs.
5. Move in for the edge of a petal
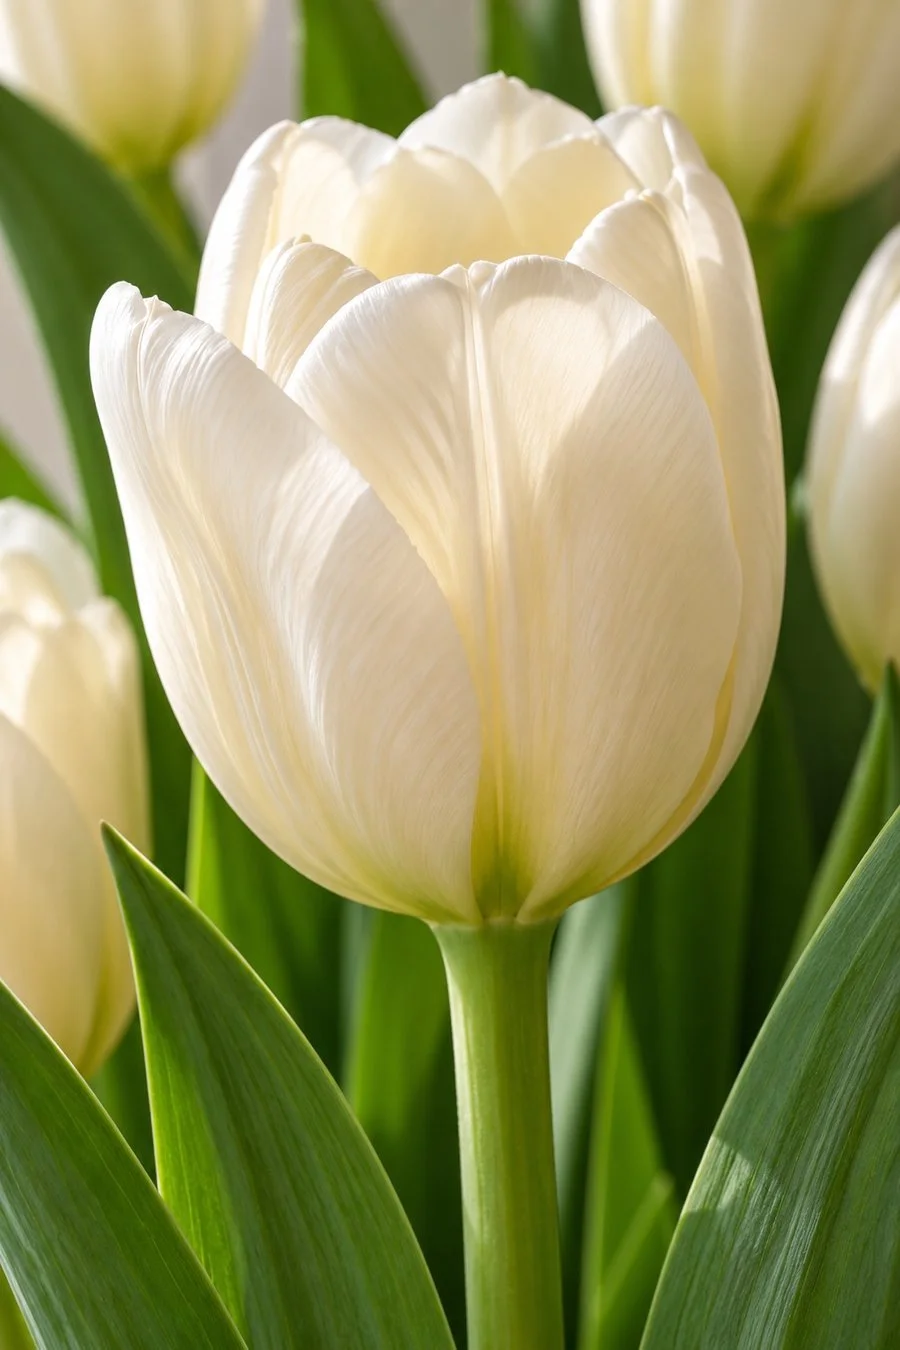
Choose one small detail and give it most of the frame. A ruffled petal edge, a green line on a leaf or the fold where two petals meet can become the whole subject of a close photo.
Move closer a little at a time and check whether the detail stays clear. If your phone or lens can't focus that close, step back until it can. You can still leave more of the flower in the picture. The closest possible view won't always be your favorite one.
For a camera, check your lens's minimum focusing distance. Canon's close-up guide shows where that distance is measured. Your own camera and lens guide can help you check the gear you're using.
Try placing the petal's edge across the frame at an angle. Then turn the camera so it runs more upright. Notice how much of the green leaves or nearby blooms remains visible behind it. A small change in position can give you a different patch of color in the background.
Look at the photo at a larger size before you finish. Check the detail you chose, rather than judging the whole picture from a tiny preview. If that area looks soft, try again from a steadier position or a little farther away.
Keep one close view beside your wider vase photo. The wide picture shows the flowers and their place in the room. The close one lets you spend a moment with the petal's shape.
Choose a small set from the photos you made
Pick a few pictures that show different parts of the flowers. You might choose the tabletop view, a frame with room beside one bloom and the petal detail. Look at them together before deciding whether you want another angle.
If two photos feel nearly the same, compare what each one adds. One may show the pitcher handle more clearly. Another may have a leaf crossing the frame in a way you like. Keep the version with the detail you want to return to.
These photos can stay together in a small album on your phone. If you want to print them, use the preview from your print service to check the crop. Leave the original files saved while you try different print sizes.
A flower photo can also become part of a scrapbook of everyday moments. Add the date or a short note about why you picked those flowers. The pale petals, green leaves and favorite pitcher already give the page plenty to look at.
You Might Also Like
Take photos of a friend on a walk
Try a seasonal craft for your room