Pumpkin sugar cookies with orange and ivory buttercream belong on a November dessert plate. You get little pumpkin shapes, curved frosting ridges and a brown stem that makes the whole thing look finished. The ivory ones deserve a spot beside the orange ones, especially if you love a fall table with cream dishes and soft linen.
This decorating feature starts with Sally McKenney’s pumpkin sugar cookies with spiced buttercream from Sally’s Baking. Her recipe is the place to go for the full ingredients, baking directions and storage notes. Here, you’ll find ideas for the colors, frosting shapes and serving style. Choose the look you want before you get the bowls out (the orange-and-ivory pair is a strong contender).
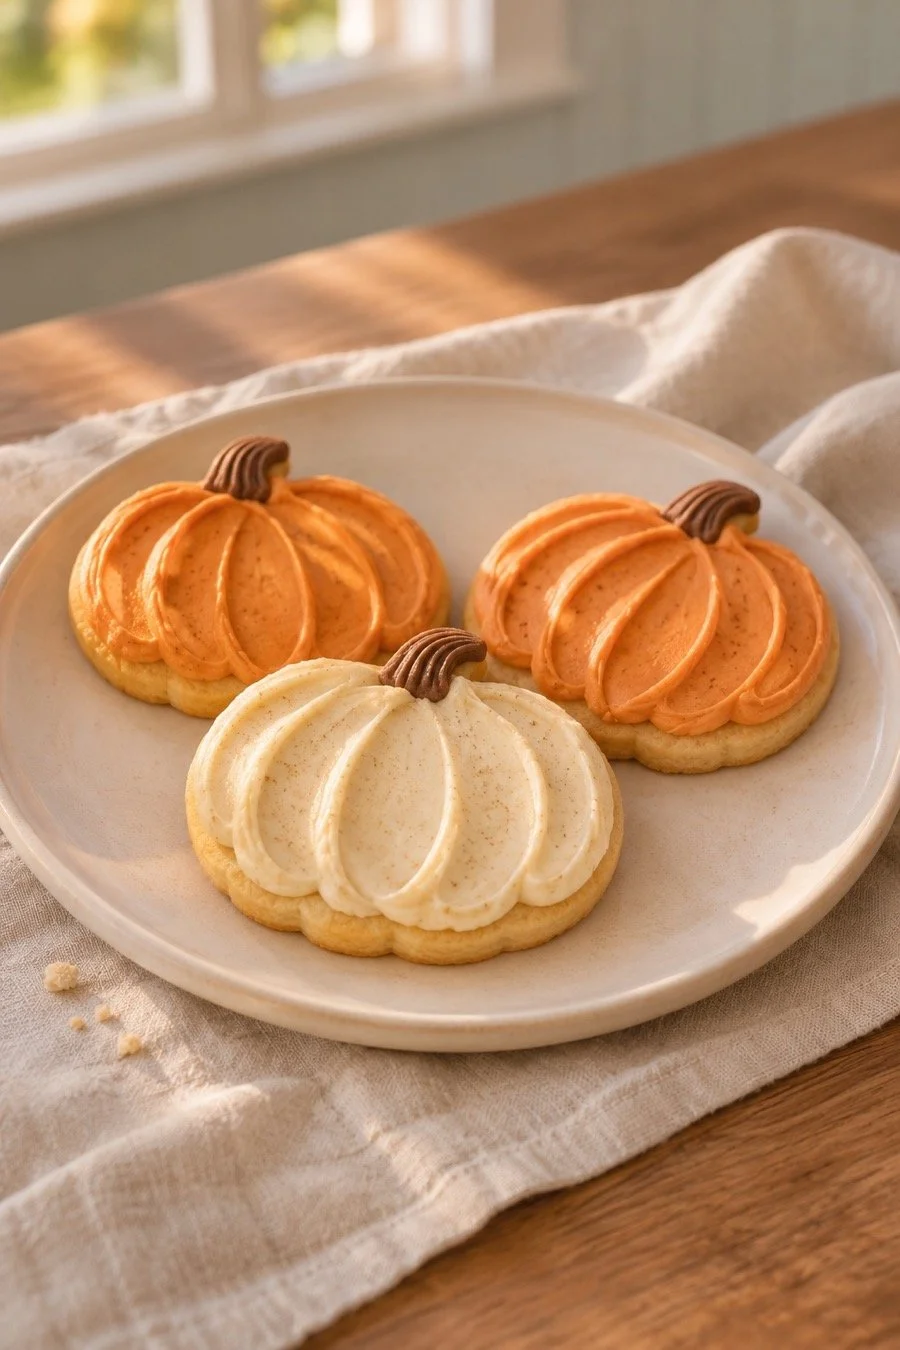
Start with Sally McKenney’s Pumpkin Sugar Cookies
Use Sally’s recipe as your baking guide, then choose a decorating style from the ideas below. Her pumpkin cutouts have smooth tops and keep their shape. That gives the frosting a clear pumpkin outline to follow.
Read the recipe before planning your day. Sally calls for blotting the pumpkin and chilling the rolled dough. Keep those steps with the recipe rather than treating this as a quick drop-cookie project. Her notes also cover making the dough ahead, which may suit your plans better than doing everything in one afternoon.
The decorating ideas here leave the dough as written. If you need a swap for an ingredient, check the developer’s notes first. This feature doesn’t offer a tested egg-free, dairy-free or gluten-free version.
For a shared baking afternoon, decide who’s bringing the baked cookies and who’s bringing the decorating supplies. You can send the recipe link with your plans so everyone uses the same starting point. Our Friendsgiving invitation ideas for your group chat can help you put the time, place and food plans into one message.
Pick Orange, Ivory or a Mix of Both
Choose one frosting color for a whole plate, or alternate orange and ivory pumpkins. Both looks keep the cookie shape clear. A tiny brown stem gives each one a finish that reads as a pumpkin without adding another topping.
Orange is the most familiar choice. For the look shown here, aim for a warm pumpkin shade rather than a bright neon orange. Start with a small amount of gel color, mix it through, and check it in daylight before adding more. The frosting should still look like something you want to spread on a cookie.
Ivory buttercream looks pretty with brown stems and the golden cookie edge showing around it. It also lets the spice flecks show. You can leave a whole batch pale, or set a few ivory cookies among the orange ones so the plate has a little variety.
Try choosing the plate before you decide on the color split. A cream plate keeps the focus on the frosting. A patterned plate may look better with one cookie color, especially if the pattern already has orange or brown in it. You can hold a plain cookie over the plate to see how much space the shape needs.
For a small group, two frosting colors give people a choice without filling the counter with bowls. Put each color in its own bowl with its own tool. If you want to keep your ivory batch pale, give it a separate spatula rather than borrowing the orange one between cookies.
Give the Pumpkins Curved Buttercream Ridges
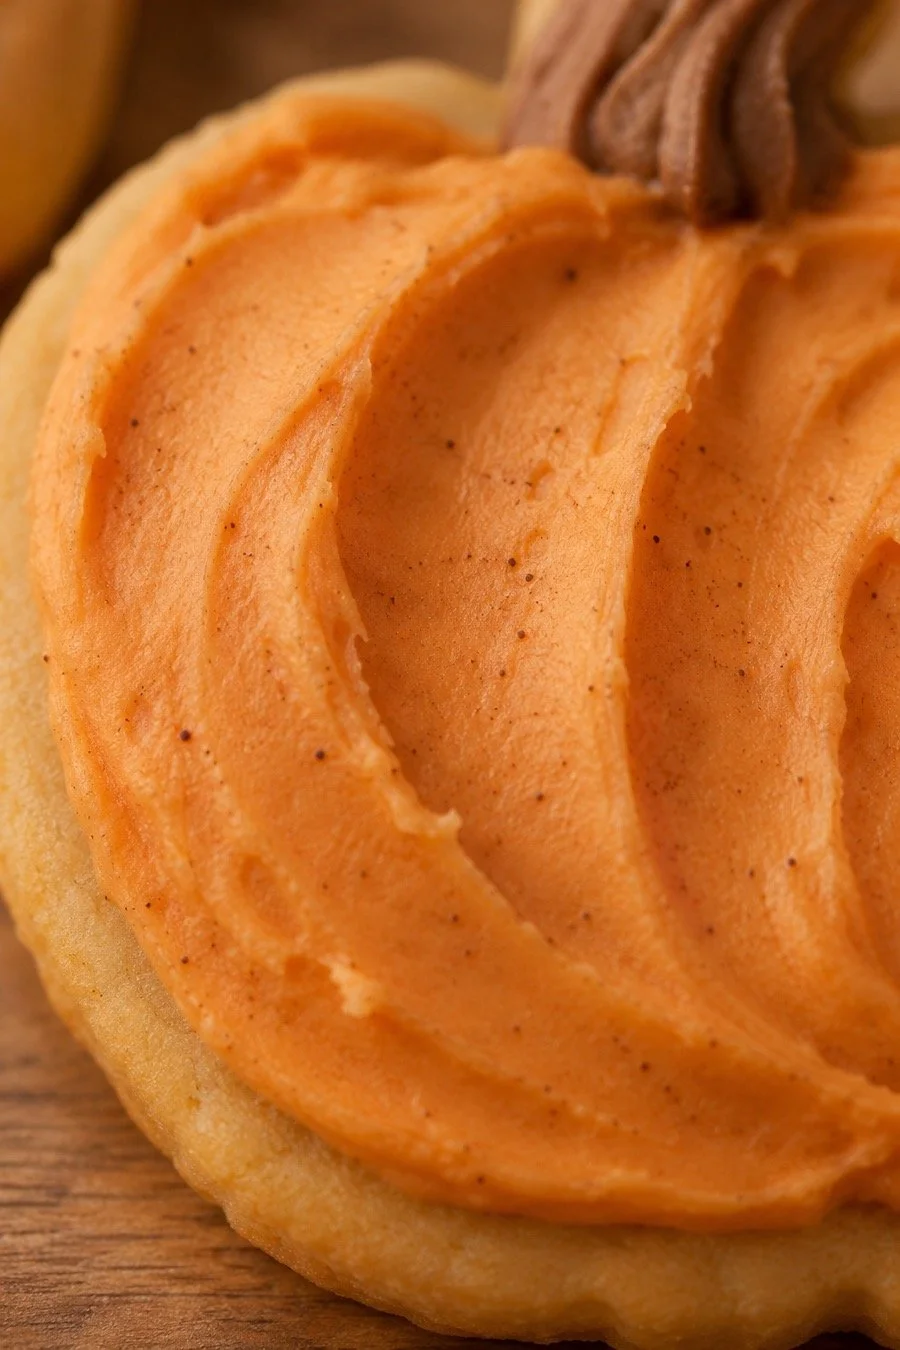
Curve the frosting lines around the pumpkin’s shape so the design has rounded sections. Keep the stem small and let the main pumpkin shape take up most of the cookie. You can choose fine piped ridges or a broader spatula finish.
Sally’s original post shows a star-tip design and names the piping tips she uses. Follow that tutorial if you want her detailed ridges. The broad curves in our styling offer a different look: fewer lines, soft edges and room to see the frosting between them.
A useful place to begin is the middle of the pumpkin. Give it a tall center section, then let the sections on either side curve outward. They can narrow toward the stem and meet again near the bottom. Follow the baked outline so the frosting design feels tied to the cookie beneath it.
You can sketch the shape on a spare piece of parchment with a little frosting before decorating a cookie. Try a few curved lines, then look at the space between them. If you like the shape, repeat the idea on the cookie. A practice patch also gives you somewhere to try the brown stem without committing to the whole batch.
For help choosing between a bag and a spatula, Sally’s cookie decorating buttercream guide and video show both approaches. Her guide explains that the frosting can hold piped shapes and soft-set on top. Keep the pumpkin recipe’s spice addition with your chosen design.
Leave a small cookie border around the frosting if you like seeing the cutout shape. The tan edge frames the pale frosting especially well. A few uneven curves are part of a handmade cookie plate; you can keep them soft rather than working every line into the same shape.
Try a Spatula Finish for a Smaller Decorating Setup
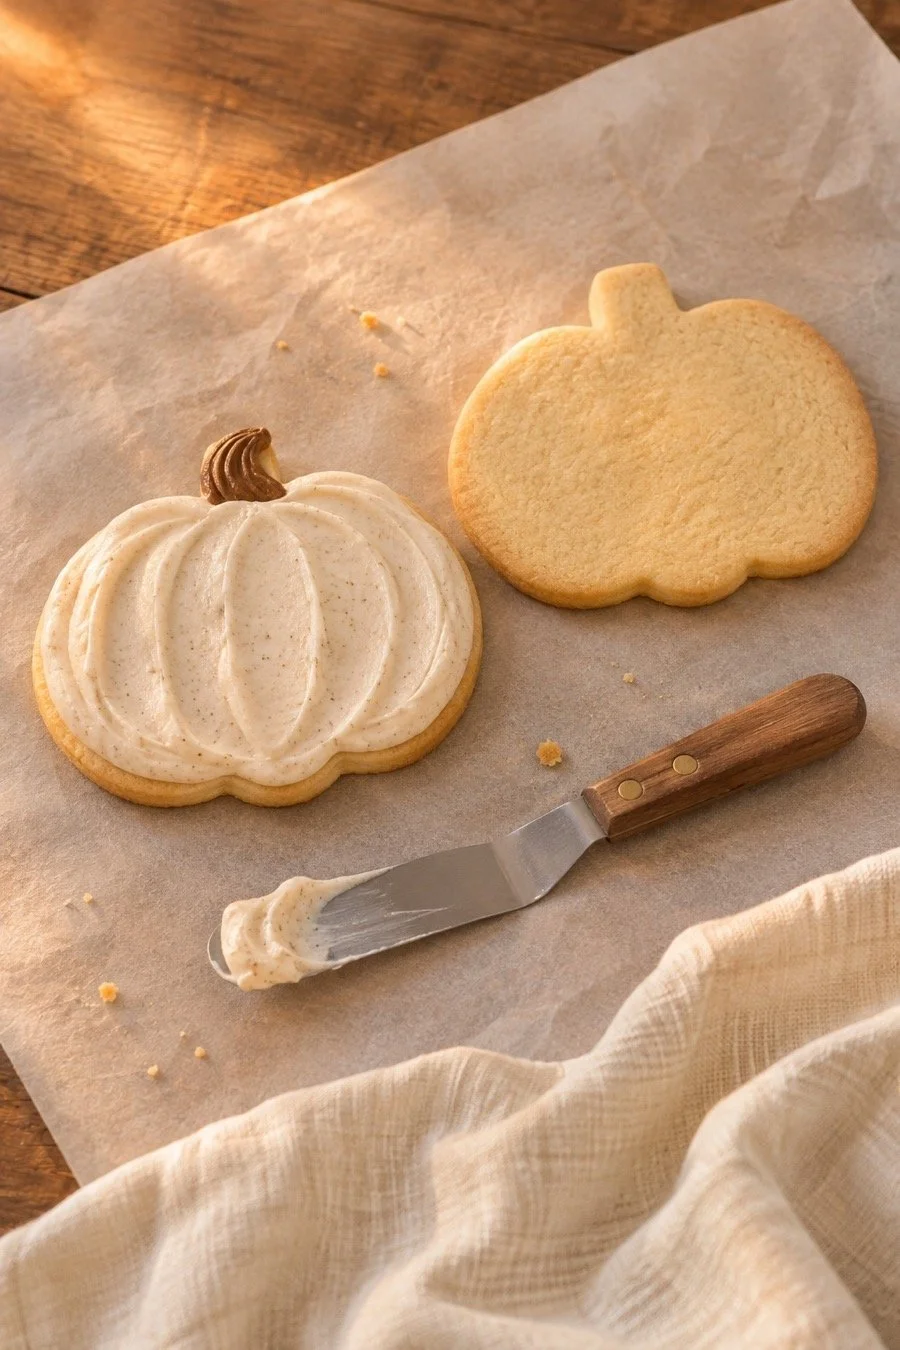
Spread frosting with a small offset spatula if you’d rather skip the piping bag. The broad surface gives you room to make soft curved sweeps. King Arthur Baking’s guide to cookie frosting and tools also describes spreading soft cookie frosting with a spatula or butter knife. It’s a good look for a plate of ivory pumpkins with brown stems.
Place a cooled cookie on parchment and turn it as you work, so you can reach each side. Use the spatula to guide the frosting toward the outer lobes while keeping the stem area clear. You can finish the stem last, once you’re happy with the main shape.
Keep one plain cookie beside a frosted one while you choose the amount of coverage. You’ll be able to see where the baked edge ends and how much of that edge you want to leave showing. There’s no need to cover every bit of the outline to make the pumpkin recognizable.
Set the tool down on a small plate between cookies. A spoon for each frosting bowl and a clear place for finished cookies help keep the setup usable. If you’re sharing one table, give each person a sheet of parchment and keep the center open for the bowls.
This kind of setup fits the ideas in our guide to hosting Friendsgiving in a small space. Make room for the part people are doing together, then move the finished food to another surface when you can. A baking sheet can hold the finished cookies while the table stays available for decorating.
Let the Cookie and Frosting Each Have a Moment
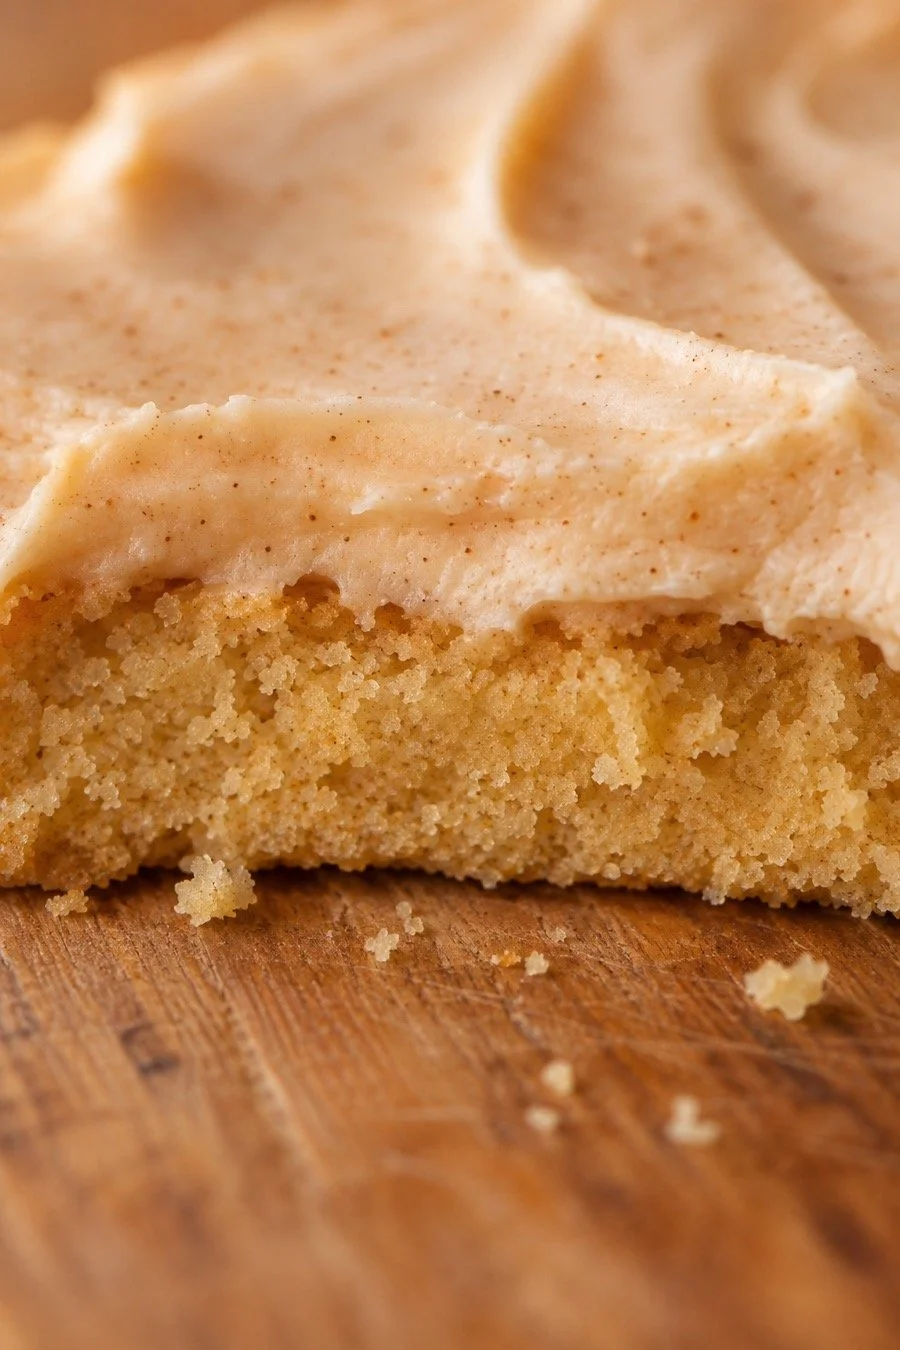
Keep the frosting shallow enough that the pumpkin cutout still reads as a cookie. The shape, golden edge and soft curves can all show at once. You don’t need a tall mound of frosting to give the design some depth.
Before you finish the whole batch, set one decorated cookie on your chosen plate. Look at it from the side as well as from above. That helps you decide whether you want a fuller frosting edge, a wider cookie border or a smaller stem on the rest.
The close detail here shows the contrast we’re styling toward: pale buttercream above a golden cookie edge, with spice flecks rather than extra garnish. Keep the golden cookie edge visible beneath the pale frosting.
If you’re photographing your own cookies, take the picture before packing them. Set the plate near a window and choose one cookie to lead the frame. A small crumb beside it can stay. Move the spare bowls out of view if you want the finished design to be the main thing you see.
Serve Them in One Layer
Arrange buttercream pumpkins in a single layer so you can see the designs. Turn a few stems in different directions and leave room between the cookies. A cream plate with two or three pumpkins makes a pretty small serving; a larger tray gives a whole batch more space.
For a mix of orange and ivory, place the colors beside each other rather than putting all the pale cookies at one end. You can use the orange ones as a loose path across the tray, then fill the spaces with ivory. Keep the arrangement relaxed enough that someone can take a cookie without disturbing the whole plate.
If you’re taking them to dinner, choose a container that gives the frosting room. Check Sally’s current recipe notes for storage and packing guidance. King Arthur Baking’s guide to choosing a cookie icing distinguishes soft frosting from hard-drying royal icing. Give the soft finish room in your container.
Keep the recipe link handy for anyone who asks. Sally McKenney gets the recipe credit; your plate can have its own colors and curved frosting style. An orange pumpkin beside an ivory one is a lovely place to leave it.
You Might Also Like
Friendsgiving games for after you eat
Things to do over Thanksgiving break