
Friendsgiving banner ideas can start with brown paper, a few cut-out leaves or the ribbon left in your craft drawer. A painted sign gives the party its name. A leaf or pie garland adds little shapes along a shelf. And ribbon deserves several options, because blush satin and cranberry velvet look so good together.
These nine ideas include two kraft-paper signs, two paper garlands and five ribbon banners. Hang one above the food table, behind the seats or along the front of a shelf. You can also layer a paper sign with a ribbon strand underneath it.
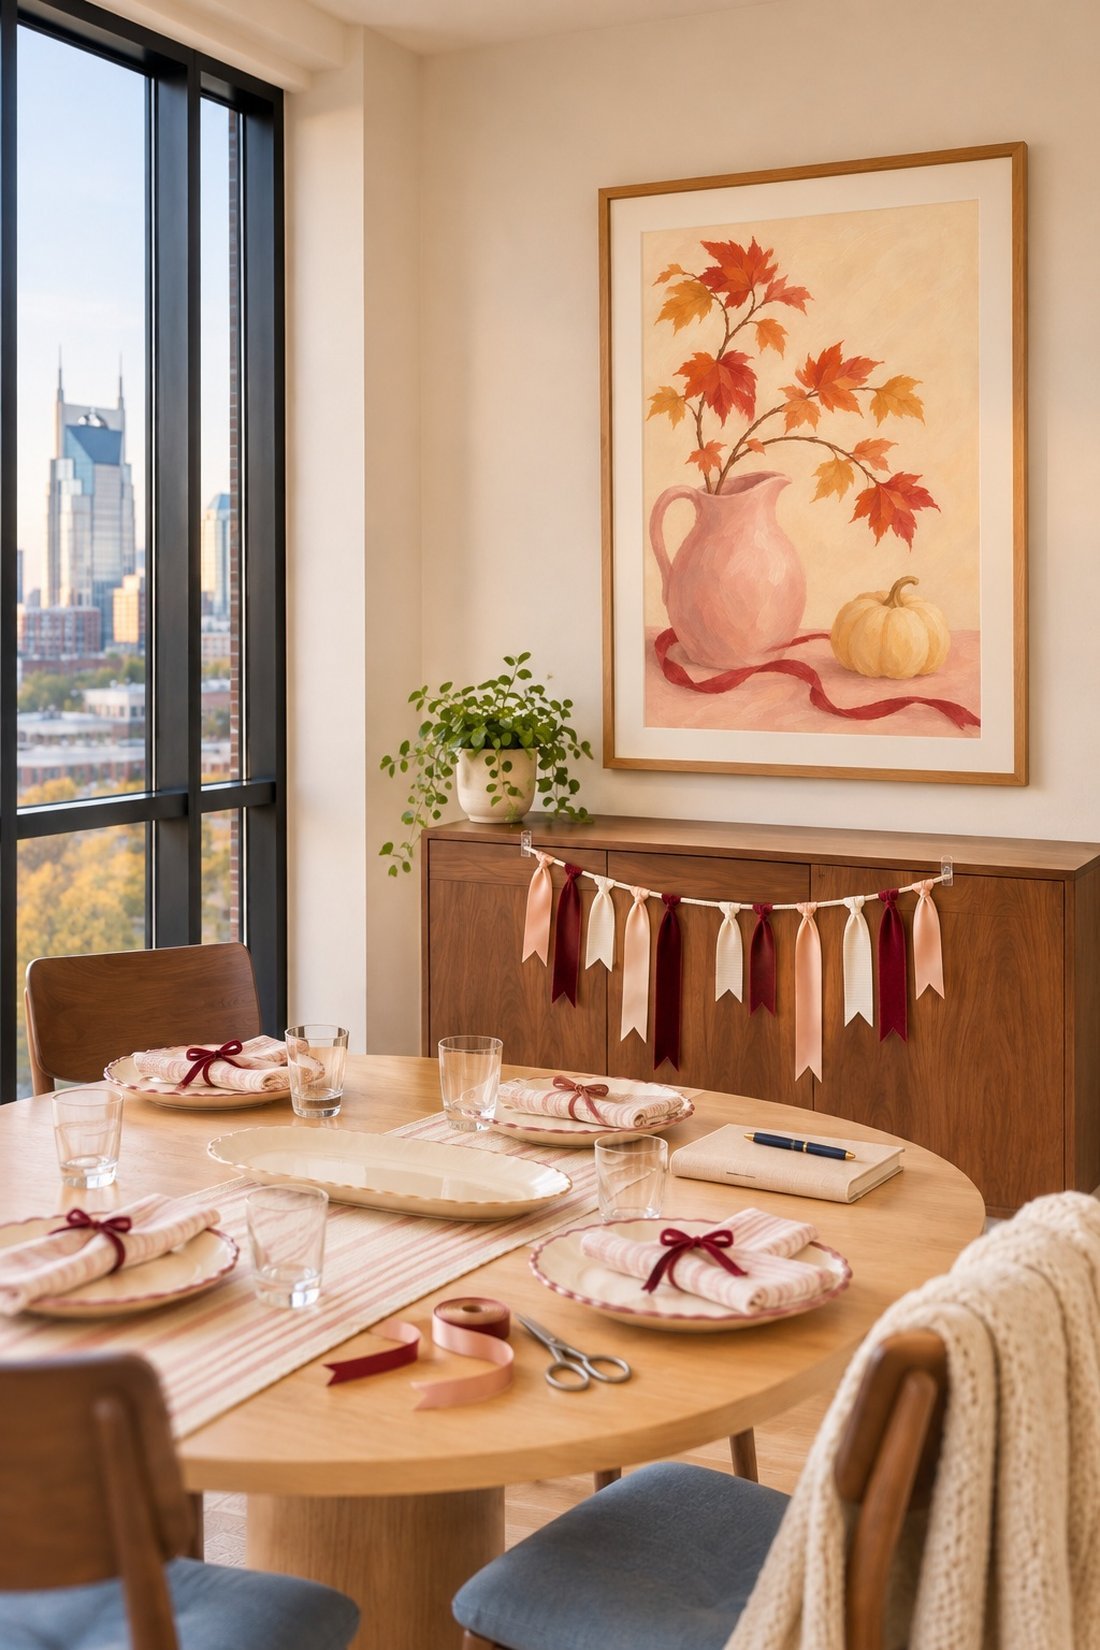
1. A painted kraft-paper Friendsgiving banner
A brown-paper banner with burgundy and cream lettering makes a good main sign. Start with a piece wide enough for your words, with room around the edges for a few painted leaves or bows.
What you need: A roll of kraft paper, a pencil, acrylic paint or paint markers, brushes and your chosen hanging supplies.
Lay the paper flat and sketch the words in pencil. Put “Friendsgiving” on the main line and a smaller “Happy” above it. Block letters are a good option if you want to paint the words without using script.
Add a few shapes around the lettering: a pumpkin, an oak leaf, a slice of pie or a small bow. Two or three kinds of shapes give you plenty to work with. A cream scalloped border is pretty against the brown paper, too.
Let the paint dry before hanging it. A cranberry word with cream accents looks especially good beside pink ribbon. If you're making more decor for the same gathering, our Thanksgiving crafts for adults has ideas for a whole craft afternoon.
2. A thankful-for banner your friends can fill in
A kraft-paper sign with “I'm thankful for” in the middle becomes part of the gathering when friends add their own notes. Leave most of the sheet open for their words.
What you need: Kraft paper, paint or a broad paint marker for the heading, and pens for guests.
Make the heading before dinner, then lay the banner on a table while people arrive. That gives everyone a firm surface to write on. Friends can add a person, a place, a funny shared memory or something good from the year.
Once the notes are on it, hang the banner where everyone can read it. A few small leaves around the edge leave room for long answers. This is the one to keep after the plates are cleared.
3. A paper leaf banner in fall colors
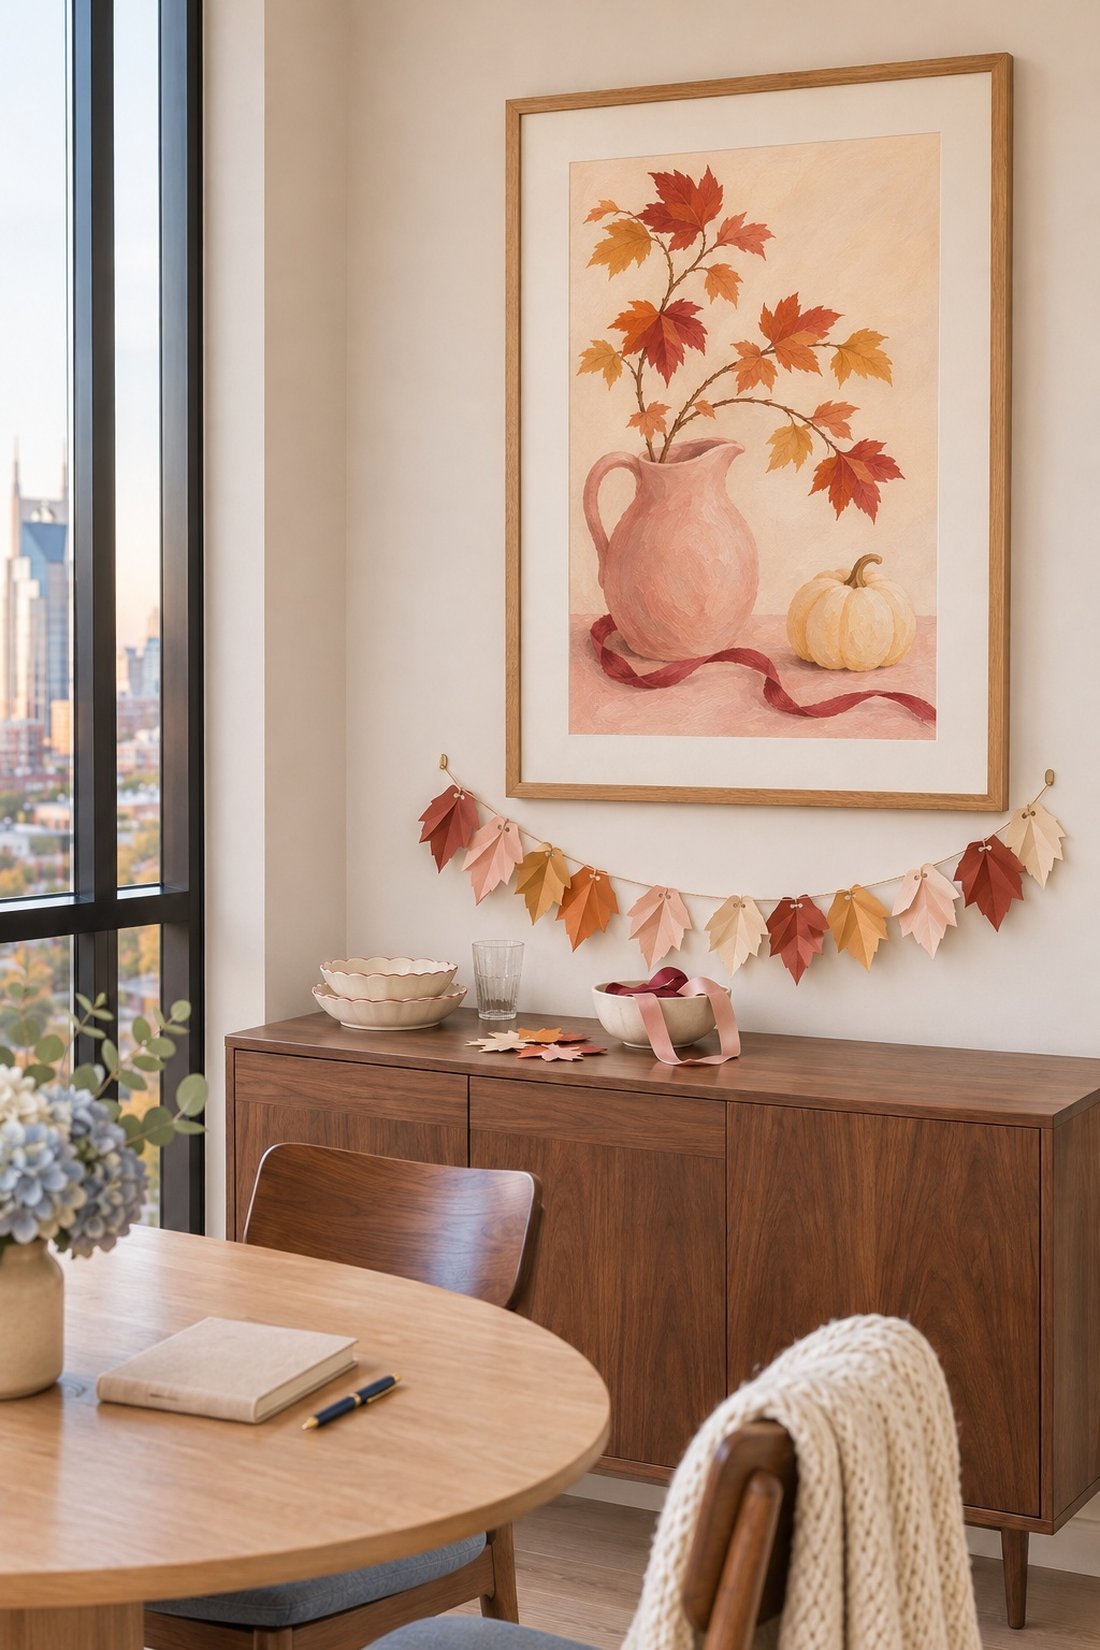
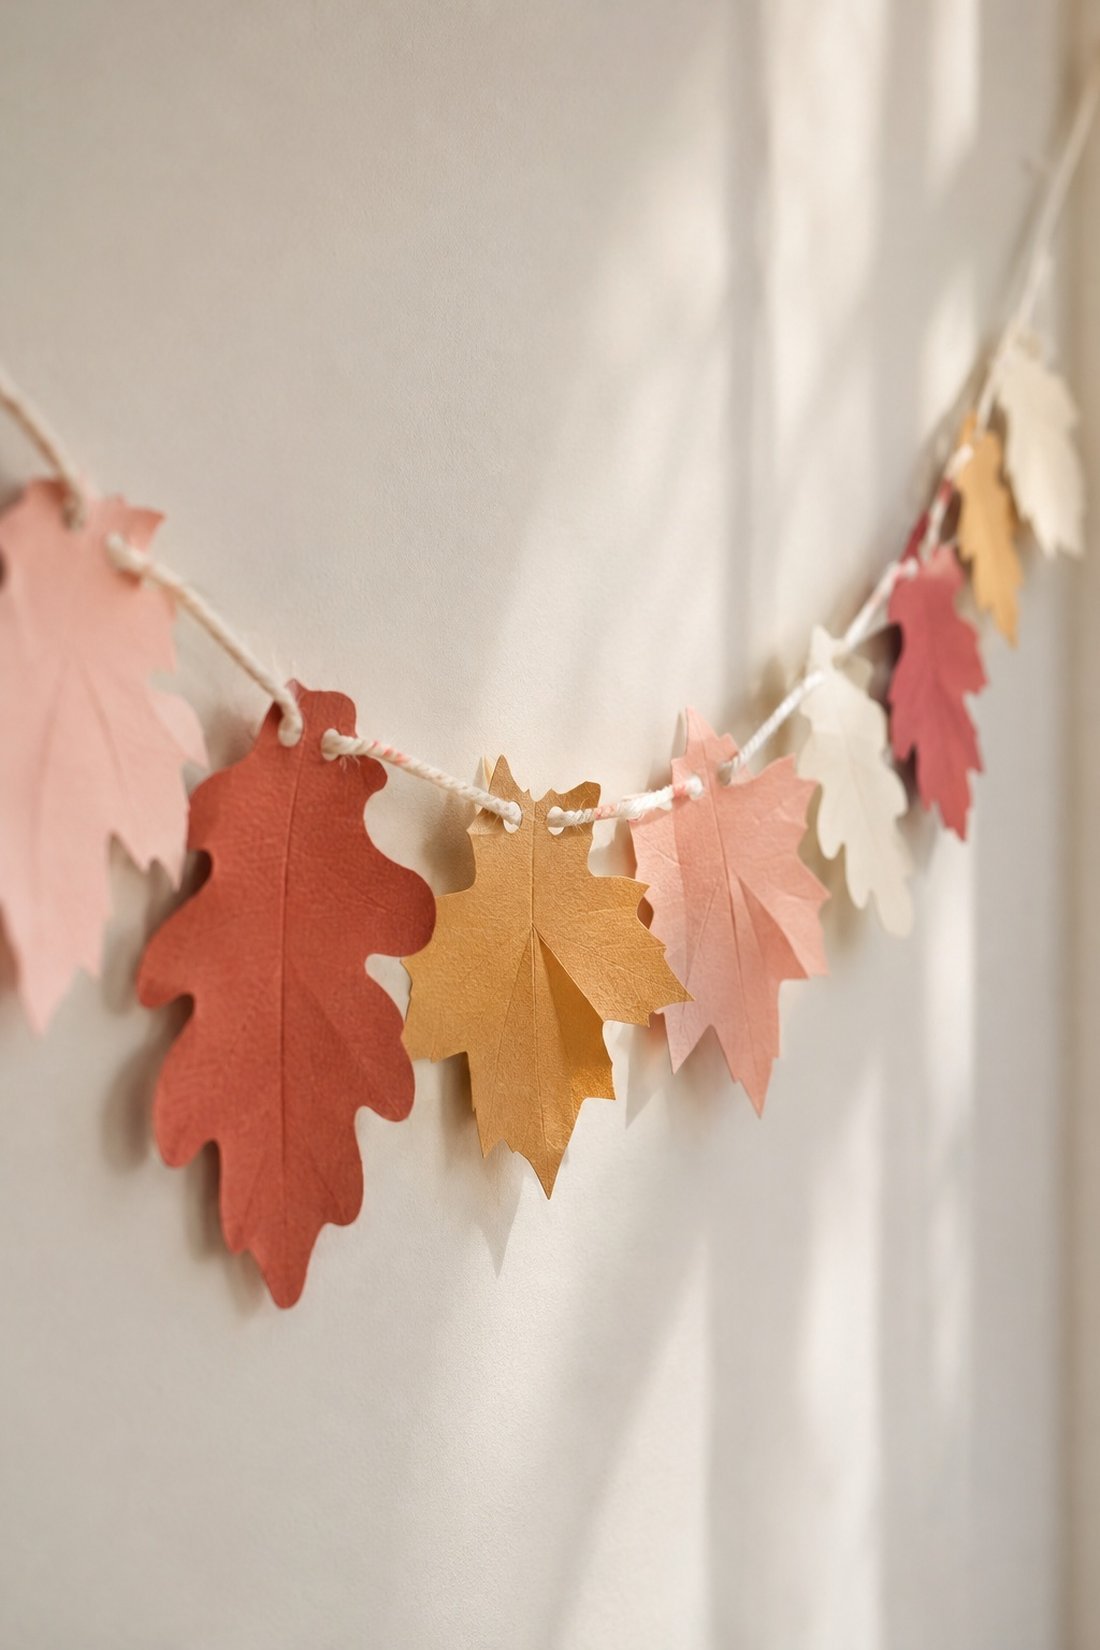
A paper leaf banner brings in fall shapes without taking up table space. Rust, ochre, cream and pale pink make a pretty mix, especially with a few different leaf shapes.
What you need: Colored cardstock, a pencil, scissors, a hole punch and thin cord.
Trace two or three leaf shapes onto your paper, then cut out a small stack. If you'd like a real shape to follow, Crayola's leaf art project shows how to outline a leaf on paper. Use that outline as the start of your cut-out shape.
Punch two holes near the top of each leaf. Thread the cord through one hole and back through the other so the leaf faces forward. Leave a little space between the shapes. A light fold down the center gives some leaves a bit of depth.
You can also leave a small tab at the top of a leaf, fold it over the cord and glue it to the back. That's useful for the smaller leaves in a layered banner.
4. A paper pie-slice banner
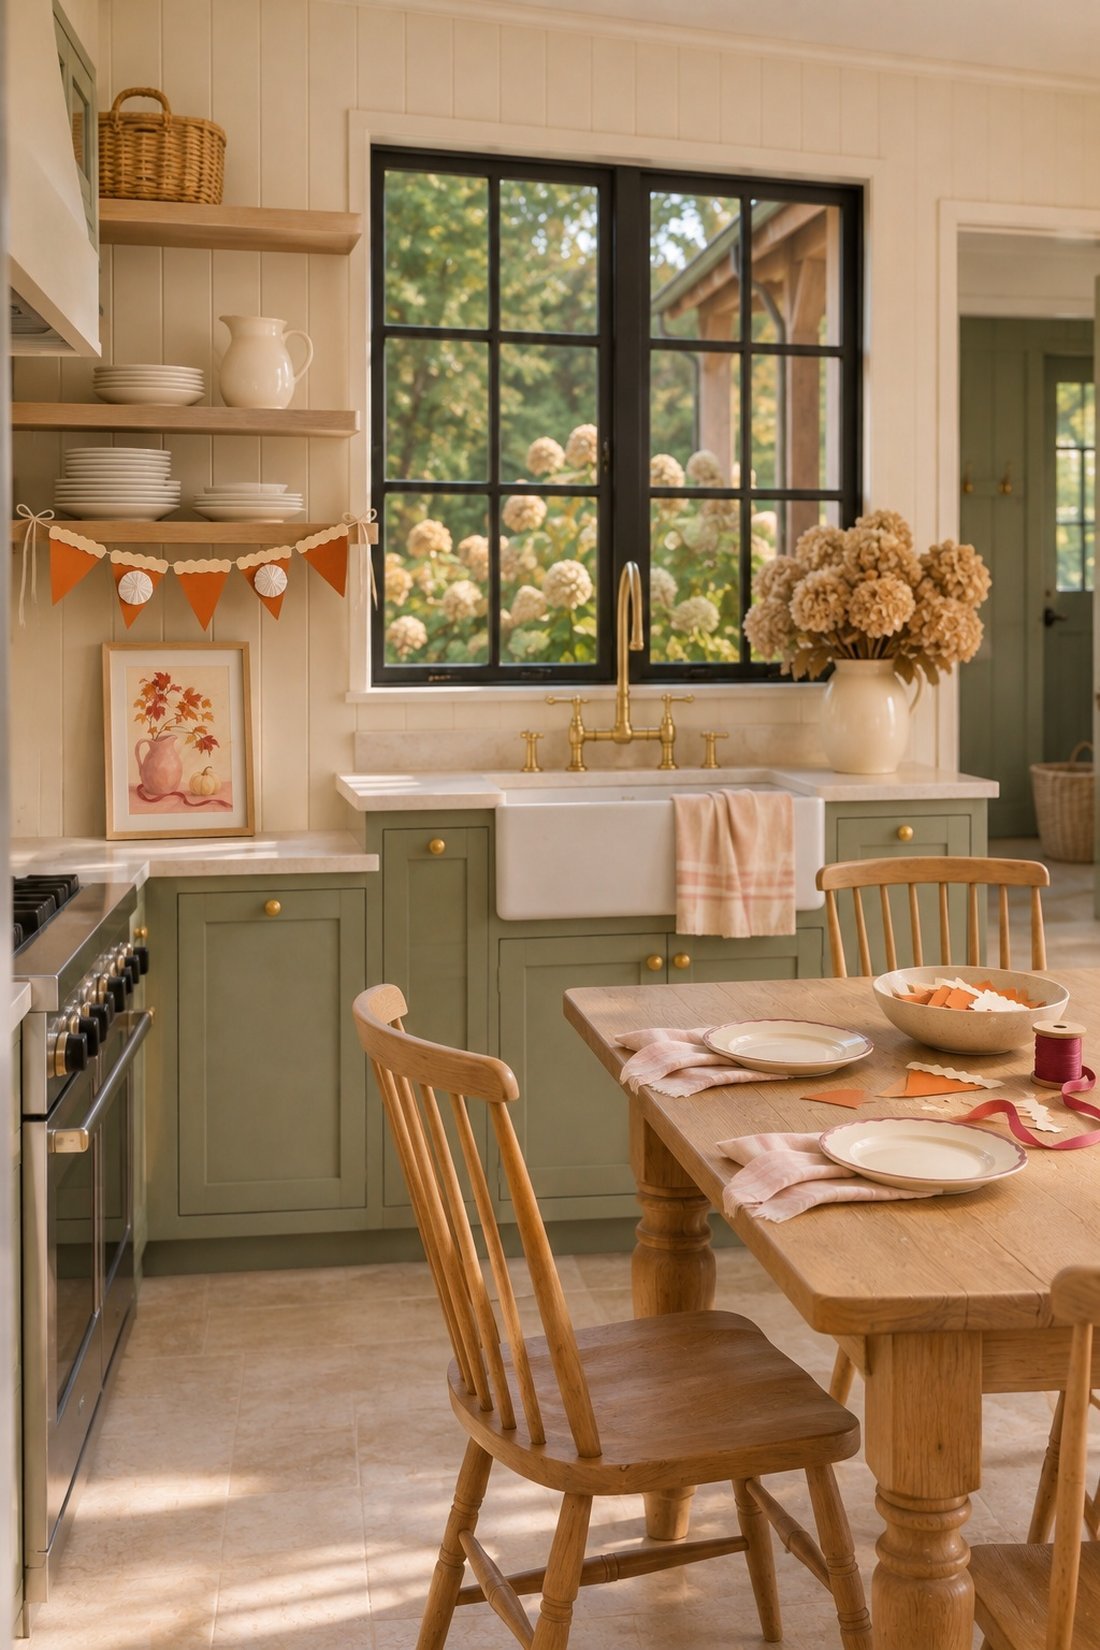
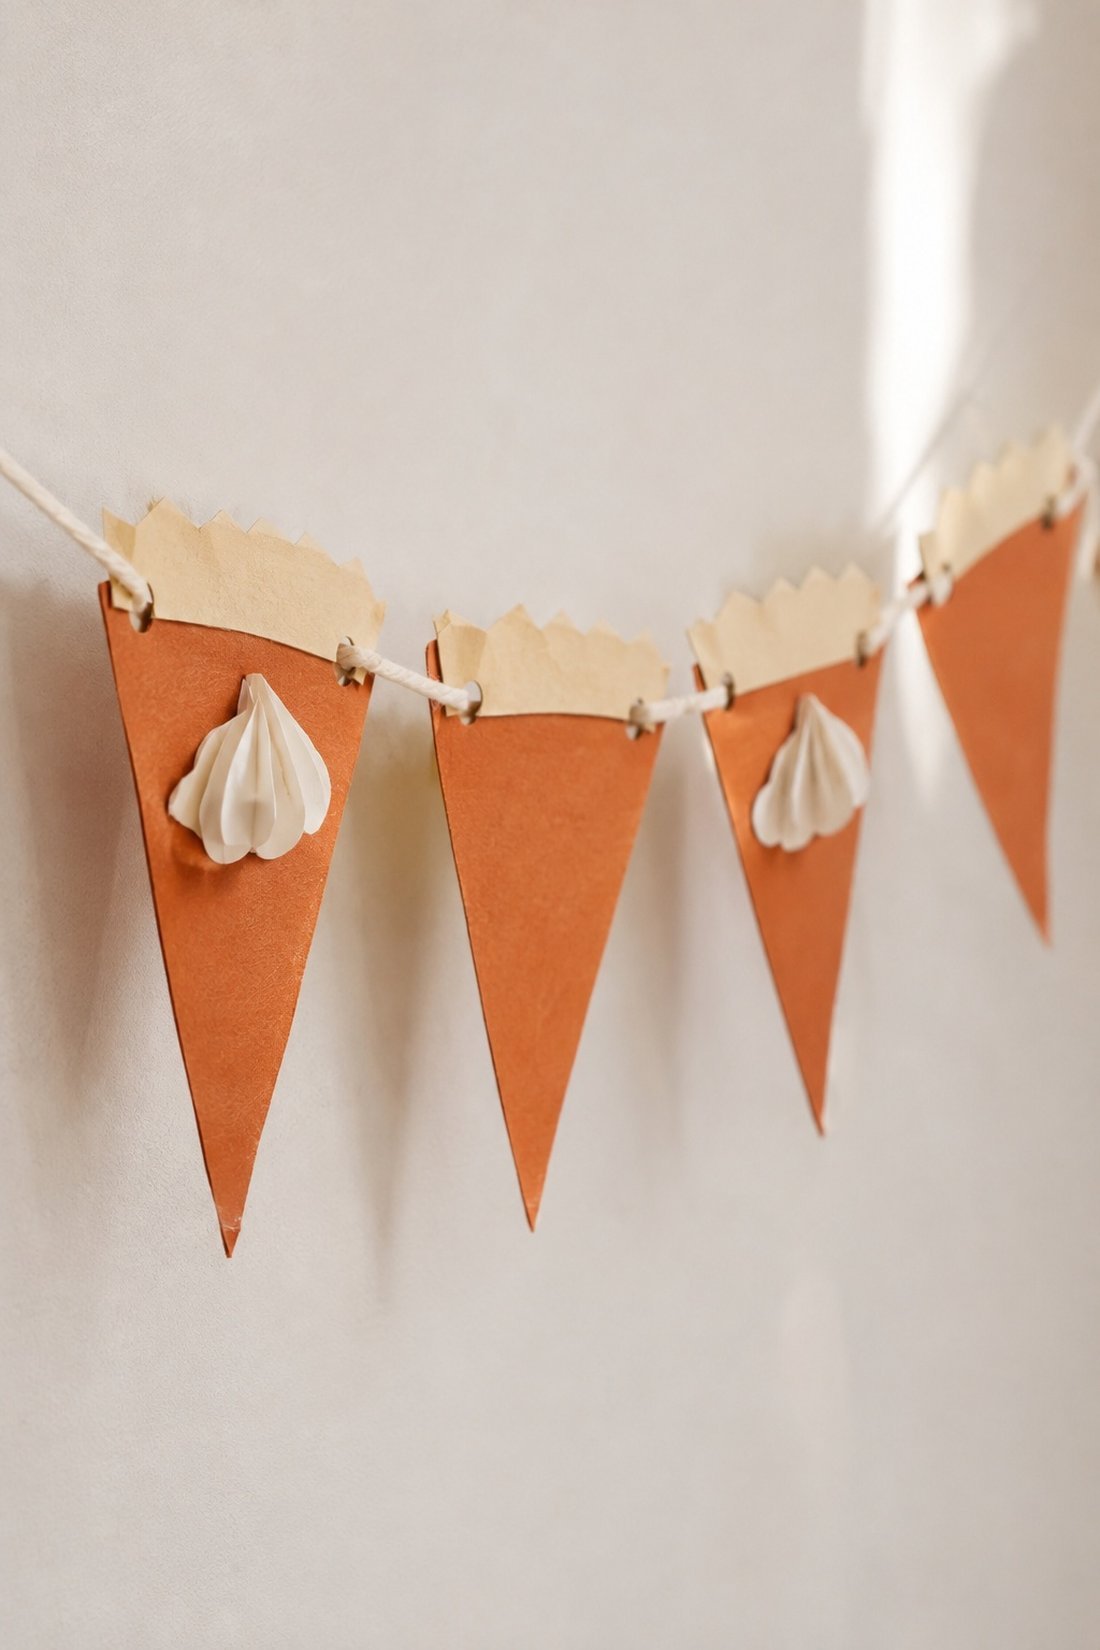
Paper pie slices are a fun choice above the dessert table. Orange triangles, cream crusts and little folded-paper dollops make the pumpkin-pie idea clear.
What you need: Orange and cream cardstock, scissors, paper glue, a hole punch and cord.
Cut matching orange triangles with the points facing down. Add a cream strip along each top edge, with a small zigzag cut for the crust. Punch a hole near each top corner and thread the slices onto your cord.
For a flat version, add a small cream circle to the center of a few slices. For a folded dollop, cut several matching cream teardrops. Fold them in half, glue the halves together into a small fan, and attach the flat back to a paper slice.
You can mix pumpkin-orange slices with brown ones for a chocolate-pie banner. And if you're deciding what goes on the actual plates, our Friendsgiving pie recipes has three pies to consider.
5. A mixed ribbon strip banner
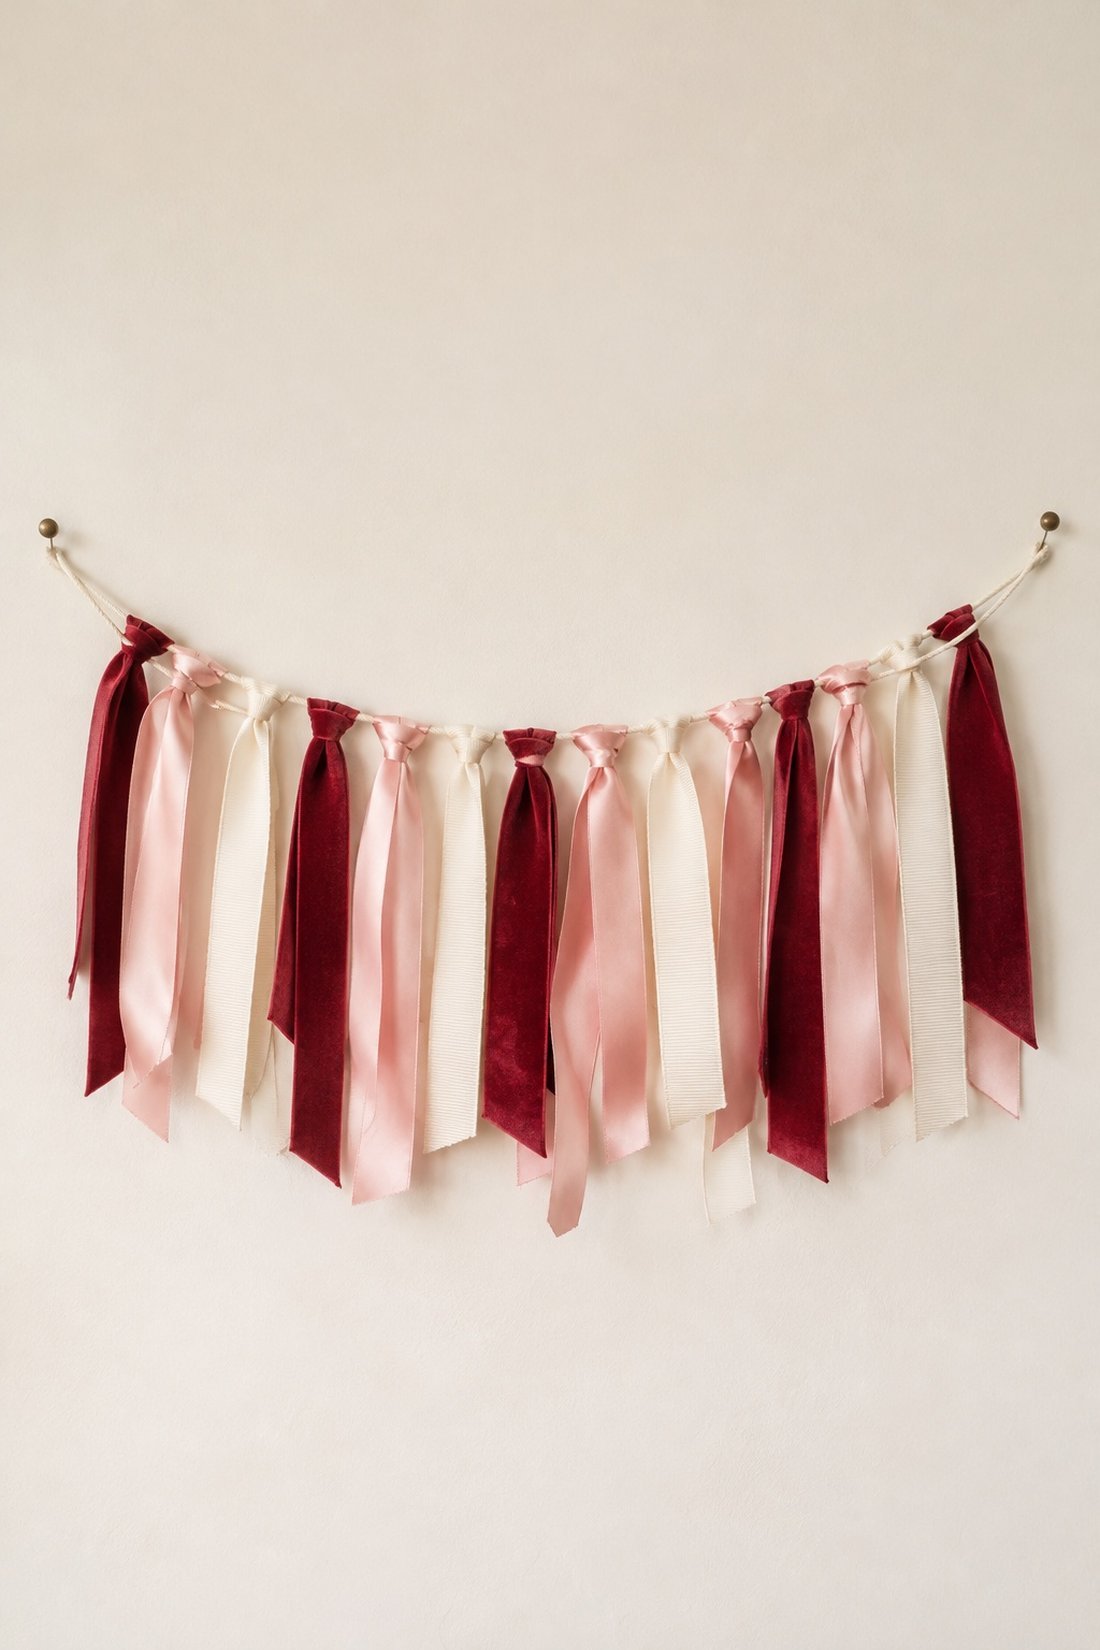
A ribbon strip banner uses one length of cord and individual ribbons folded over it. Mixing satin, velvet and ribbed ribbon gives the strand some variety without adding paper shapes.
What you need: Cotton cord, soft ribbon in two or three colors, and fabric scissors.
Cut a few test lengths first. For tails around 10 inches long, start with ribbon pieces a little over 20 inches. The loop uses some length, so tie one before cutting the rest.
Fold a ribbon in half and place the folded loop behind the cord. Bring both loose ends over the cord and through the loop, then pull them down gently. Repeat with one ribbon at a time.
Move the knots closer for a fuller banner, or spread them out so the wall shows between the strips. Blush, cream and cranberry are our pick here. Uneven tail lengths give the bottom edge a relaxed shape.
6. A velvet bow garland
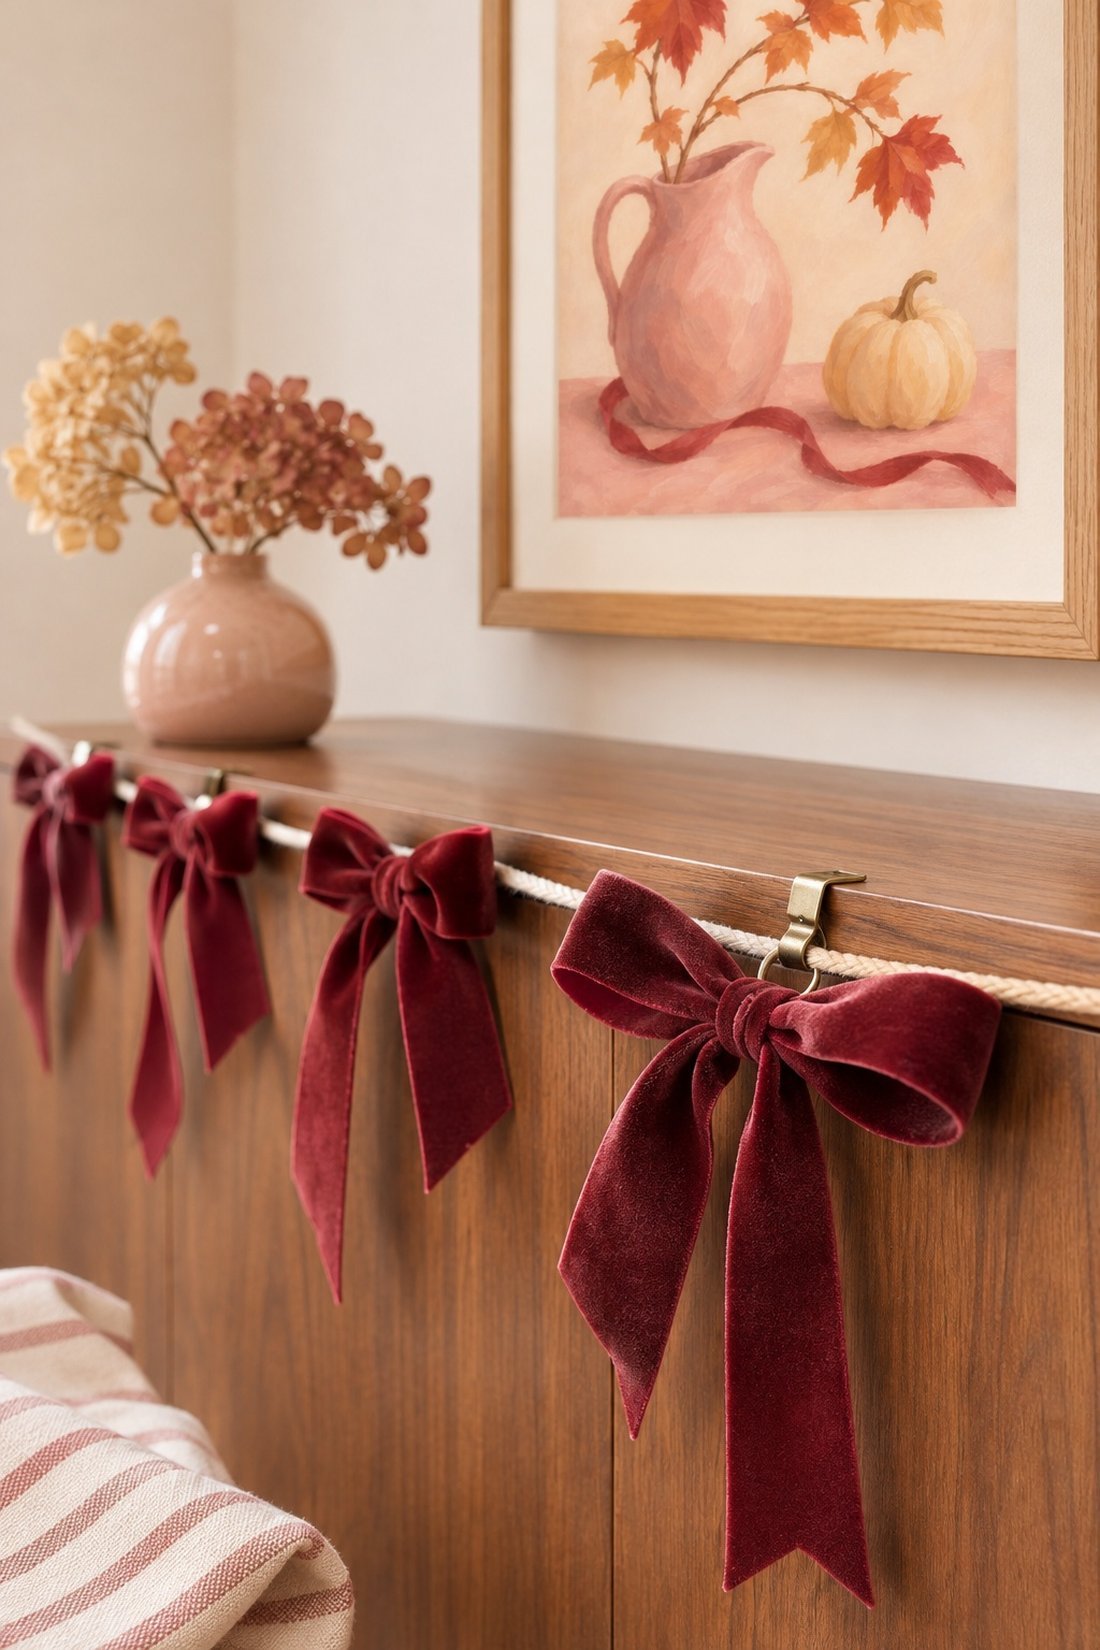
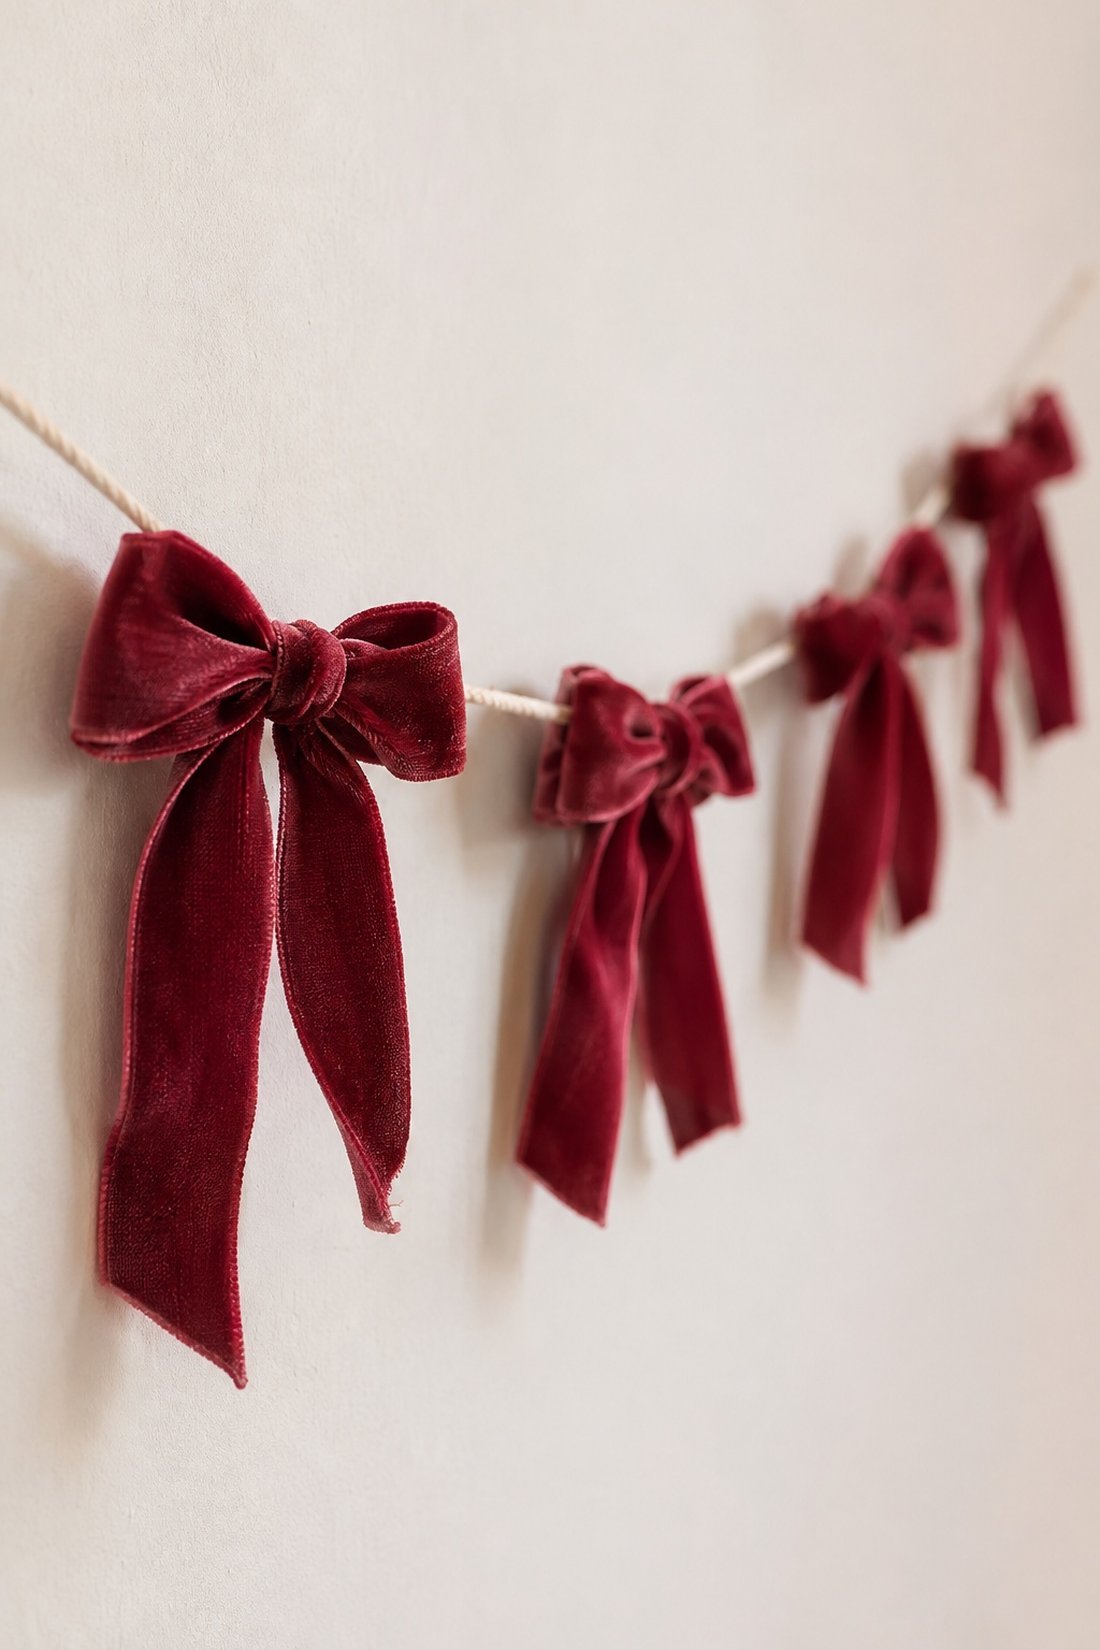
A bow garland spaces separate ribbon bows along a cord. Cranberry velvet works well for Friendsgiving, with long tails that hang below each knot.
What you need: Velvet ribbon, cotton cord and scissors.
Tie one bow around the cord and adjust its loops. Trim the tails once you like the size, then use that bow to judge the next one. Leave enough space for each bow to show its shape.
You can make every bow the same color or alternate cranberry and cream. If you'd like the table to share a ribbon detail, try our velvet bow napkin ties. The garland can have longer tails while the napkin bows stay small.
7. A wide ribbon flag banner
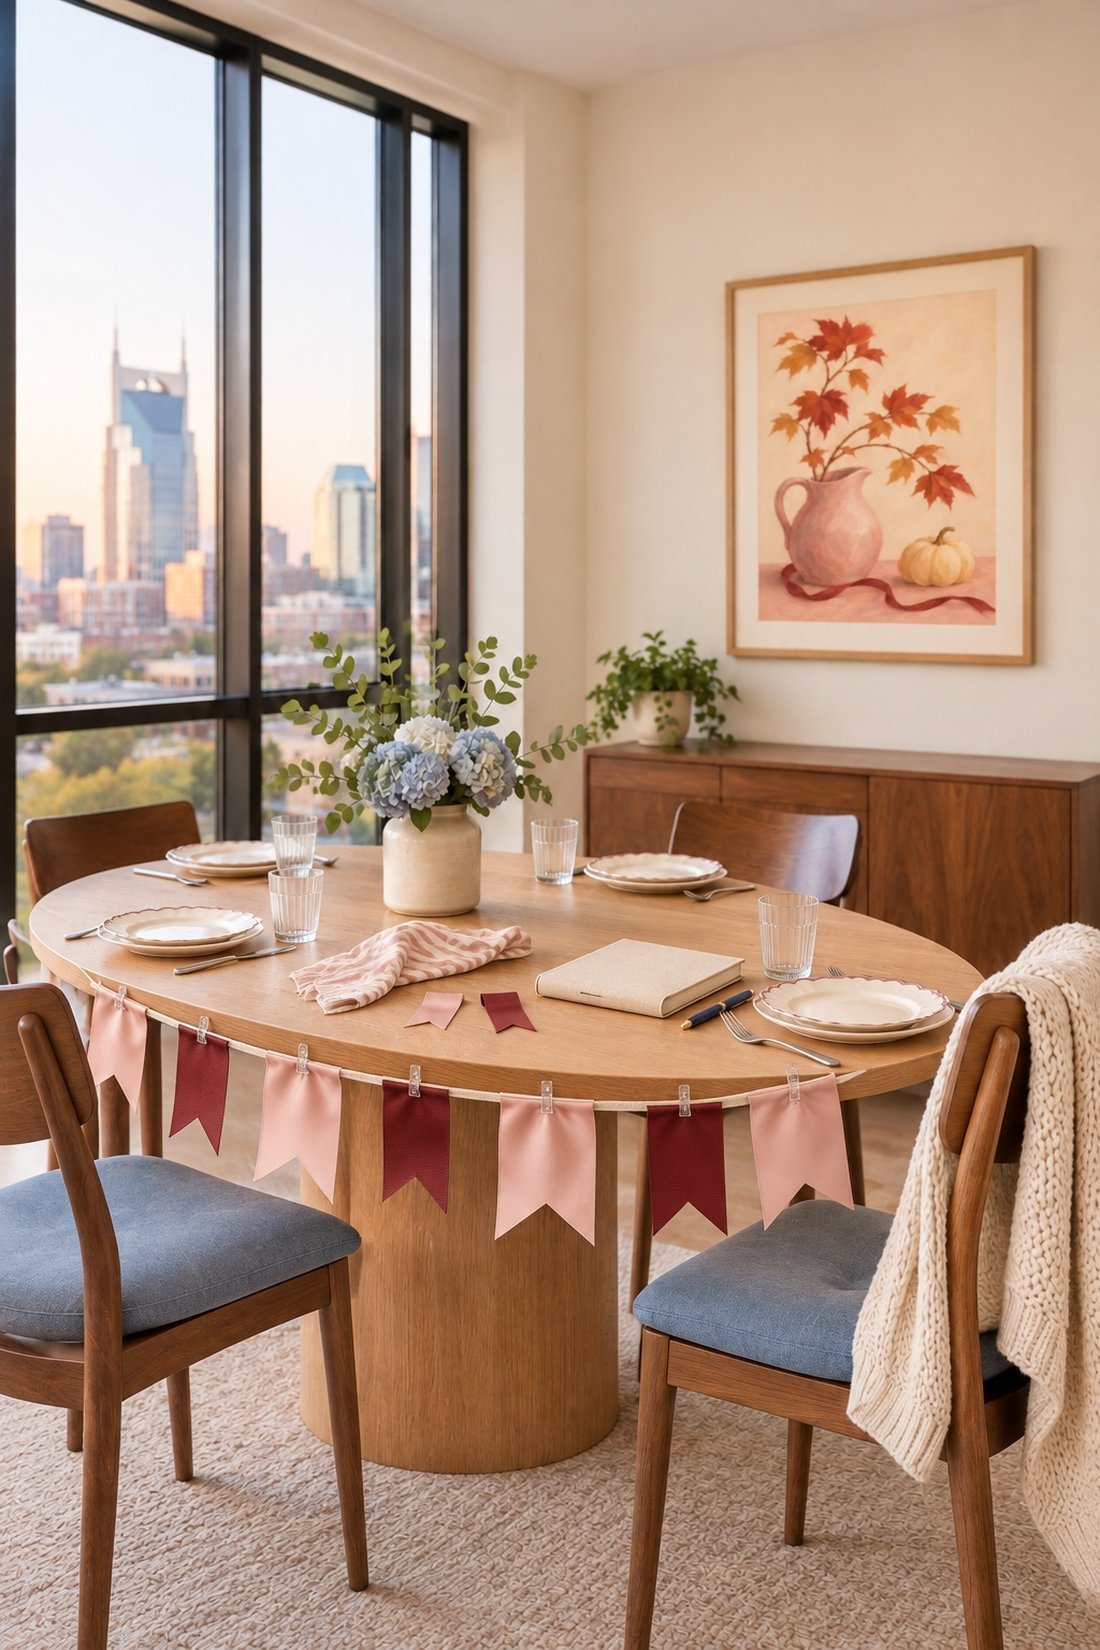
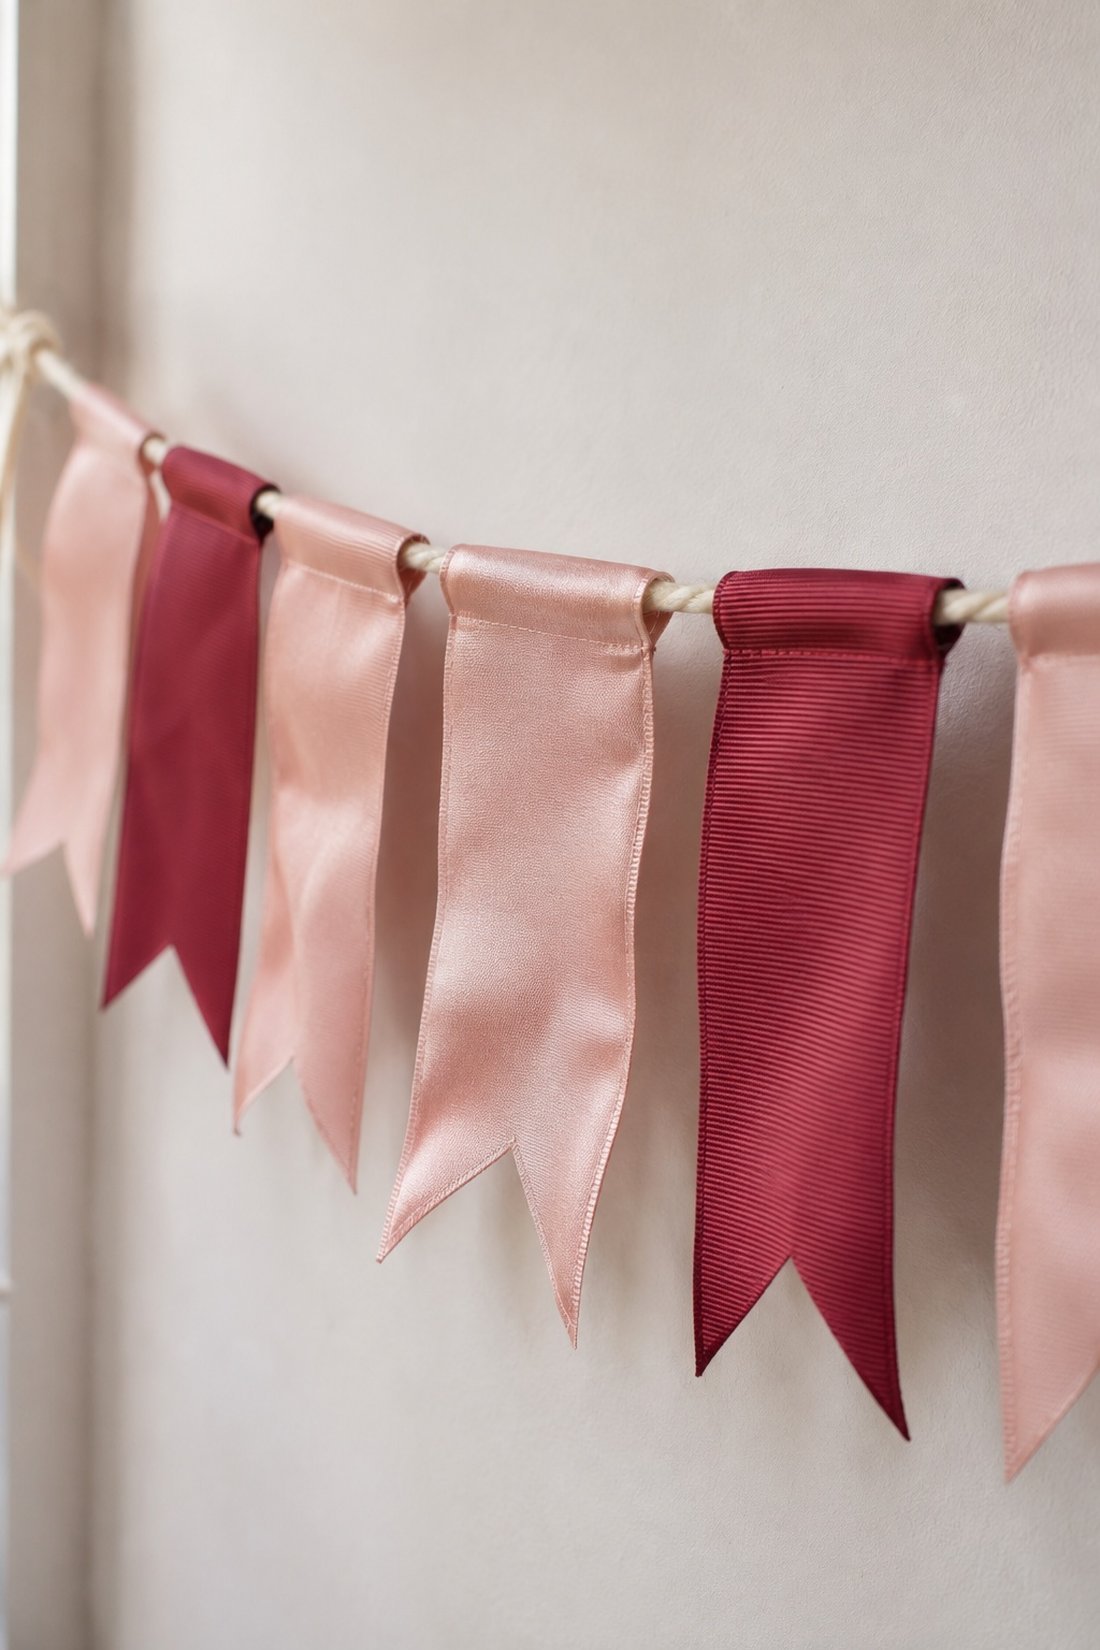
Wide ribbon makes soft little flags when you fold it over a cord and cut a V into each tail. It has the shape of a pennant banner with a fabric finish.
What you need: Wide ribbon, cord, scissors, and fabric glue or a needle and thread.
Choose the length you want each finished flag to hang. Cut a ribbon piece with extra length for a short fold at the top. Fold that top edge around the cord, then glue or stitch the fold to the back of the ribbon.
Cut one small V from the bottom edge. Make the next flags the same length, or let a few hang lower. Pale pink satin beside cranberry grosgrain gives you two different surfaces in one row.
8. A ribbon tassel banner
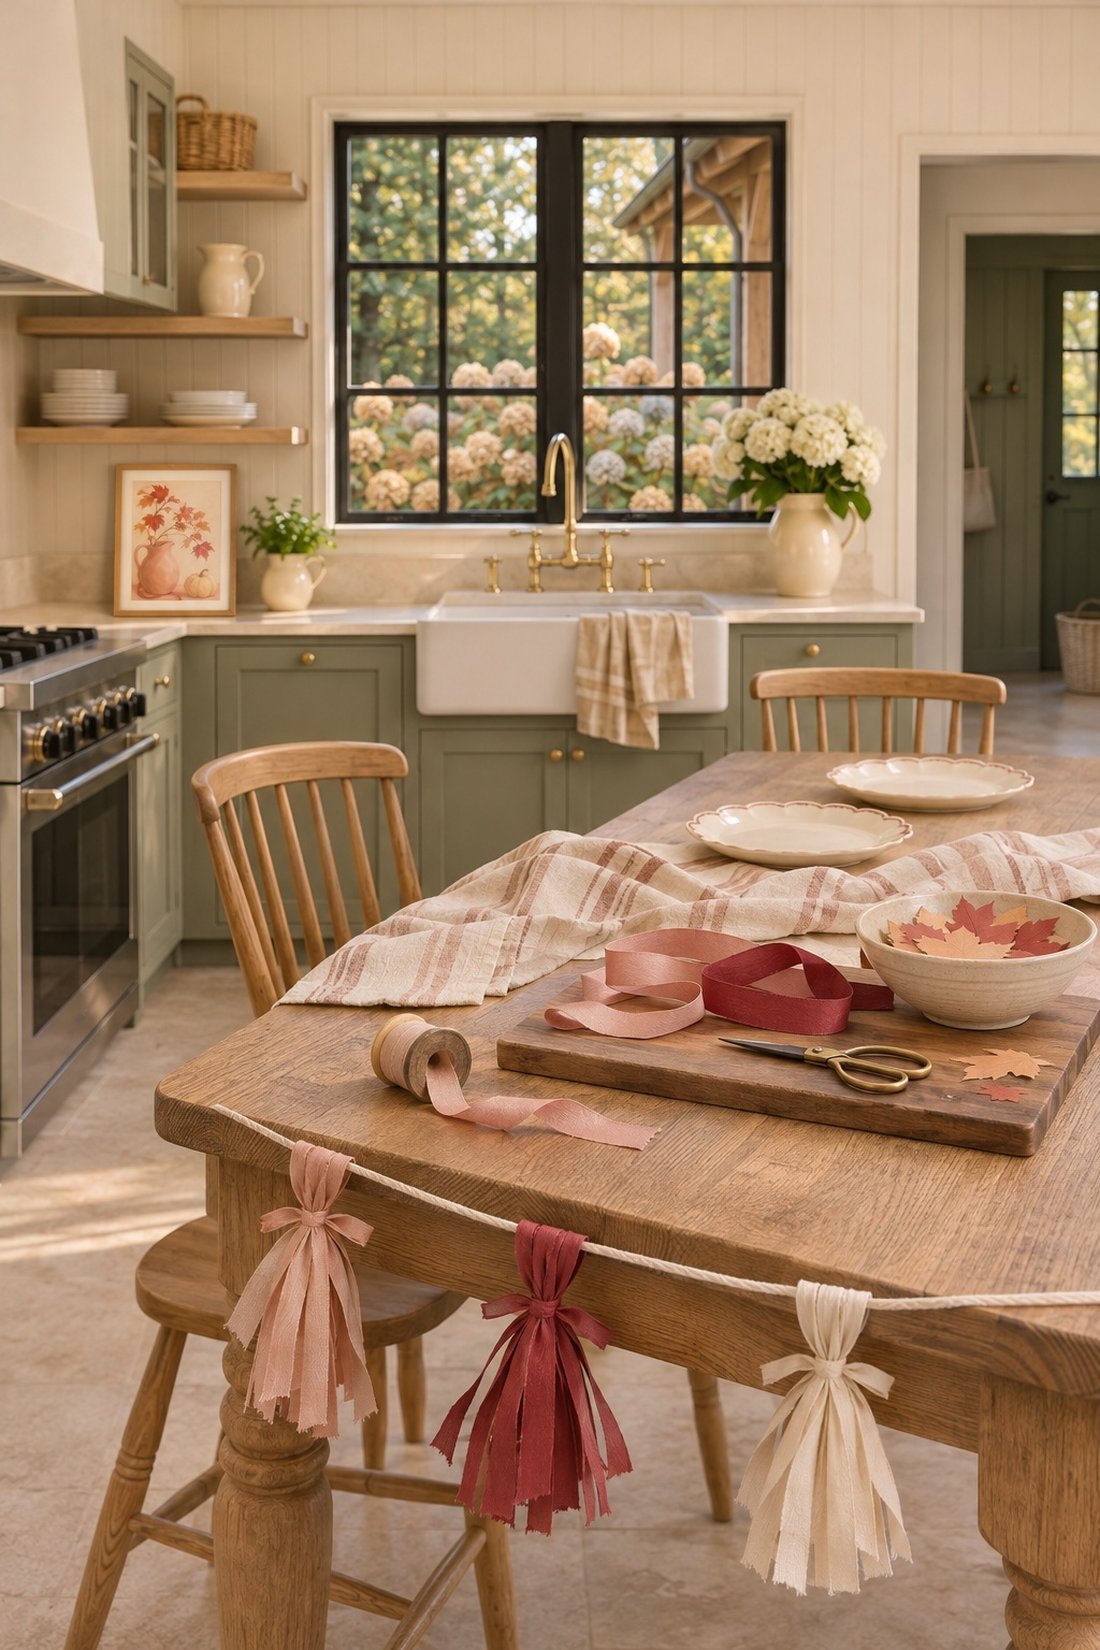
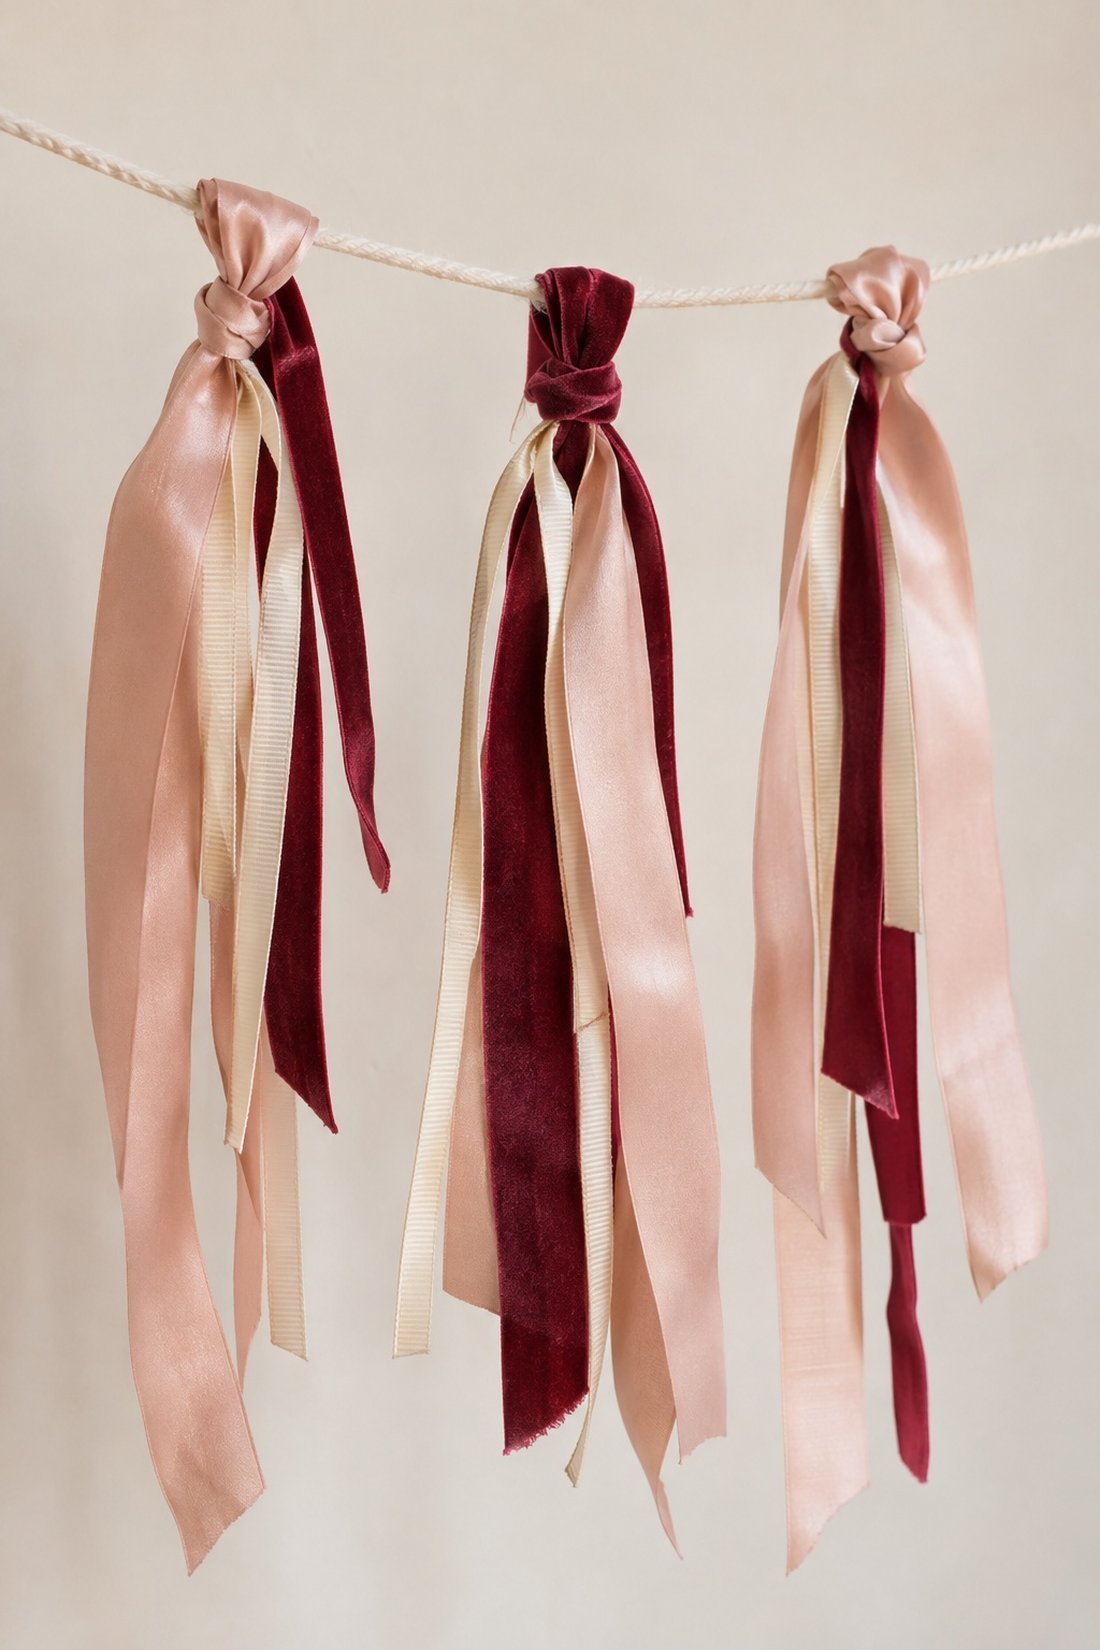
A tassel banner groups several narrow ribbons at each point on the cord. It's a good option for short offcuts, especially when you have a few colors but not a full roll of each.
What you need: Narrow ribbon, cord, scissors and short ribbon pieces for tying the bundles.
Gather three or four ribbon lengths and fold them over the cord together. Tie a short ribbon around the bundle just below the cord. Let the ends hang loose, then repeat farther along the strand.
Each bundle can have blush, cream and cranberry tails. Leave space between them so the separate tassels show. This version has more layers at each knot than the individual-strip banner.
9. A layered leaf-and-ribbon banner
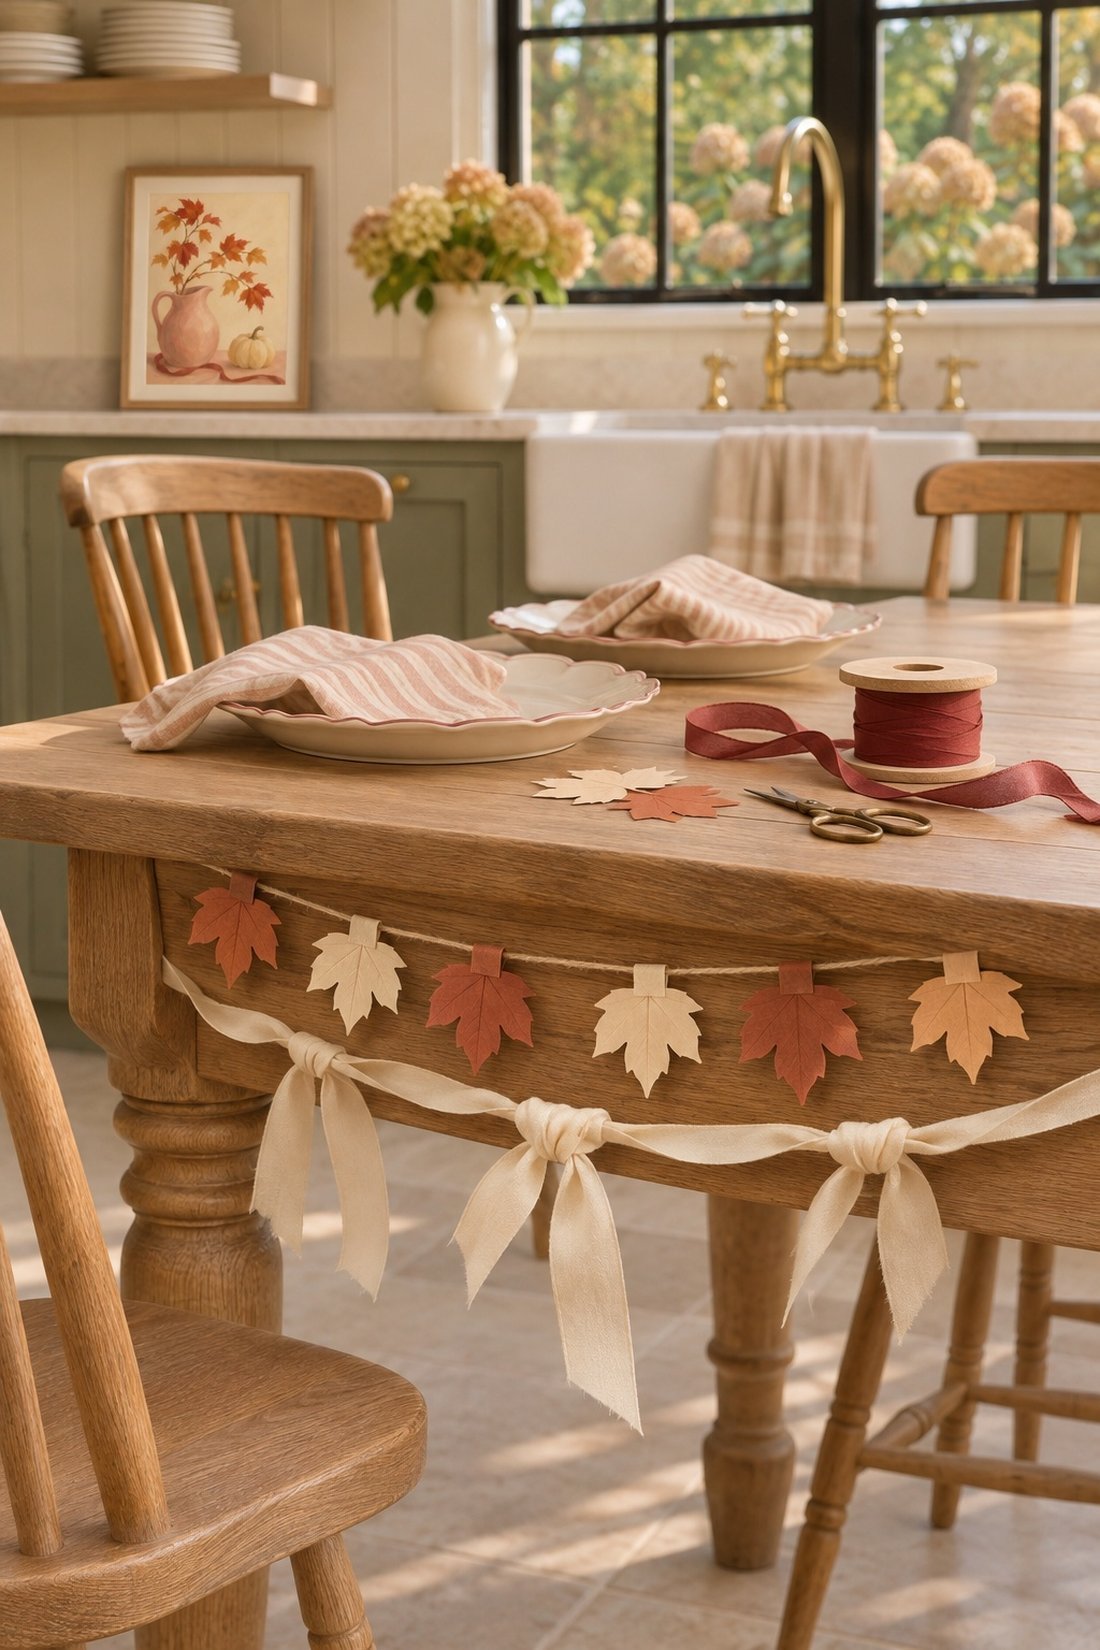
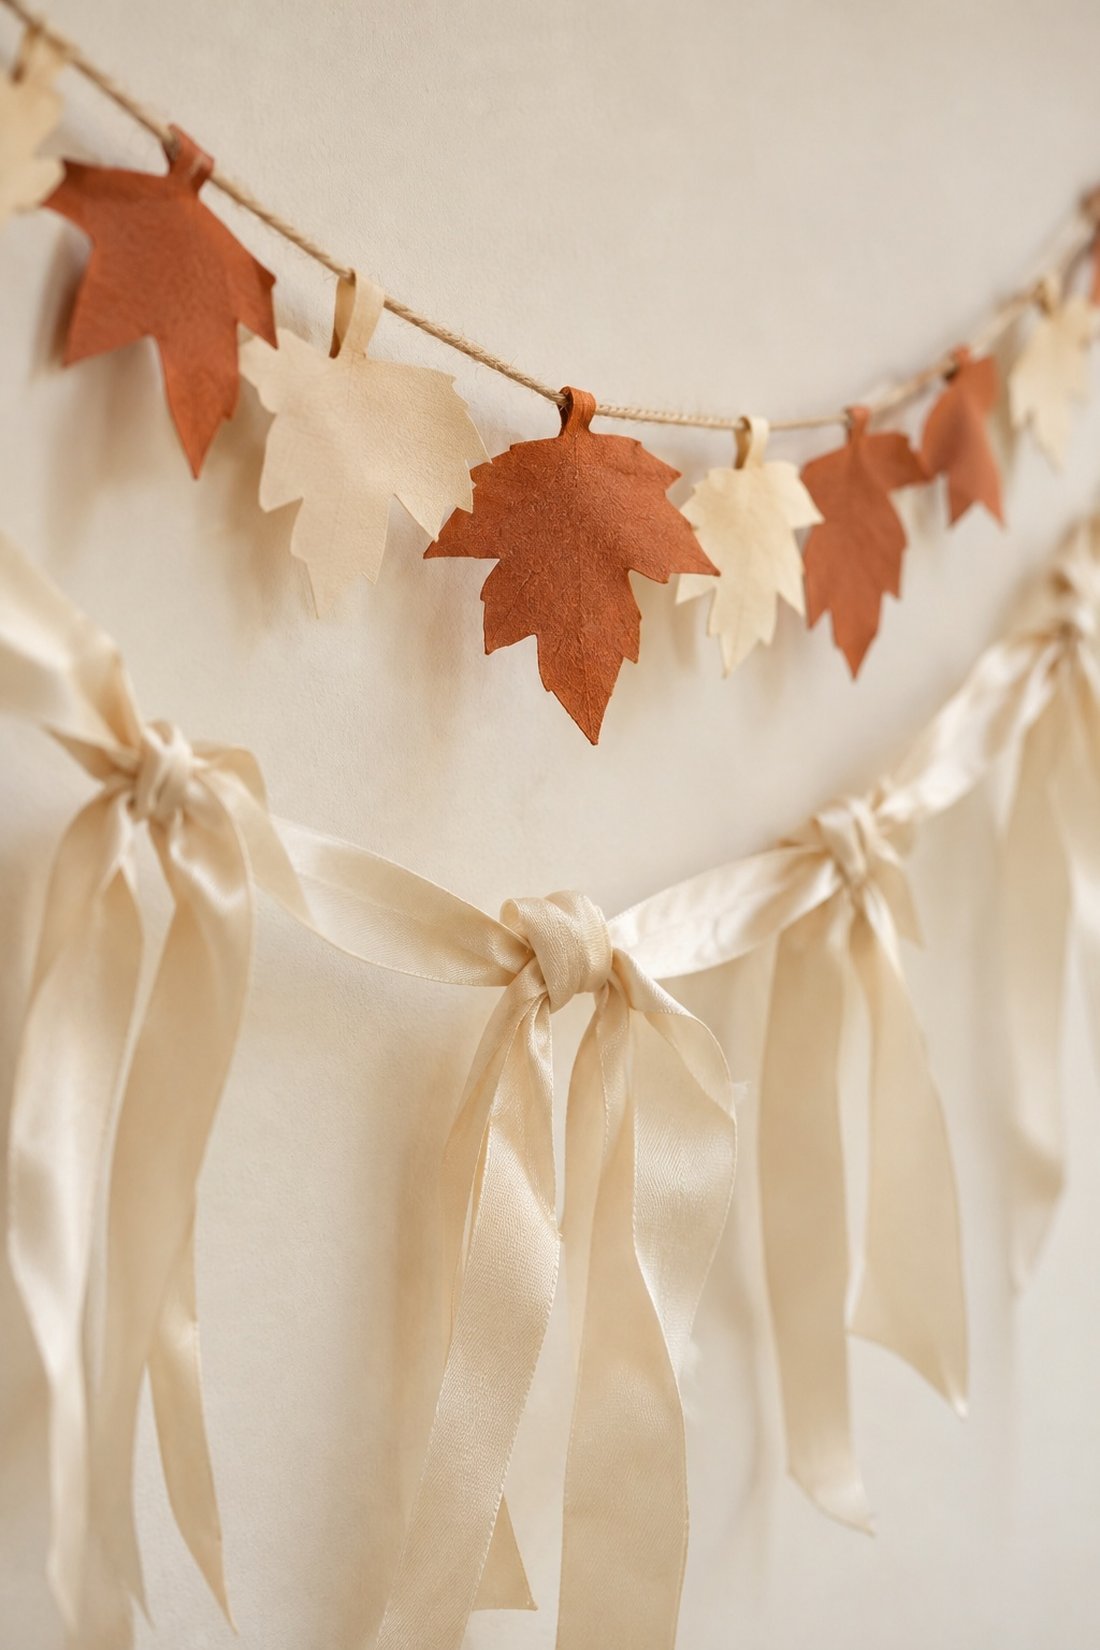
Two separate strands let you pair small paper leaves with long ribbon tails. Hang the leaf strand a little higher and the ribbon strand below it so both rows are visible.
What you need: A finished paper leaf garland, a second length of cord and ribbon.
Make the paper strand with punched holes or folded tabs. On the second cord, tie loose ribbon knots or small bows. Cream ribbon with rust leaves keeps the colors warm, while pale pink ribbon adds a softer detail.
Try the strands together before fixing the final height. A small gap between them helps the leaf tips and ribbon knots keep their own shape. This also looks pretty below a large kraft-paper Friendsgiving sign.
Where to hang your Friendsgiving banner
The wall above the food or dessert table gives a banner a clear place in the room. A short garland also fits along a shelf or across the front of a serving table.
Choose your hanging method for the banner and the surface. Command's banner and garland guide shows poster strips for flat signs and decorating clips for strands. The product directions cover the surface prep and hanging steps for that item.
For a small wall, try one leaf or bow strand. For a larger space, pair the painted paper sign with a row of mixed ribbons underneath. The pie slices can have their own spot by dessert.
