Velvet bow napkin ties add a soft fall detail to a Friendsgiving table with a short piece of ribbon and a cloth napkin. This version pairs mauve velvet with blush stripes, a cream plate, and a small dried flower tucked under the knot.
You tie the ribbon straight around the folded napkin, so there's no separate ring to buy or glue. Keep the bow tails short enough to sit on the plate. The result has all the ribbon charm, with plenty of space left for dinner.
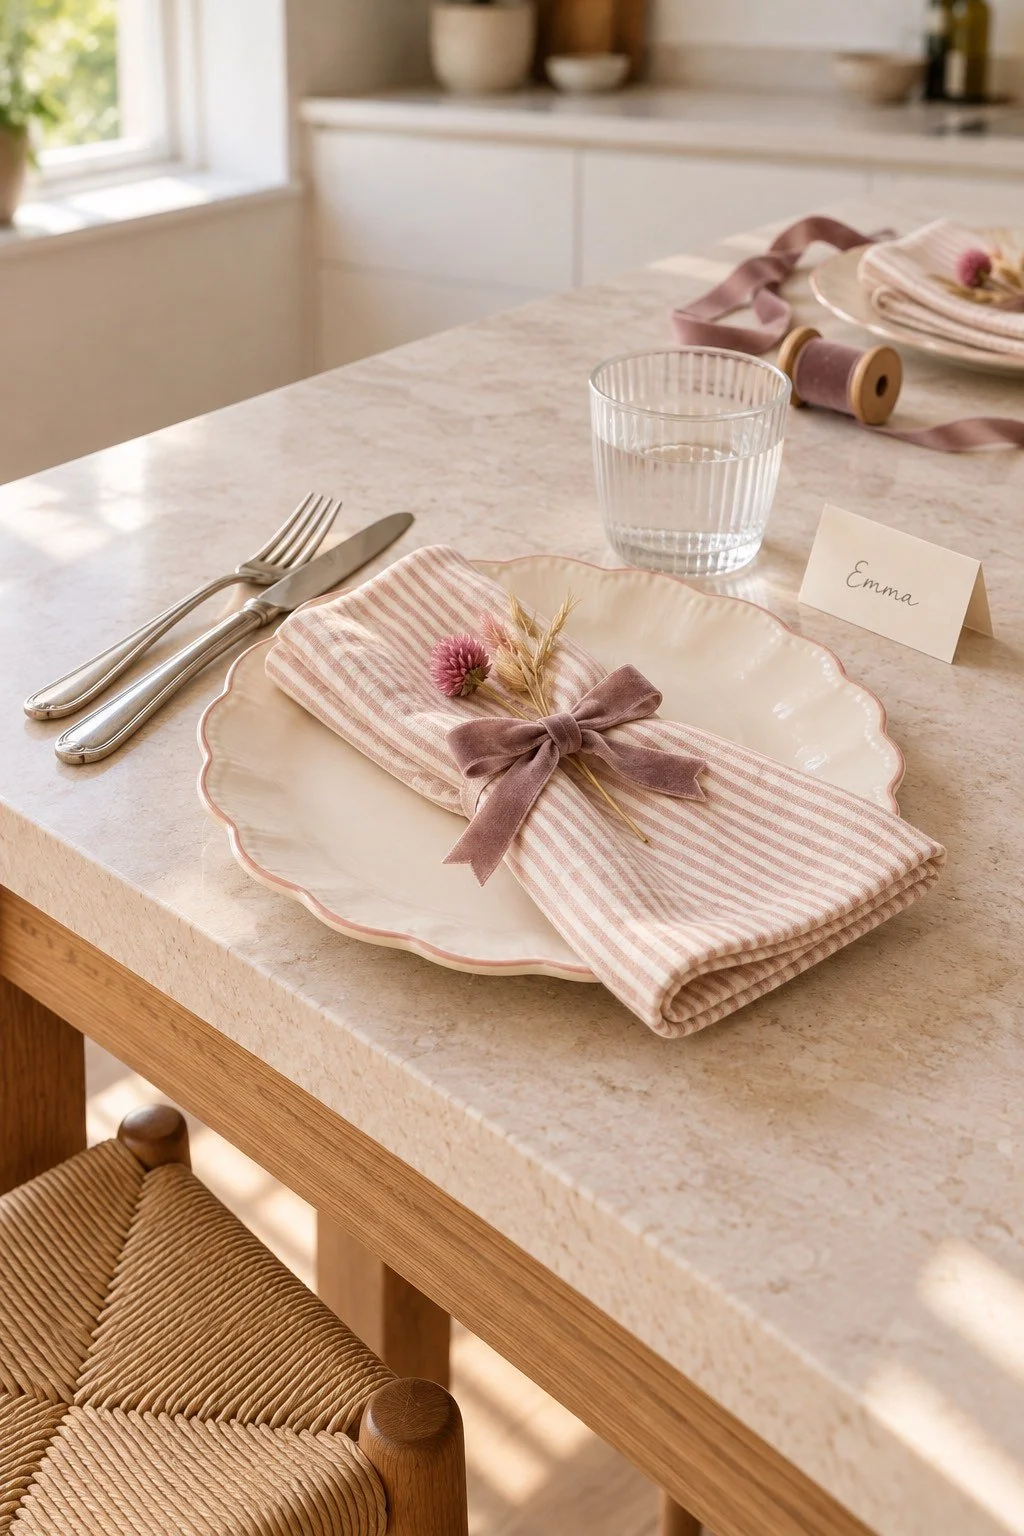
What you need for velvet bow napkin ties
For each place setting, gather:
- One clean cloth napkin
- A length of velvet ribbon
- Sharp scissors that cut fabric well
- A plate
- An optional small dried flower or oat stem
- An optional folded paper place card
Ribbon around ⅝ to 1 inch wide is a useful starting point. A narrow ribbon makes a small bow; a wider one gives you fuller loops. Choose a soft ribbon that bends at the knot rather than a stiff wired one.
For the colors shown here, use dusty mauve ribbon and a blush-and-cream striped napkin. Cream fabric works, too. Start with the napkins and plates you own, then choose ribbon that looks good beside them.
Make one whole place setting before cutting ribbon for the rest. Napkin size, fabric thickness, and bow size all change how much ribbon you need. That test tie will tell you more than a guessed length for the full table.
If you're making these as part of a craft afternoon, set out the ribbon and napkins on a clear table. Our seasonal craft ideas for your dorm has more projects that work well with a small group and a shared set of supplies.
Fold the napkin to fit your plate
Lay the napkin flat with the side you want to show facing down. Smooth it with your hand. Fold the sides inward to make a long rectangle, then fold the ends until the shape fits inside your plate.
The exact number of folds depends on the napkin. A large dinner napkin may need more folds than a smaller cotton square. Keep the layers flat enough that the ribbon can wrap around the middle without making a hard bundle.
For a striped napkin, check where the stripes fall before you finish folding. You can run them along the long side or across it. Choose one direction for the table if you want the settings to feel related.
Set the folded napkin on the plate before adding ribbon. Leave a border of the plate showing around it. If the fabric hangs far over the rim, make the fold smaller so the bow and tails have somewhere to rest.
Test one ribbon length
Place the folded napkin over a loose length of ribbon. Bring the ends around the middle and make a soft first knot. Leave enough on both sides to form loops and short tails without pulling the fabric tight.
For your first test, start with about 24 inches of ribbon. Treat that as a test length, rather than a fixed amount for every napkin. A thick fold or a wider bow can need more. A small napkin and narrow ribbon may need less.
Once the bow looks right, untie it and measure the length you used. Cut the other pieces to match, adding a little room for trimming. Save the short offcuts for testing the scissors and the way the ribbon ends sit.
If you have one ribbon with a velvet face and a smoother back, notice which side faces out as you tie. You may need to turn a loop with your fingers so the soft velvet shows on both sides.
Tie the bow around the napkin
Cross the ribbon ends over the front of the napkin and tuck one under the other. Pull until the band sits in place. Keep it snug enough to hold the fold, but loose enough that the napkin can slide out later.
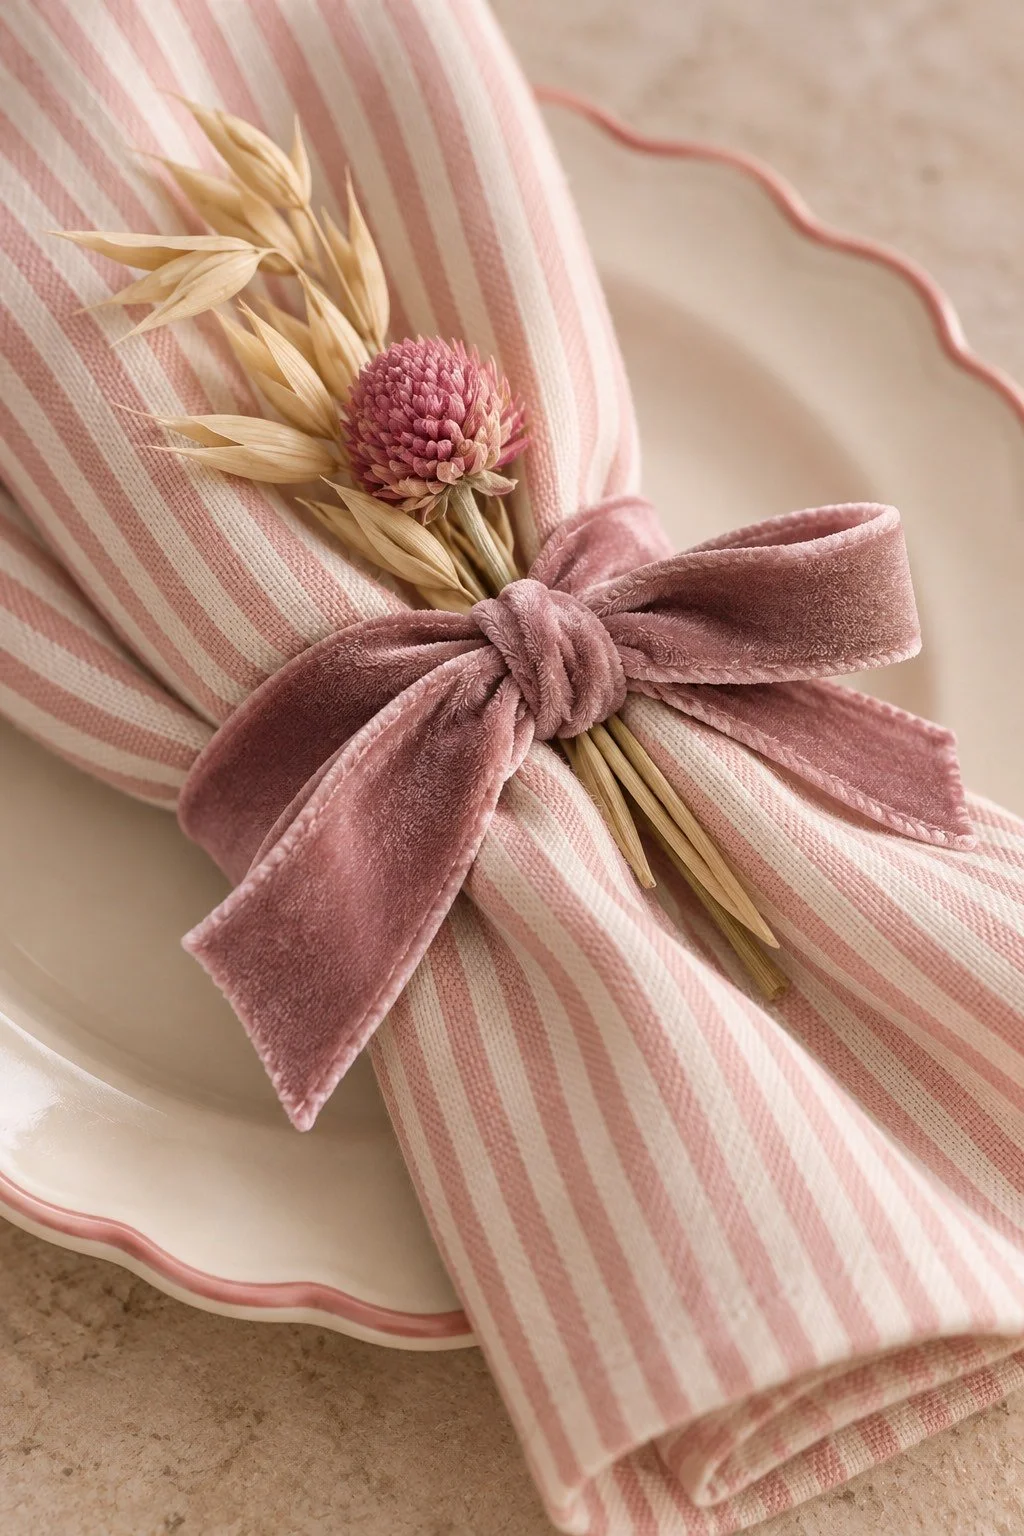
Make a loop with one end. Wrap the other end around that loop and push a second loop through the space behind it. Hold both loops and pull gently to settle the bow.
Now adjust it a little at a time. Pull a loop to make it bigger, or pull its tail to make it smaller. Work on both sides until the loops feel balanced. They can have a relaxed shape without being exactly the same.
Turn the center knot so it sits flat against the napkin. If the ribbon twists, loosen the knot and smooth the band before tightening it again. Pulling harder usually makes a twist more obvious, so give the fabric a little room to move.
Trim the tails after tying
Set the tied napkin on the plate and look at the tail length. Trim each end at a slight angle if you want a neat finish. For this short-bow look, the tails sit within the plate instead of running down the table.
Cut a small amount first. You can take more off, but you can't add it back. Check both tails after each cut, since the bow may sit at an angle and make one look longer.
Keep the scissors sharp enough to cut without chewing the edge. Test an offcut if you're unsure. If your ribbon frays a little, use clean cuts and handle the ends as little as possible. There's no need for a heat-sealed edge for this table project.
For a fuller bow, widen the loops before trimming the tails. For a quieter detail, make the loops smaller and let the striped fabric show around them. Both versions work with the same fold.
Tuck in a small dried stem
A tiny dried pink flower and an oat stem add a fall detail without filling the plate. Choose a short piece, then slide the stems beneath the center band or knot. Keep the flower head above the bow so the ribbon still shows.
Check for loose seeds or petals before placing the napkin at the table. Skip anything that sheds on the cloth. If you're using stems, put them on the outside of the napkin and remove them before guests use it.
You can also leave the flower out. The velvet and stripes have enough texture on their own. A small paper name card beside the plate gives the setting another personal detail without adding anything to the napkin.
For a table with several handmade pieces, choose one flower type and use it in small amounts. That keeps the place settings connected while giving each one room. The flower should feel like a little finish, rather than a bouquet tied to dinner.
Add a folded name card
Cut a small rectangle from cream cardstock and fold it in half. Stand it beside the plate, then write the guest's name in clear, small letters. You can make the card wider for a longer name.
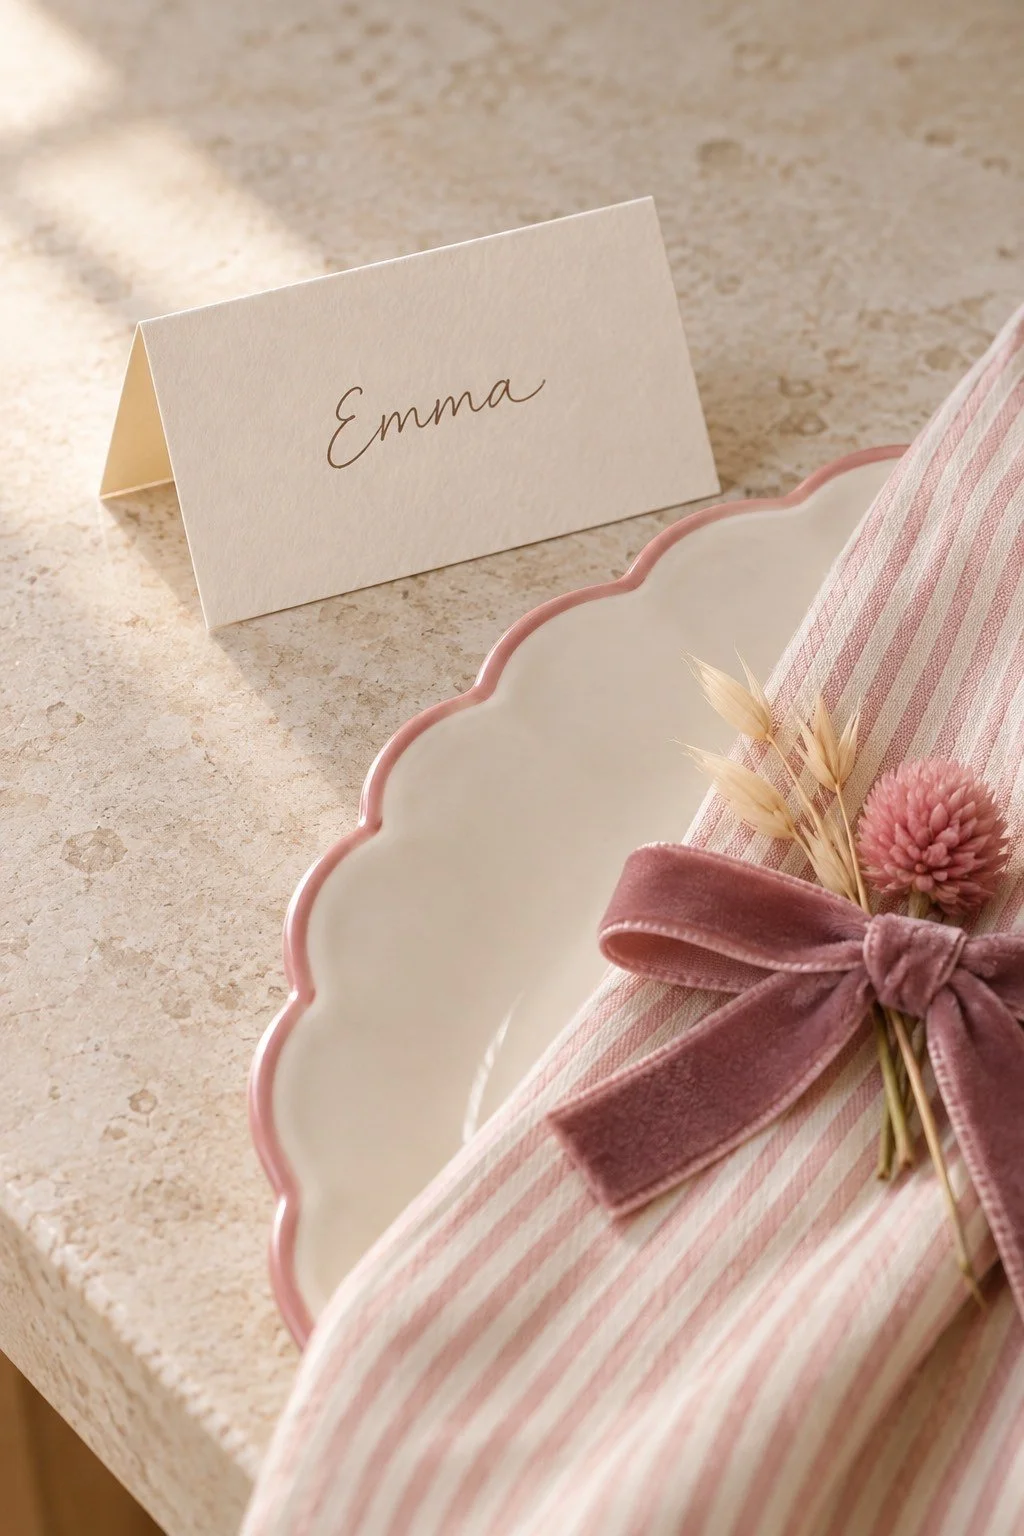
Test your pen first and let the ink dry before folding the card. A fine pen in brown or muted mauve looks soft beside the ribbon. Use whatever you can read from a seated position.
Place the card near the top right of the plate or wherever it fits your table. Keep it away from a glass base that might get wet. If you're making cards in advance, stack them flat once the ink is dry so the corners stay neat.
The name cards can stay casual. First names are plenty for a table of friends. If someone changes seats once the food arrives, the card can move with them.
Set the whole table before making more bows
Arrange one plate, napkin, glass, and set of utensils where a guest will sit. Sit down and check the room around your hands. The bow should stay on the plate, and the glass should be easy to reach without brushing a dried stem.
Then check the serving space. If the table also holds shared dishes, leave a clear area for them. Our small-space Friendsgiving guide for first-time hosts helps you plan seats and serving spots before filling the center of the table.
Once you like the first setting, use it as a guide for the rest. Fold the napkins together, cut the ribbon pieces, then tie each one. Working in stages keeps the materials in one place and makes differences easier to spot.
For a holiday afternoon with friends, you can let everyone tie their own bow and write a name card. Pair it with one of these Thanksgiving break plans for your friends, then clear the craft tools before serving food.
Reuse the ribbon after dinner
Before the napkins go in the wash, slide off or untie each ribbon. Remove the dried stems and keep the paper cards if you want them. Follow the napkin's own care label for washing.
Lay the ribbon flat to smooth the loops, then roll it loosely around a card or empty spool. Keep it dry and away from anything sticky. You can retie it for another dinner, wrap it around a gift, or save it with other craft supplies.
If one bow has deep creases, check the ribbon's care instructions before adding heat. Velvet can change when pressed. A loosely stored ribbon is a better starting point next time than one packed tightly at the bottom of a drawer.
The leftover pieces can also add color to a small display. Our fall desk decor ideas for studying has more ways to bring soft fall details into a space you use through the week. A ribbon doesn't have to wait for the next holiday to come out again.
You might also like
Make seasonal crafts with your friends
Arrange a small-space Friendsgiving dinner