A Friendsgiving snack board brings fall fruit, cheese, and crackers together on one serving board, with handmade paper labels beside it. This version pairs purple grapes, pears, and persimmons with a blush jam bowl and cream label cards for a small get-together.
The food does most of the decorating. The little folded cards add a handmade detail and help guests see what's on the board. You can make those ahead, then put the cold food out when your friends are ready to eat. A tiny paper tent deserves its moment, too.
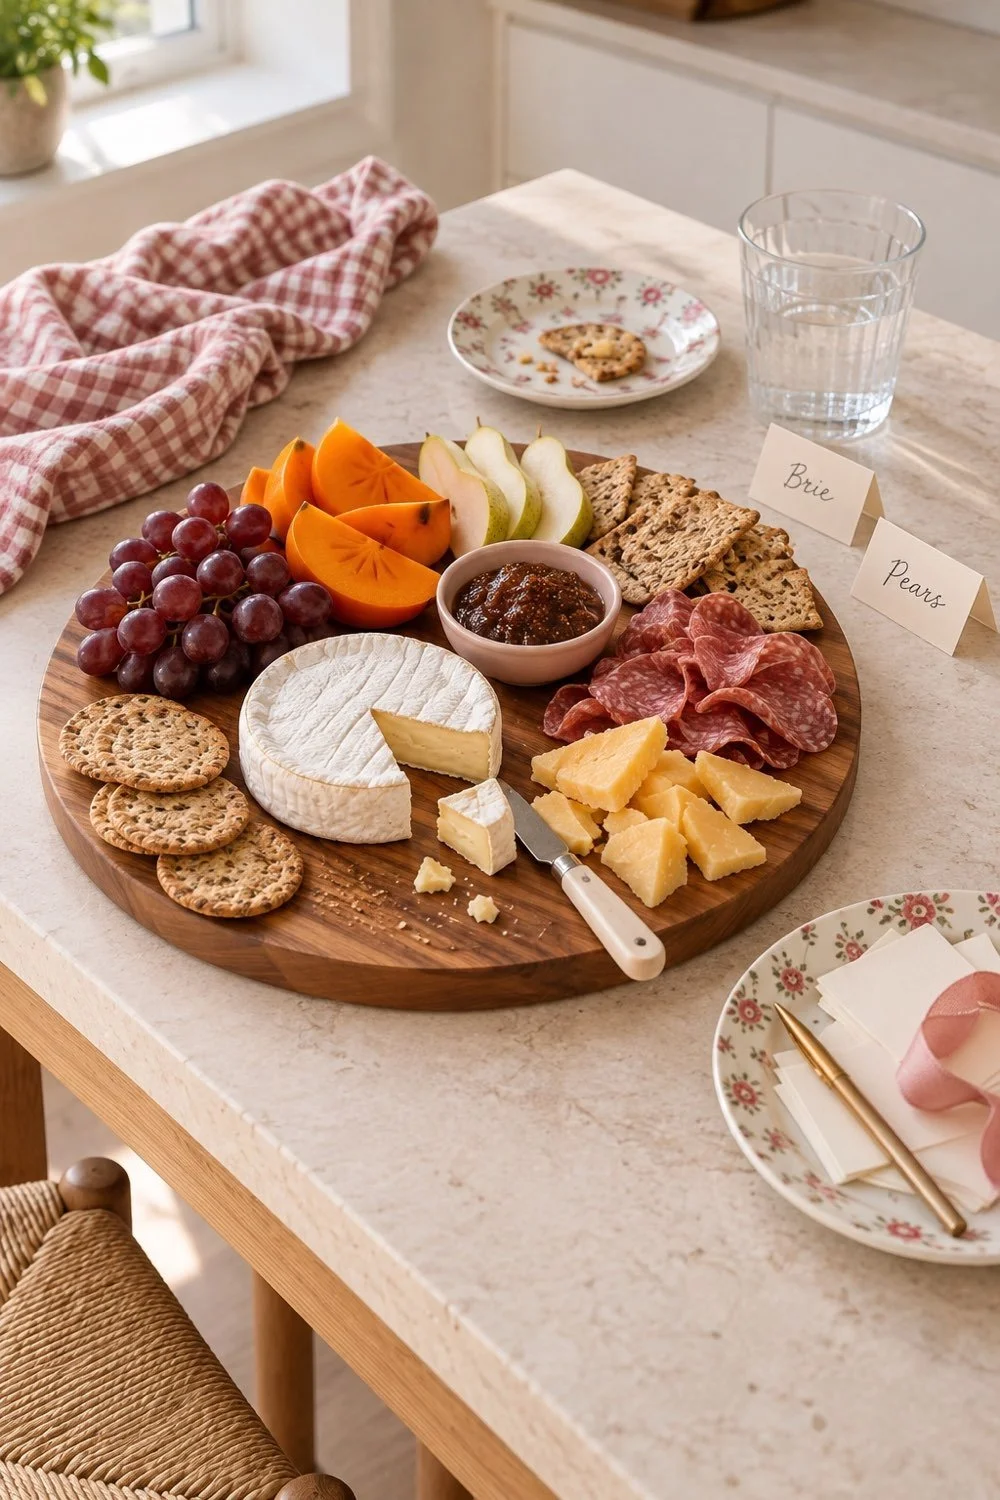
What goes on this Friendsgiving snack board
Start with a mix of foods your friends enjoy. For the look shown here, use:
- A small wheel of brie
- A piece of cheddar
- A bunch of purple or red grapes
- A ripe pear
- A firm-ripe Fuyu persimmon
- A few slices of ready-to-eat salami
- Seeded crackers
- Fig jam in a small bowl
You don't need every item to make a good board. Pick two cheeses, a couple of fruits, one spread, and a cracker. Add the salami if your group wants it. The mix gives you soft and crisp textures, plus colors that feel like fall without adding leaves to the food.
Choose firm-ripe Fuyu persimmons for neat wedges. They're usually squat, with a shape a little like a tomato, and can be eaten while still firm. Other types can need very different ripeness, so check what you're buying. If persimmons aren't available, use apple slices or another pear.
This board is a snack to share, rather than a full Thanksgiving menu. If you're serving dinner later, make room for the meal when you choose portions. Our guide to hosting Friendsgiving in small spaces covers the seats, shared dishes, and serving setup around it.
Gather the serving pieces before the food
Use a clean board meant for serving food. A round board makes it possible for guests to reach different sections from several sides. A large plate or platter works, too. You don't need a special board to start arranging.
Set out a small bowl for the jam, a cheese knife, a spoon, and any serving tongs you'll use. Keep a few side plates nearby so guests can build their own snacks. A cloth under part of the board can bring in color, but keep the board flat and steady.
Check the size on your table before filling it. Put the empty board down with the plates and glasses around it. You should have space to set down a plate without balancing it on the edge. If the table feels crowded, place the board on a separate counter within reach.
A small bowl is useful even when the spread comes in a jar. It holds the jam in one place and keeps it away from the crackers until someone wants them together. Keep the rest of the jam in its original container for later.
Make the folded paper food labels
For the craft part, gather cream cardstock, a ruler, a pencil, scissors, and a fine pen. Cut a test rectangle about 4 inches wide and 3 inches tall. Fold it in half so it stands as a tent about 4 inches wide and 1½ inches tall.
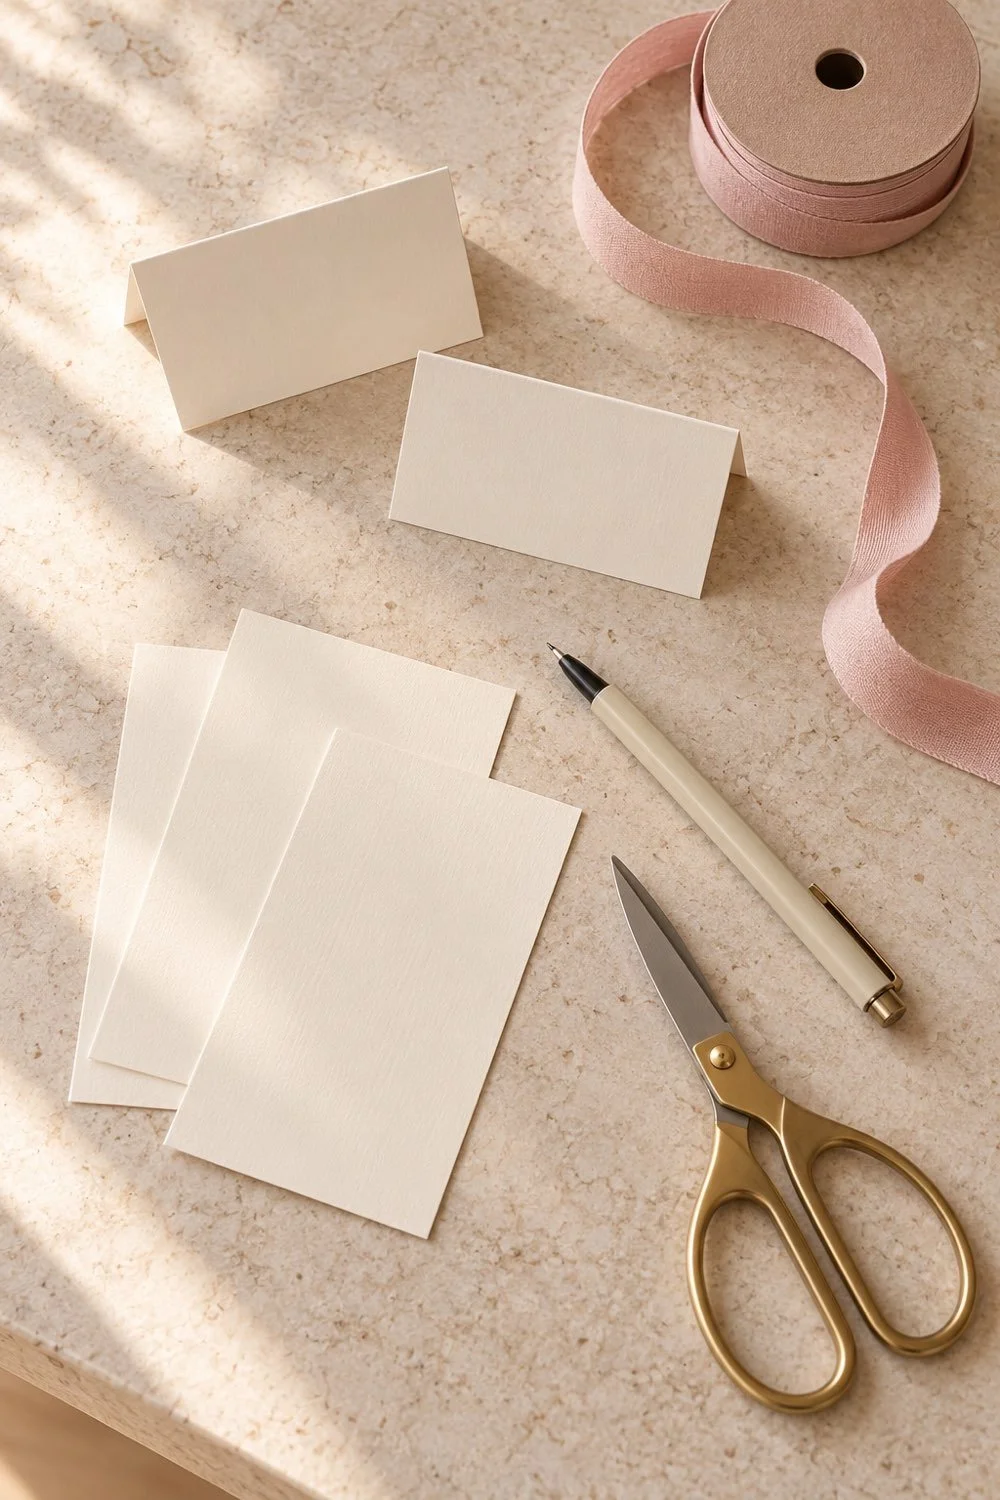
That size is a starting point. Use a smaller card if your board and table are compact. Make one card first, stand it up beside the board, and check whether you can read it from a guest's seat.
To get a clean fold, line up the two long edges and press the center crease. Work from the middle toward the sides. The card should stand on its own with both bottom edges touching the table.
Write a food name on the front in small, clear letters. Brie and Pears suit this board. If a food has a longer name, make the card wider rather than squeezing in tiny letters. Keep labels on the table beside the board, away from the food itself.
For more paper projects to make while the scissors are out, browse our seasonal crafts for your dorm room. Keep food prep and paper cutting on separate clean surfaces so scraps stay out of the snacks.
Add a small handmade detail
Plain cream cards look lovely beside the wood and fruit. If you want more color, draw a thin blush line under the food name or trim the top corners into soft curves. Keep the base edges straight so the tent stands evenly.
Try the pen on a paper scrap before writing the final labels. Some markers soak through cardstock or spread at the edges. Let the ink dry before folding the cards, especially if your hand rests over the words while you press the crease.
For a ribbon detail, tie a narrow piece around a spare set of blank cards and leave them on a side plate with the pen. Guests can use the blanks for food they bring. Keep loose ribbon, glue, glitter, and craft tools away from the food area.
Food-name cards don't replace an ingredient check. Keep the food packages so you can answer questions about nuts, milk, wheat, or other ingredients. Ask your friends about allergies before planning the board, and use separate dishes and utensils when needed. A shared board won't suit every food need.
Put the bowl and cheeses down first
Once your serving pieces are ready, place the jam bowl a little off center. Add the brie and cheddar in different parts of the board. Those larger shapes give the smaller foods something to sit around.
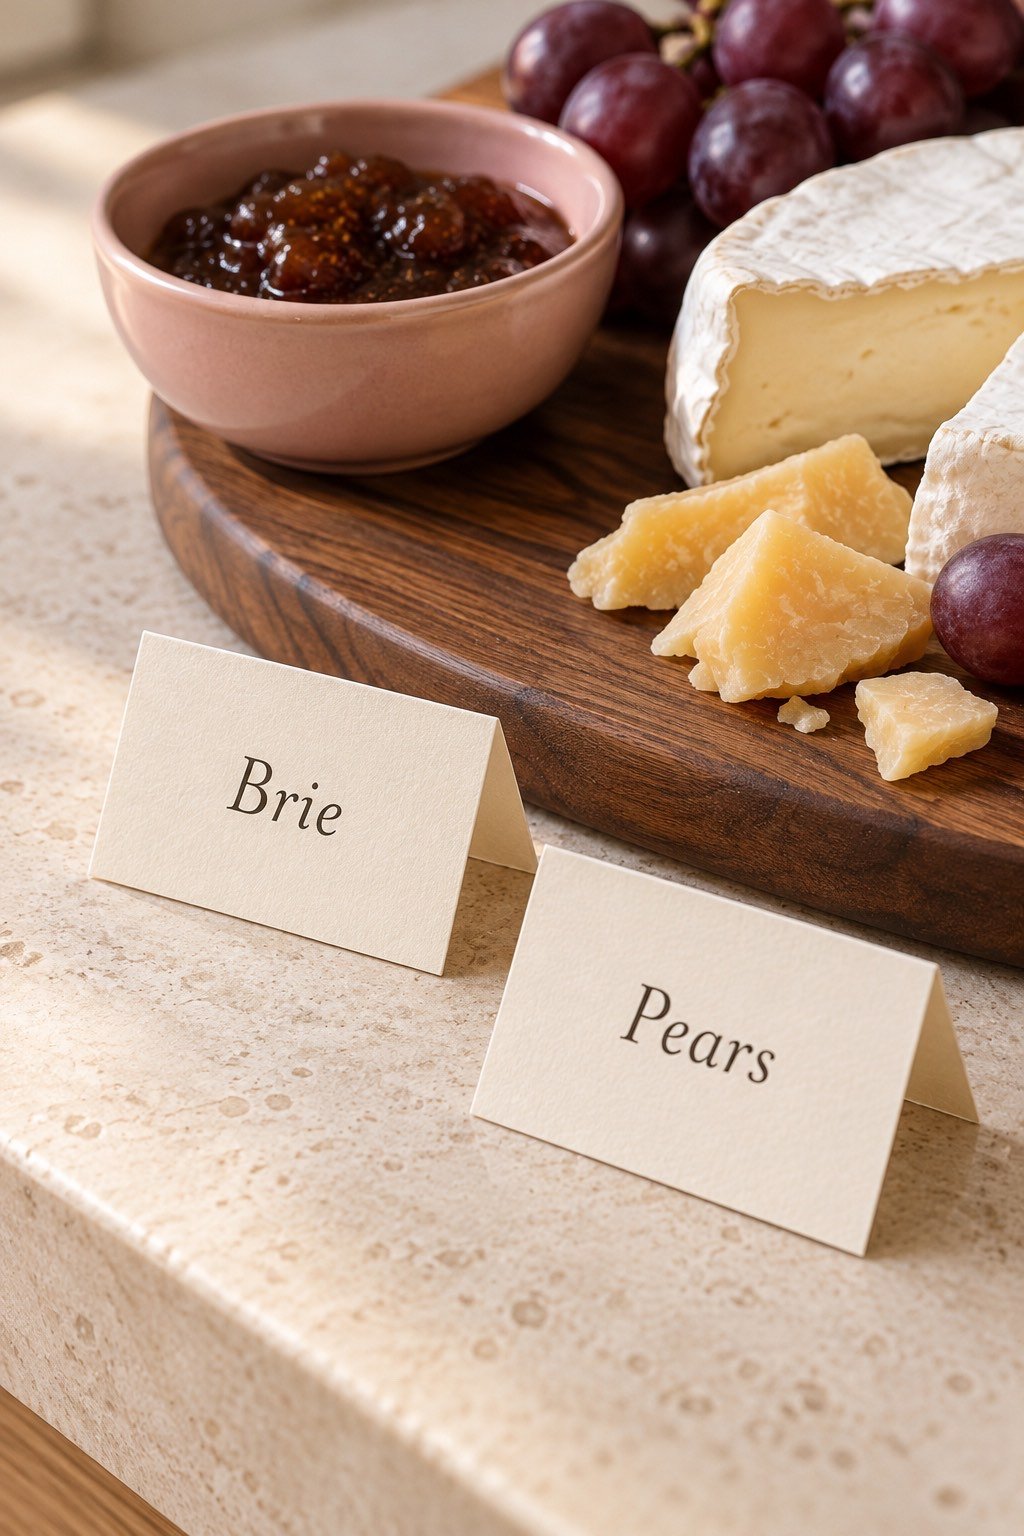
Keep the brie in a section with room for the knife. Cut one small wedge if you'd like to show how guests can start serving it. For cheddar, use slices, cubes, or a few loose shards. Choose a shape that guests can pick up with the tools you've provided.
Leave a little bare board around the bowl and cheeses. You can fill gaps later, but starting with space makes it easier to move something. A full board can still have room for fingers, tongs, and a cheese knife.
Don't stack food so high that the bottom pieces disappear. A few low groups are more useful than a tall pile. Guests should be able to take a cracker without sending grapes rolling toward someone else's plate.
Bring in the fruit and crackers
Wash the fruit and dry it well before arranging. Snip the grape bunch into smaller clusters so guests can take a portion. Keep the grapes in one or two groups, rather than scattering loose grapes across every gap.
Slice the pear close to serving time. Arrange the pieces with some space between them so they're easy to lift. Place the persimmon wedges nearby for a warm orange patch against the pale cheese and wood.
Add crackers in a few short stacks. Keep some in a separate bowl if the board is getting full. Crackers don't need to outline the whole edge. Two small groups can make the board look generous while leaving space for the fruit.
If you're using salami, fold each slice loosely and place the folds together. They can sit beside the cheddar without being tucked under it. Keep the shape relaxed. You're making snacks for friends, and a slice that looks like a slice is welcome here.
Set up for the way people will eat
Place the folded cards beside the foods they name. Keep them outside the board so paper and ink stay away from food. Check the names from the side where guests will approach, then turn any card that faces the wall.
Put the jam spoon in or beside the bowl with its handle easy to reach. Set the cheese knife where it won't point over the table edge. Add napkins and plates before calling everyone over.
If this is part of a holiday afternoon, choose one of these things to do with friends at Thanksgiving for after the snacks. A board works nicely before a craft session, a game, or a walk. Clear the food and wipe the table before bringing out the craft supplies.
For a study break with a friend, a smaller version can fit on two plates instead. Our fall coffee-shop study date ideas has more ways to plan that kind of afternoon around the time you have.
Keep the cold food cold
Make the label cards ahead, but keep cheese and meat chilled until you're ready to serve. The FDA's guide to serving safe buffets says to discard perishable food left at room temperature for more than two hours, or one hour when the temperature is above 90°F.
For a longer gathering, serve smaller amounts and keep the rest chilled. Use a fresh board or platter when you bring out a new batch. Keep a note of when the first food went out so the time doesn't get lost while everyone is talking.
After serving, sort what can be safely stored and follow each food's package directions. Wash the board and utensils, then let the board dry fully. Keep the paper labels flat in a small envelope if they're clean. The next time a friend brings a cheese you love, you'll have a blank card ready for its name.
You might also like
Plan your first small-space Friendsgiving
Choose Thanksgiving break plans with friends