A flower jug beside a window gives you plenty to photograph. There's light on the petals, a shadow under the handle and a whole little scene around it. Window light photography starts with noticing those details. You can try it with your phone or the camera you already own.
The useful part is how much you can change by moving. Stand beside the window, turn toward it or take a few steps back. The same jug can look quite different each time. The flowers don't even have to cooperate.
This guide walks through choosing a window, placing your subject and working with the light in your room. You'll also find ways to handle a bright window, warm lamps and a photo that looks darker than you expected. A desk, a shelf or a clear patch of table gives you room to start.
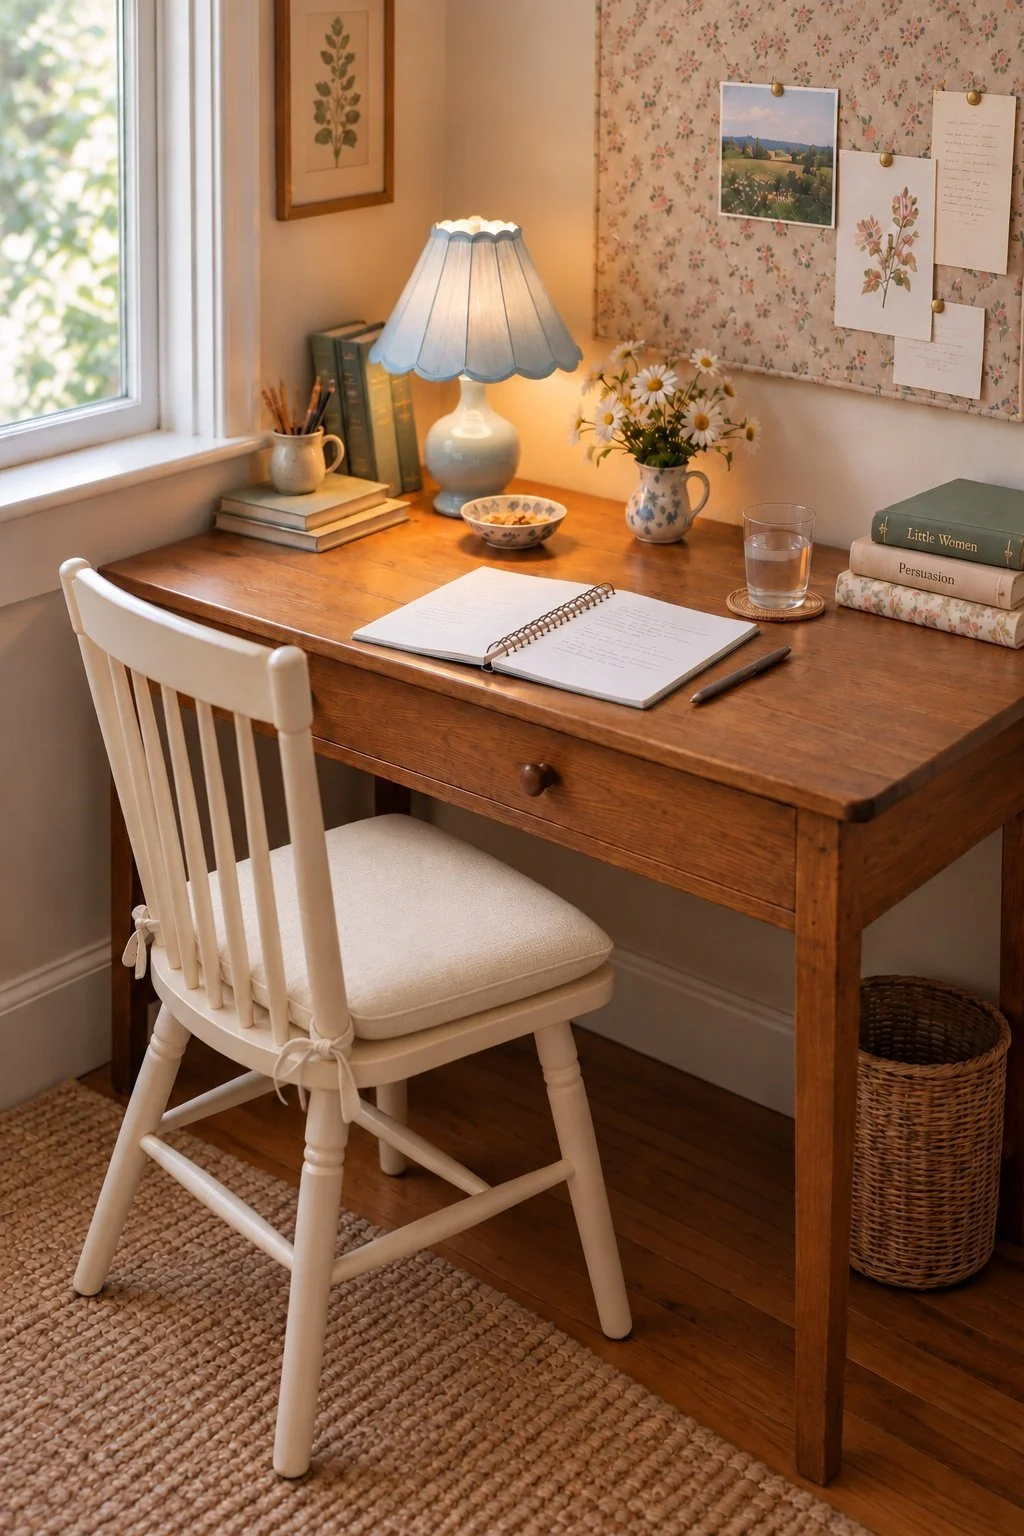
Start window light photography with one clear subject
Choose one object that gives you a shape, color or detail you want to photograph. A flower, a ceramic bowl or a notebook can hold your attention while you try different light. Keep the first setup small enough that you can move around it.
Look at the object before you open the camera. Notice which side faces the window and where its shadow falls. On a jug, the bright rim and darker handle can help you see how the light wraps around a curved shape.
Then decide what the photo is about. You might want the whole writing corner, the blue pattern on the jug or the edge of a daisy. That choice tells you how close to stand. It also gives you a reason to leave some things out of the frame.
You don't need to clear the whole room. Check the area behind your subject from the place where you'll take the photo. A small move can hide a charger, bring a plain wall behind the flowers or separate a handle from a busy background. Leave a drink somewhere stable while you work around the table.
Look for soft light or a clear patch of sun
Soft light makes a useful starting point because the shift from bright areas to shadows is gradual. Look at your subject for a moment. A shadow with a soft edge gives you a different look from a crisp strip of sunlight across a desk.
In its guide to taking portraits with window light, Sony explains how window direction changes the available light. An east-facing window can receive direct morning sun, while a west-facing one can receive it later. Cloud cover, nearby buildings and trees change what reaches your room too.
Use the light you can see as your starting point. If a bright patch makes an interesting shape, include it. If you want softer light, try a part of the room outside that patch or draw a sheer curtain across the window. Notice what happens to the shadow edge.
You can return to the same corner later in the day for another look. Keep the object in the same place for that comparison. The useful difference is the light, so the rest of the scene can stay put. There's no universal best hour for every window.
Turn your subject and change where you stand
Light from the side makes it easier to notice the shape of an object. Place the window to one side of your subject and look for a bright side and a darker side. Then move around the table while keeping the object in place.
From one angle, you may see more of the lit surface. From another, the shadow becomes the larger part of the photo. Neither view needs to look like the room does when you're standing in the doorway. You're choosing which part of the light to show.
Try a view with the window behind you too. Watch for your own shadow, especially when you're close. If it crosses the subject, move slightly to the side. With the window behind the subject, check how much brighter the background becomes.
When you're ready to try the same observation outdoors, these ideas for photographing a friend on a walk give you another place to notice light and background. Start with a willing friend and share the photos before posting them.
Check lamps before you settle on the color
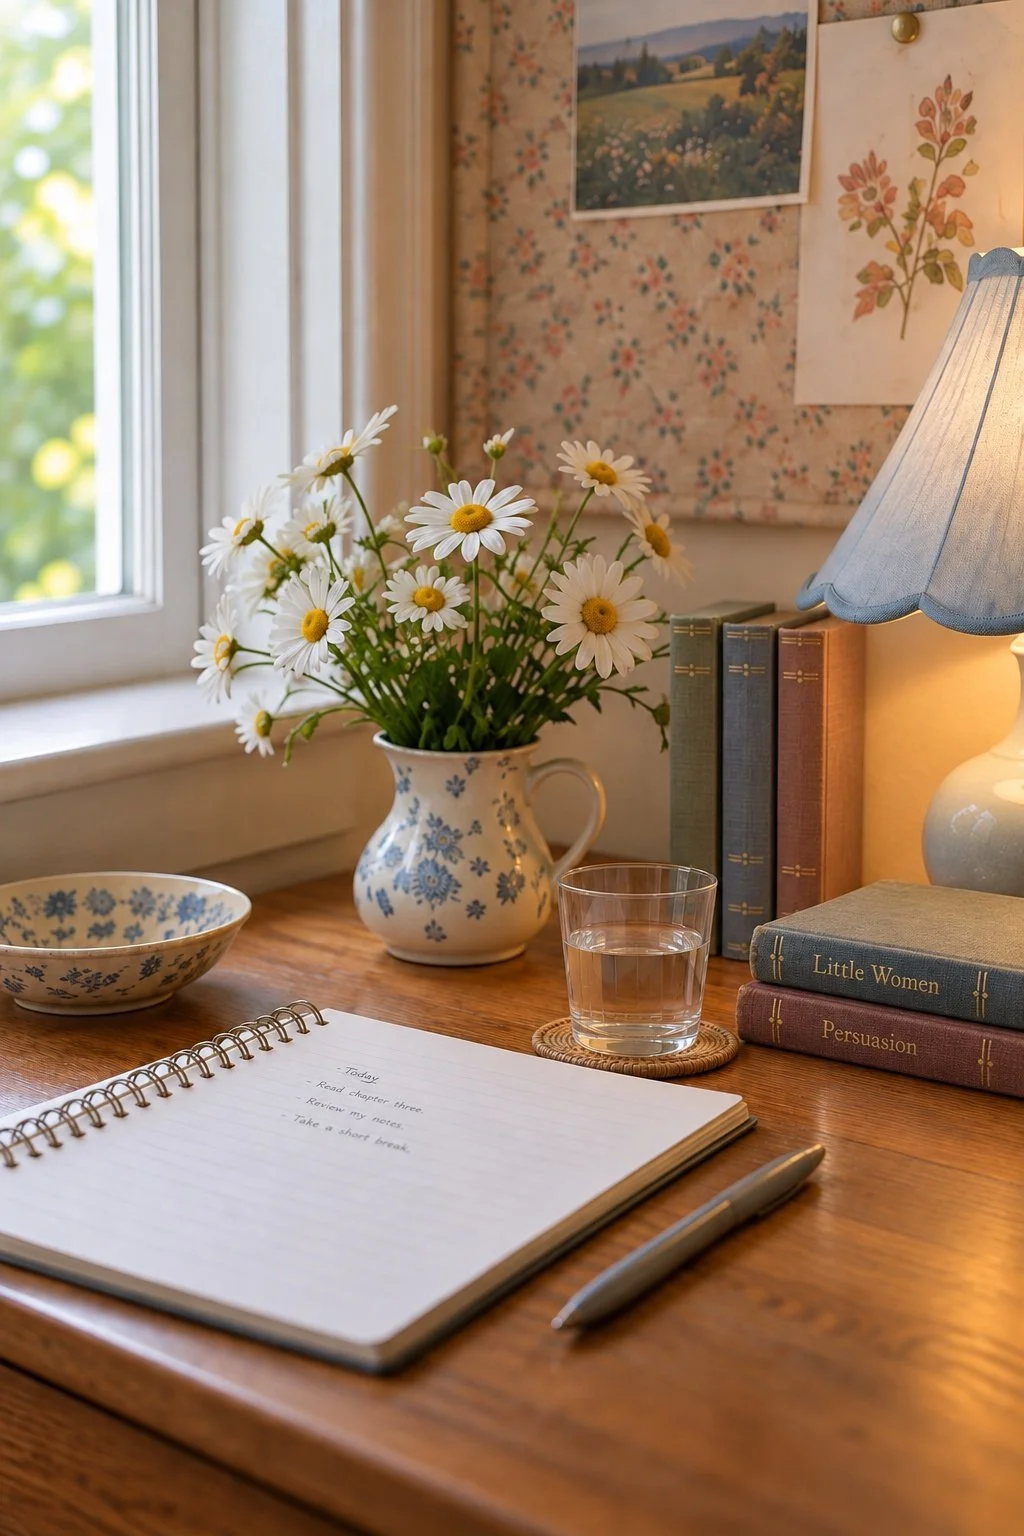
Turn off nearby lamps for a window-only comparison. Daylight and a warm bulb can put different colors on the same surface. A white notebook may look cooler beside the window and more yellow near a lamp.
Nikon's note on using window light and shadows describes working with the window as the light source and switching off other lighting. That gives you a clear way to study the light already coming into the room.
A lit lamp can also be part of the look you want. In the desk scene here, the lamp adds a warm pool of light beside the window. Keep it on when that glow serves the photo. Switch it off when you're trying to see the effect of daylight on its own.
Compare both photos before changing the color in an editing app. Notice the notebook, the wall and any white flowers. If each part has a different color cast, changing the warmth of the whole photo may help one area while changing another. Choosing the light first gives you more control at the start.
Move closer to see texture and small details
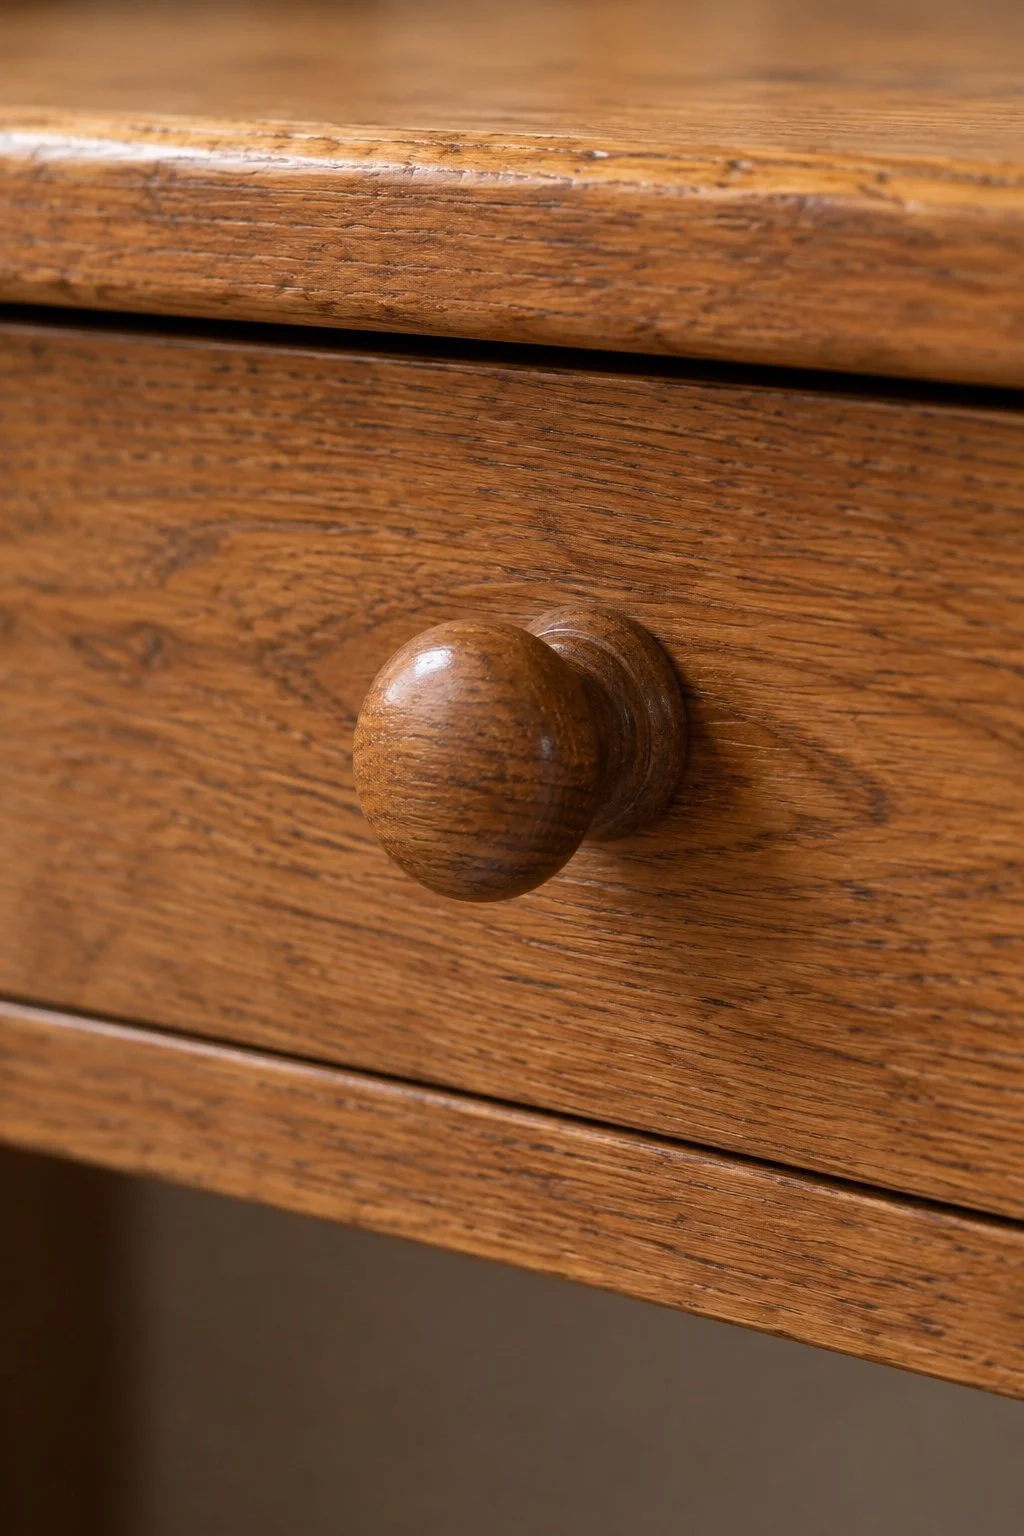
A detail photo gives one small part of the scene its own frame. You might move close to the drawer pull, a flower stem or the curve of a pen. Choose a detail with a shape or surface that the wider view doesn't show clearly.
Look at the direction of the light across that surface. Light coming from the side can reveal the grain of wood or the raised edge of a notebook page. A different angle may make the same area look flatter. Move a little and watch before taking the next photo.
Keep an eye on the nearest point your phone or lens can focus. If moving closer makes the subject stay blurry, step back until it becomes clear. A crop later may be more useful than a close photo with no clear focal point. Check the image at a larger size before you finish.
The rest of the scene can stay visible or fall softly out of focus. Keep the detail you care about clear. When the subject has depth, such as a spiral notebook binding, different parts may sit at different distances from the camera. Choose which part carries the photo instead of expecting every ring to look equally sharp.
Set the focus and brightness for your subject
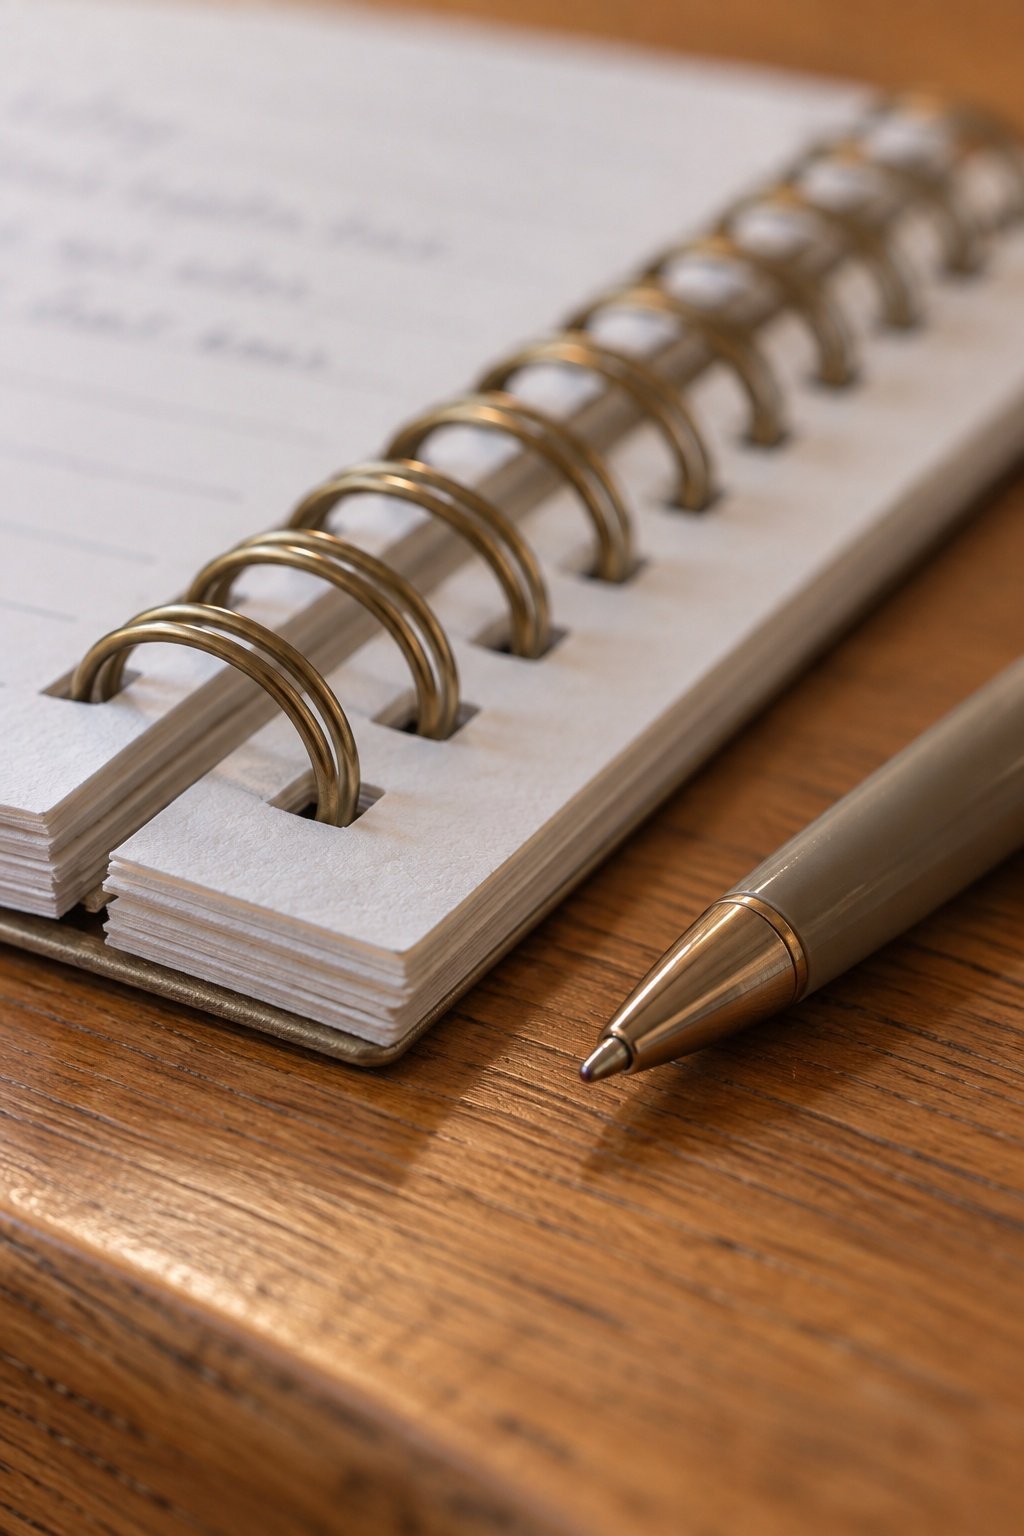
Choose the subject you want sharp, then check how bright it looks in the photo. A bright window can share the frame with a darker room. Your phone or camera may choose a balance that leaves the main object darker than you'd like.
On iPhone, you can tap the subject to set the focus area and adjust brightness beside it. Apple's guide to using the camera's focus and exposure tools shows the available controls. The layout can vary with your device and software. Other phones have their own focus and brightness options.
On a camera, start with a mode you're comfortable using. Take a photo, look at the subject and adjust exposure if needed. Keep the window outside the frame for an initial test if its brightness makes the scene hard to judge. You can add it back when you want that wider view.
Check pale petals and white paper as well as dark areas. If a bright surface becomes a blank patch, try a darker exposure and compare. If the room is dim, a steadier camera or more daylight may help. A bright edit can't recover a missed focus point, so check sharpness separately from brightness.
Make a wide view, a subject view and a detail
Three different views can show the place, the object and the small thing you noticed. Start far enough back to show the window and the corner around your subject. Then move in for a frame that gives the object more space.
For the detail, change your physical position again. Crouch to the height of the drawer, look across the tabletop or move above a flat object. Check that your feet and camera are steady. Leave chairs, cords and the path around the table clear while you move.
You can use something you've made as the subject. An embroidery hoop, painted card or paper flower from these seasonal craft ideas for your room gives you a color and texture to explore. Photograph the work where it can sit safely, with the light falling across the part you want to show.
Look at the three photos together before packing away. Keep the wider frame if the setting helps tell the story. Keep the closer one if the object carries it. The tiny curve of a handle or a strip of light across the wood may end up being your favorite part of the afternoon.
You Might Also Like
Make a scrapbook from everyday fall moments
Find something you'd like to write about