
Wooden beads are made for mixing colors. A pale pink bead next to cherry red, a tiny blue one between two natural wood rounds, a ribbon tied at the end: you can get a lot of different looks from the same bowl of supplies.
These four wooden bead crafts use short strands and a few basic knots. You can make a bag charm, a keychain, a ribbon bookmark or a gift tag. Each has its own shape and finish, so friends can share supplies and leave with something different.
The color choices might take longer than the stringing. That's part of the evening.
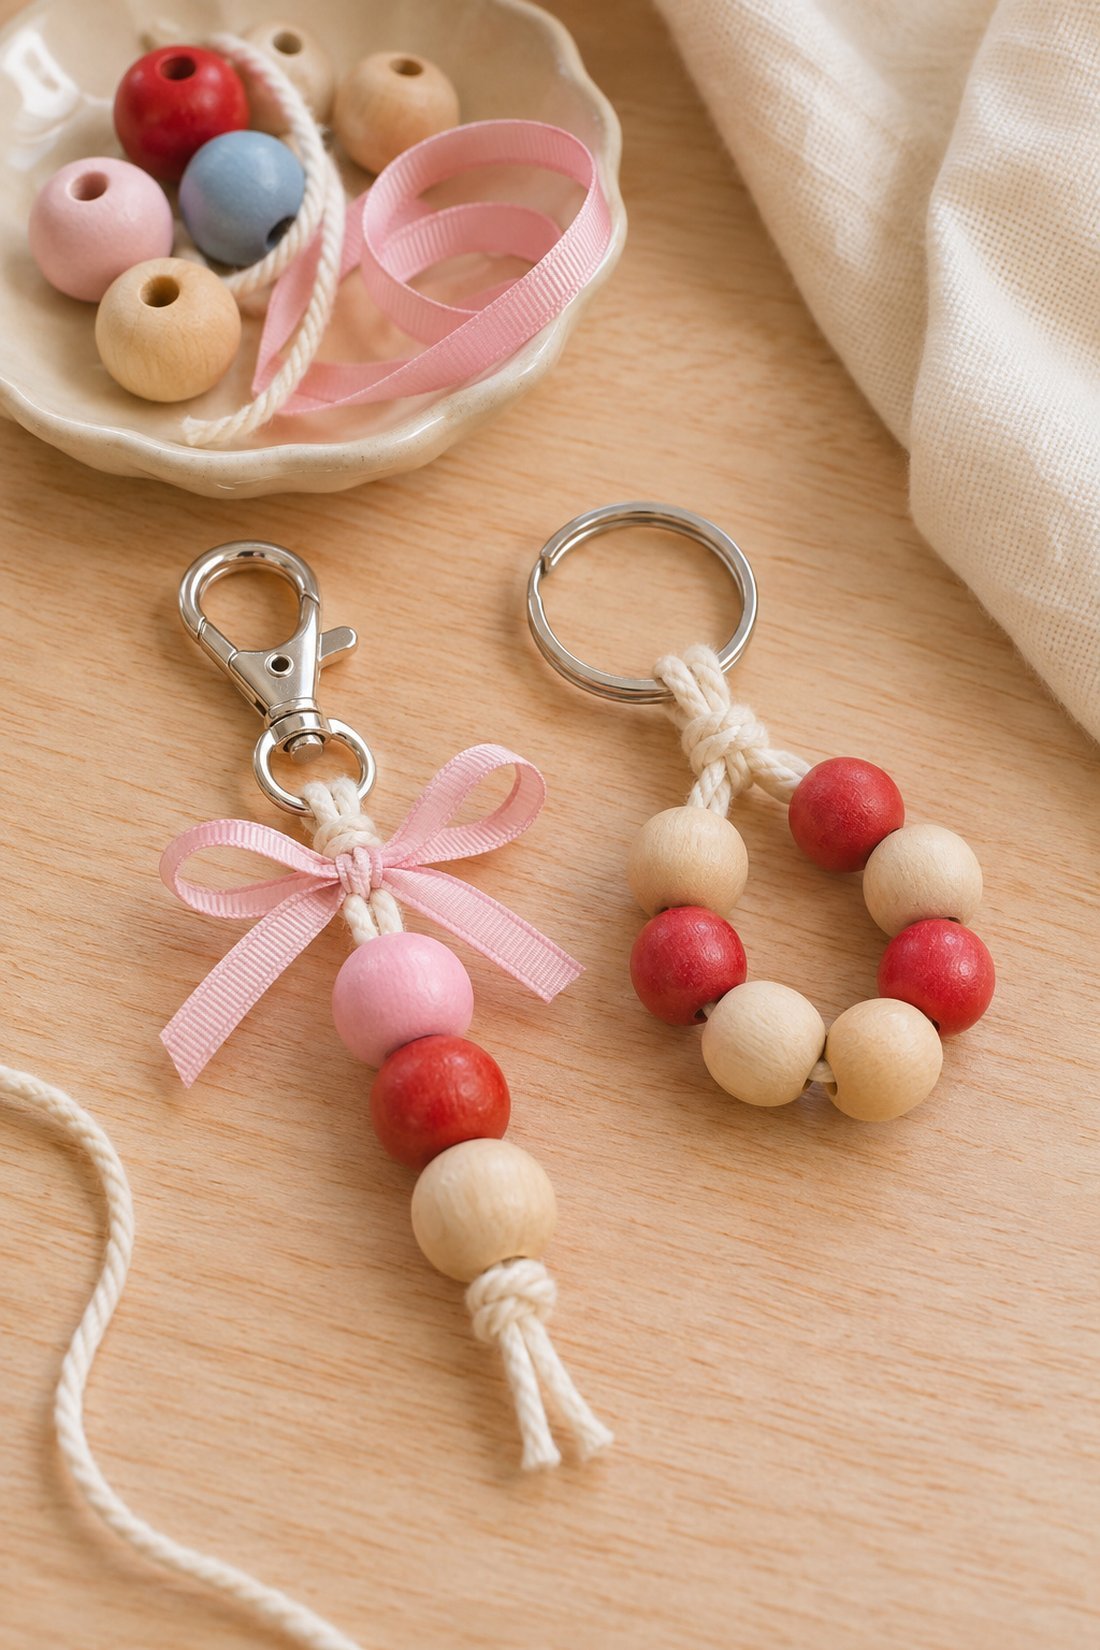
What to put on the craft table
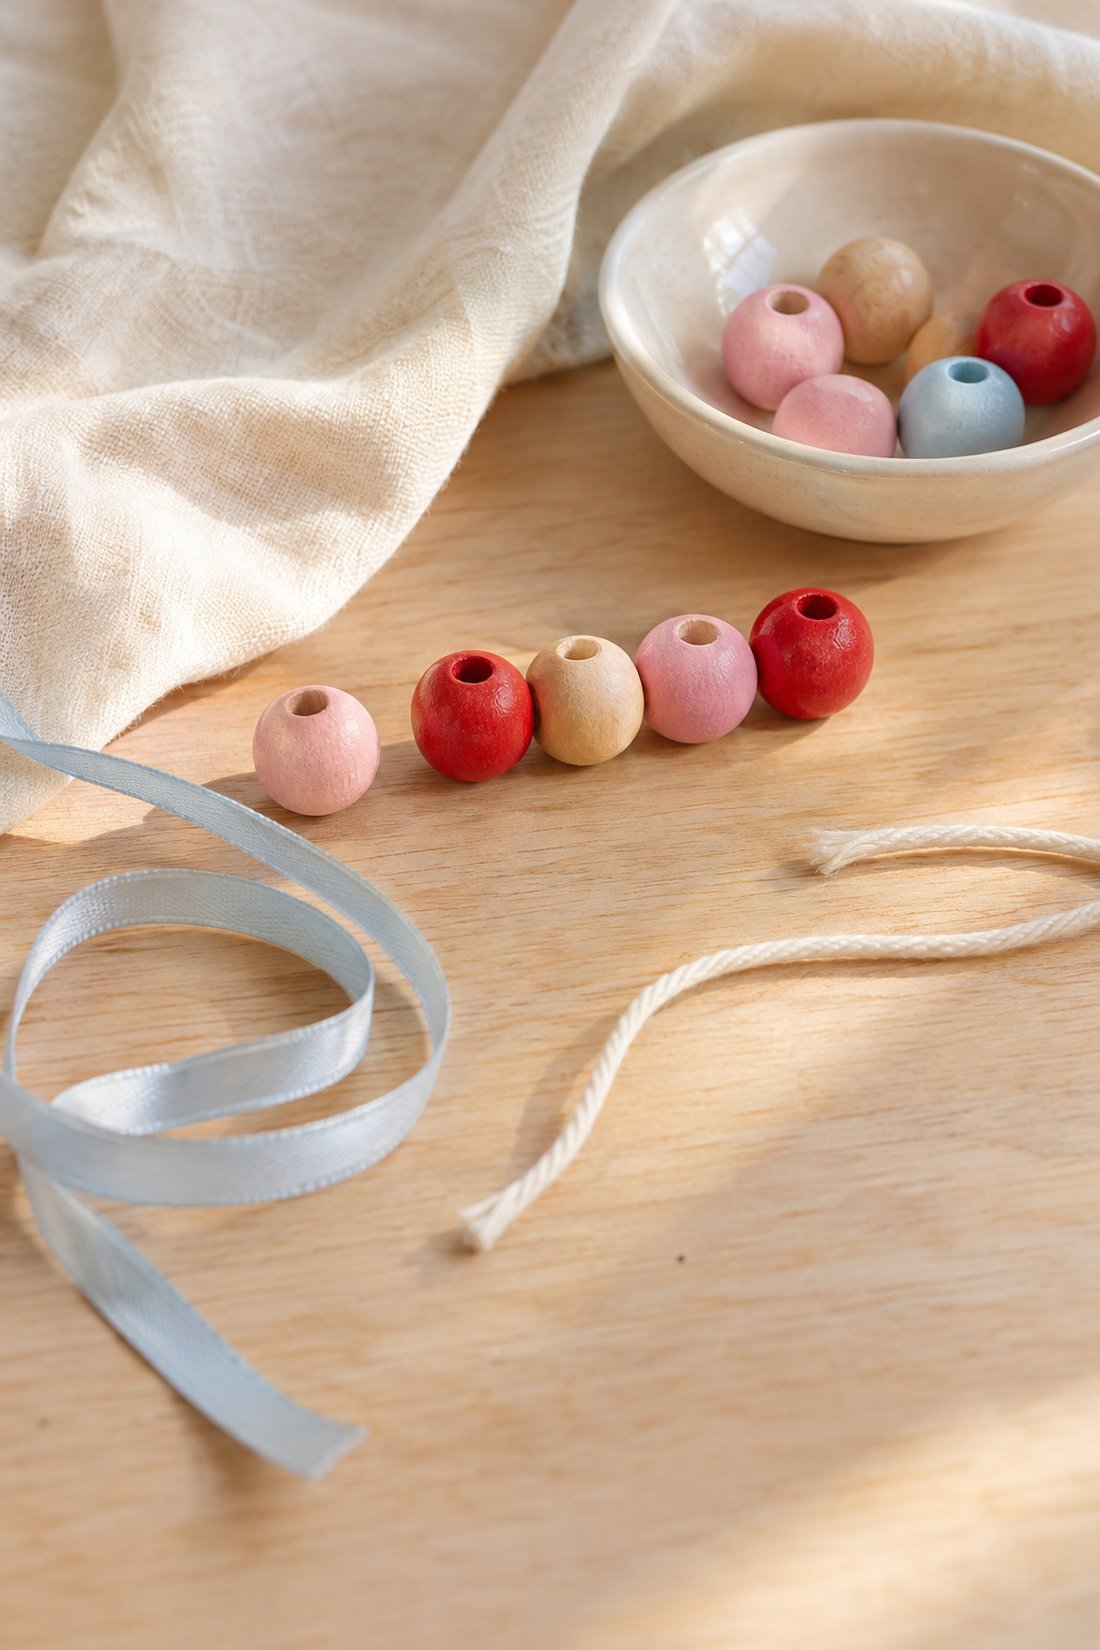
Start with unfinished wooden beads, cord, narrow ribbon, key rings and a few small lobster clasps. Add scissors, a ruler, pencils and blank cardstock tags. Those supplies cover all four projects in this post.
A mix of bead sizes gives you more room to play. For a short charm, try one larger bead with two smaller ones. For a bookmark, small beads sit neatly at the ends of the ribbon. Check the hole size as well as the bead size. A ribbon or a doubled cord has to fit through it.
For four people making one charm each, set out at least 16 beads and four clasps or rings. A few extra beads give everyone more choice. If each person also wants a bookmark, add eight small beads and four ribbon lengths. Gift tags can use whatever colors remain, with one or two beads per tag.
You can leave the beads natural, use ready-painted beads or paint your own. Utah State University Extension's wooden bead painting project uses acrylic paint to add color to wood beads. If you're painting at the table, set aside a place for the beads to dry. The paint's label gives the drying time for that product. A second dry set means you can keep making things while the painted ones wait.
Shallow dishes help separate sizes and colors. Put one dish of cord and one of ribbon in the middle, then leave a clear patch in front of each person for trying a pattern. A folded tea towel or a small tray gives round beads somewhere to sit.
For a mixed-project afternoon, the paper folds and knitting craft plan gives friends another way to join the table. A tray of bead supplies can sit beside the paper and yarn.
Choose a color pair before you start
Two colors and natural wood give a short strand a clear pattern. Pink and red look bright beside a canvas tote. Pale blue and brown work well with cream ribbon. Green and cream make a pretty pair for someone who likes softer colors.
Lay the beads in a row before threading. You can move the largest bead from the middle to the end and see how much the shape changes. A row of equal-size beads looks tidy. A large bead followed by two smaller ones gives a charm a tapered end.
You can also give everyone the same three colors and compare the finished pieces. One friend might use all red with one pink bead. Another might alternate the colors. Matching supplies still leave plenty of room for different taste.
If you'd like to paint a pattern, try dots on one bead or a single stripe around the middle. Leave some wood showing so the painted bead stands out. A whole strand of tiny stripes takes more time, which may be exactly the project you want to settle into.
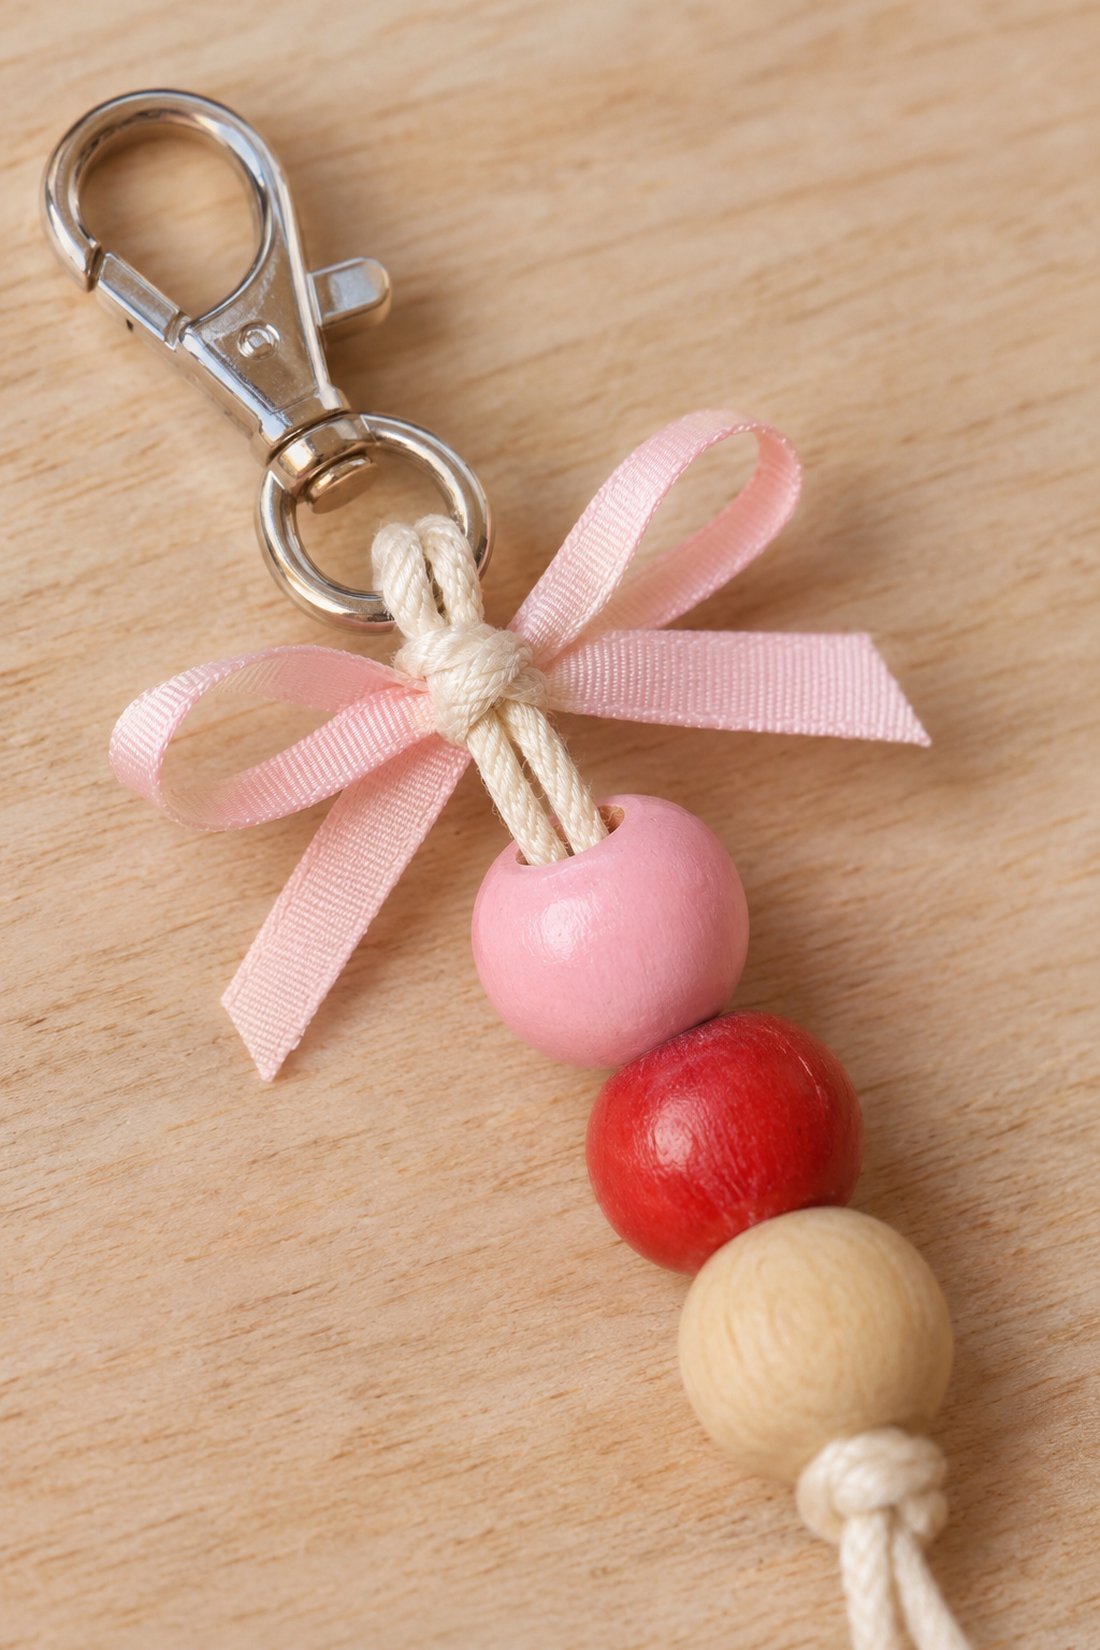
A wooden bead bag charm with a ribbon bow
A short bead strand with a clasp and a ribbon bow makes a colorful bag charm. Use three or four beads, a small lobster clasp, a length of cord and a piece of narrow ribbon.
Cut about 40 centimeters of cord and fold it in half. Pass the folded end through the clasp's attachment ring. Pull both loose ends through the cord loop, then draw it snug. This makes a lark's head knot, with two cord ends hanging below the clasp.
Thread both ends through your chosen beads. Before you thread the full strand, try the doubled cord through one bead. If the fit is tight, a thinner cord or a bead with a larger hole gives you more room.
Tie the two cord ends together below the last bead. Check that the knot is larger than the bead hole, then leave a short tail beneath it. A little space between the bead and the knot keeps the strand from looking squeezed together.
Tie the ribbon around the cord above the first bead and make a small bow. Short ribbon tails keep the focus on the bead colors. Clip the charm to a bag's existing metal ring, then look at it against the fabric. A bright bead can disappear against a busy print, so this is a good time to swap one color.
For another finish, Hallmark's illustrated macramé keychain guide shows cord knots and tassel techniques. A tassel gives a longer charm a softer end.
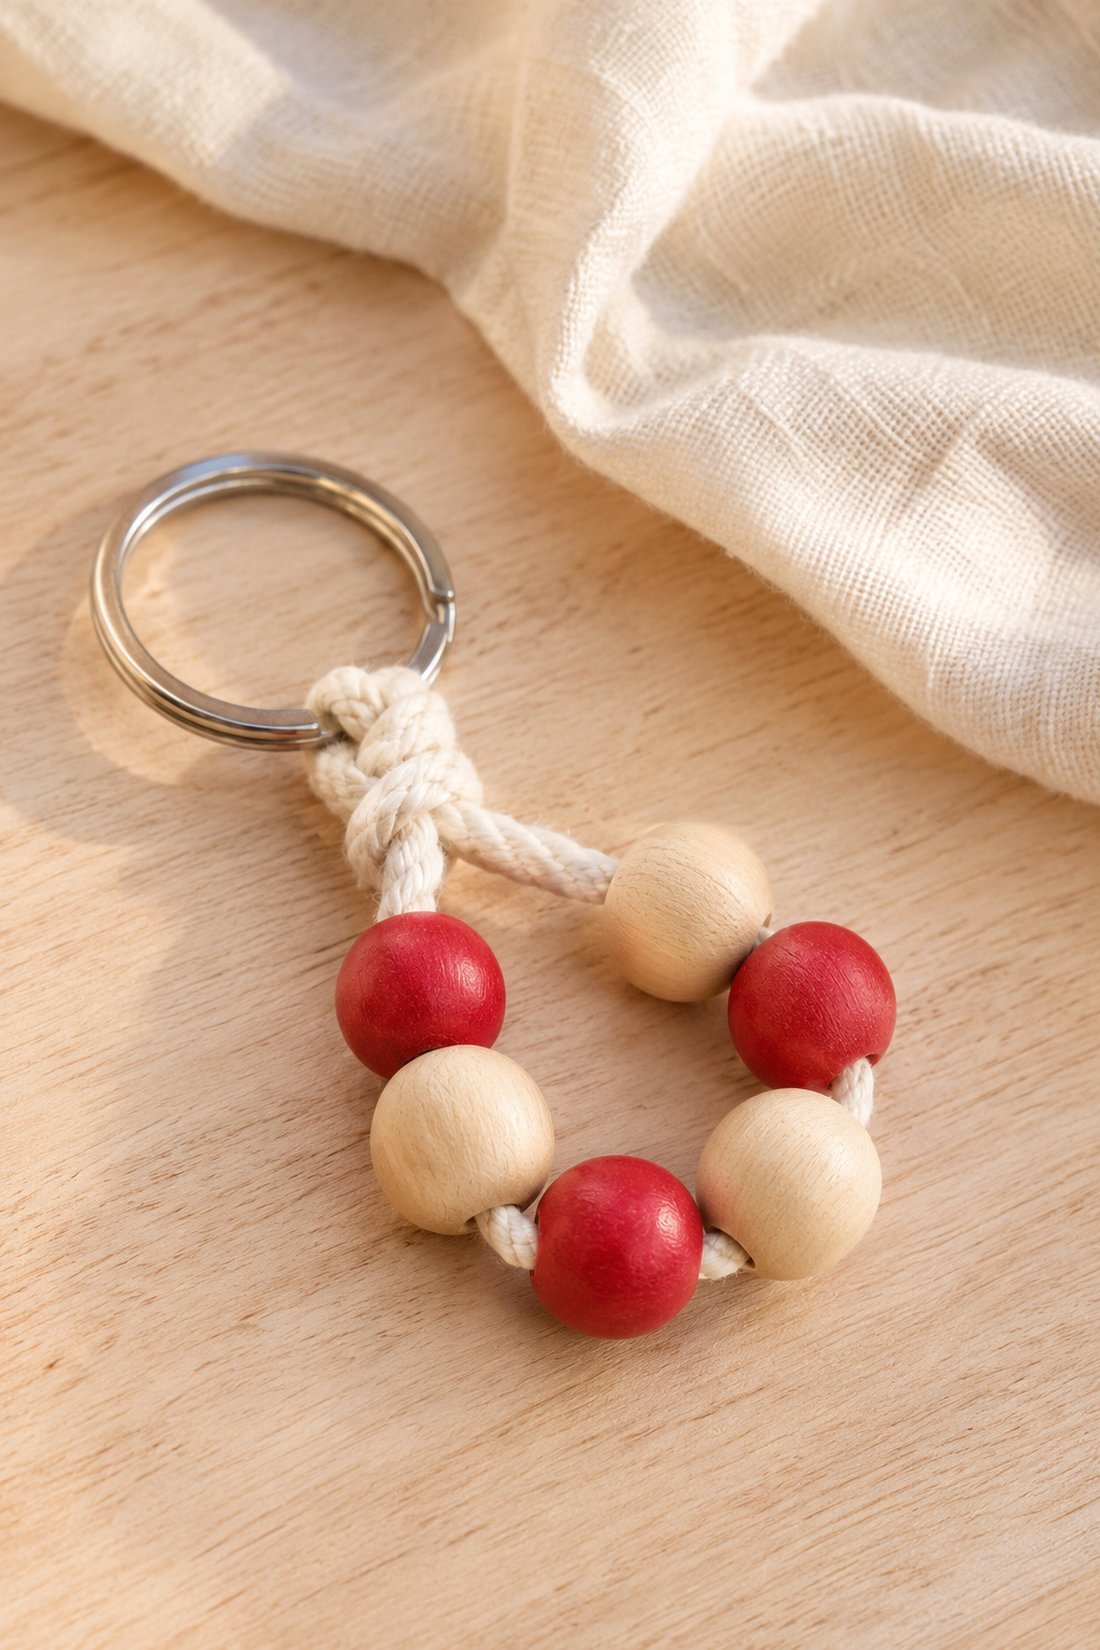
A wooden bead keychain with one bold color
A keychain with a small loop of beads gives you a different shape from the straight bag charm. Use a split key ring, cord and enough beads for a short loop. Six to eight small beads are a useful starting point; the finished size depends on your beads.
Cut about 45 centimeters of cord. Pass one end through the key ring and bring the ends together so the ring sits near the middle. Thread your beads onto one end. Lay the strand in a curve and check how the loop looks beside the ring.
Tie the two cord ends together close to the ring. The beads should sit around the loop with a little room to move. Trim the tails once you're happy with the shape, leaving enough cord beyond the knot to keep it intact.
An all-red loop looks good with a natural wood bead near the ring. You could also make a small color block: three blue beads, three cream ones and one brown. Repeating a color in a group gives a different look from alternating every bead.
If you're making keychains for friends, each person could choose a color for someone else. Put the finished piece in a small envelope with their name on the front. The envelope can stay plain; the beads have the color covered.
A ribbon bookmark with beaded ends
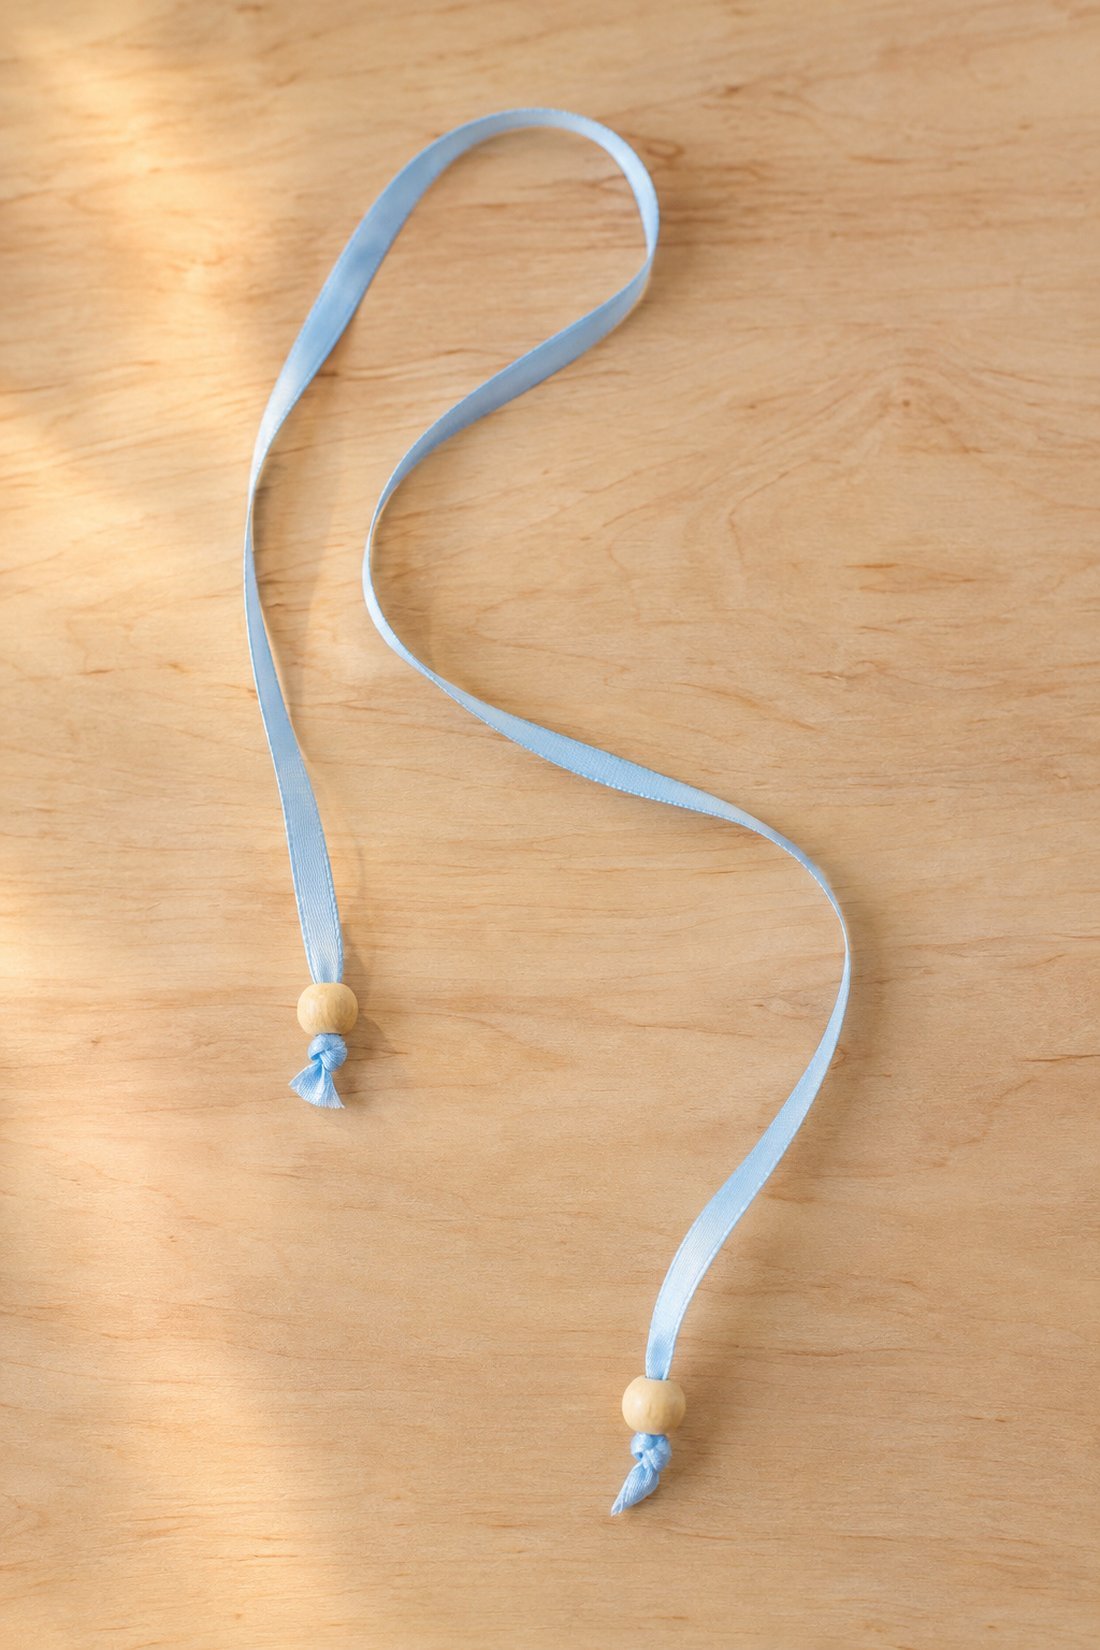
A ribbon bookmark lies between the pages while the beads sit outside the book. Use a narrow ribbon, two small wooden beads and scissors. Choose a book to measure against before cutting.
Lay the ribbon along the book's height. Add enough length for both ends to hang beyond the pages and for a knot at each end. About 45 centimeters is a starting point for many paperbacks, but a taller book may need more.
Thread one bead onto each end. If the ribbon won't pass through, fold its tip into a narrow point or choose a wider bead hole. Tie a knot beneath each bead, with the bead resting above it. Try the bookmark in the closed book and move the knots until both beads sit clear of the page edges.
Flat ribbon keeps the part inside the book slim. The beads stay at the top and bottom, where you can see the colors when the book is shut. You can match them or use a different shade at each end.
Cream ribbon with brown beads would suit a plain cloth cover. Pink ribbon with pale blue beads feels playful. A patterned ribbon can carry most of the color, with natural beads at the ends. This is also a good place to use two beads left from another project.
A wooden bead gift tag
A bead tied above a paper tag adds color to a wrapped gift. Use a blank tag, a short piece of cord and one or two small wooden beads. Write the name before you attach it to the package.
Pass the cord through the tag's hole and bring the ends together. Thread both ends through a bead, then tie the tag onto the gift's existing ribbon. The bead sits above the card, with the name still clear beneath it.
For a wider tag, two beads side by side on separate cord ends make a pretty finish. Tie the cord ends together above them. Try natural beads with red ribbon, blue beads with cream paper or pink beads beside a green bow.
You can make a small set of tags in one sitting and leave the names blank. Keep each tag with its cord and beads so it's ready when you wrap a book, a birthday gift or a small thank-you.
If you enjoy the paper part too, the Christmas craft night with shared paper projects has cards and tags you can pair with these beaded finishes.
A few questions about wooden bead crafts
Can you make these with unpainted beads?
Yes. Natural wooden beads work with all four projects. The ribbon and cord can supply the color, or you can keep the whole piece in cream, brown and natural wood.
What cord fits through wooden beads?
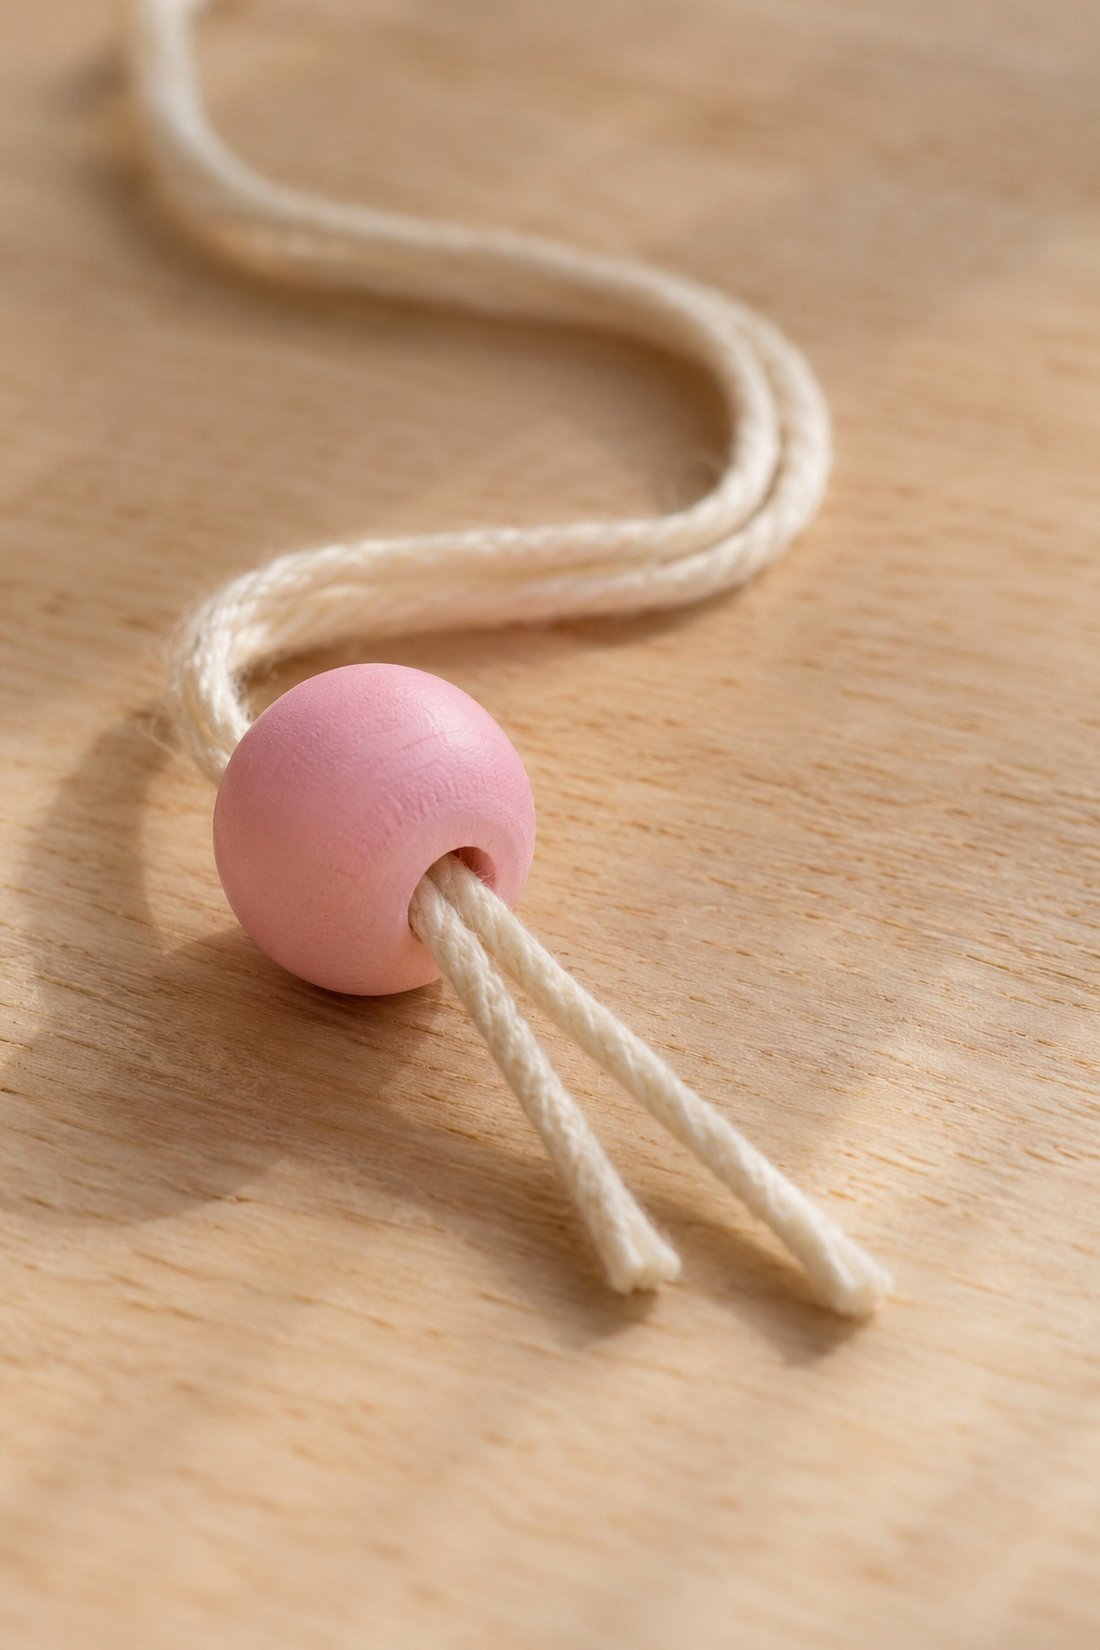
The right cord depends on the bead's hole. Check the fit using the number of strands your project needs. The straight bag charm uses doubled cord, while the keychain loop uses a single strand through each bead. Narrow ribbon works for the bookmark when its folded tip fits through the hole.
Which project works well for a group?
Bag charms are a good shared starting point because everyone can follow the same knot and choose their own bead pattern. Bookmarks use fewer supplies and pair well with a book swap. Gift tags are handy when the table has lots of leftover colors.
Can you mix wooden beads with other beads?
Yes, when the holes fit the cord and the finished strand hangs the way you want. One small accent bead can change the whole color mix. Lay out the combination first so you can see how the different sizes sit together.
A red keychain, a pink-and-blue bookmark and a bow on someone's tote would make a cute set of take-home projects. Everyone gets a different combination, and the leftover ribbon already has a plan.
