
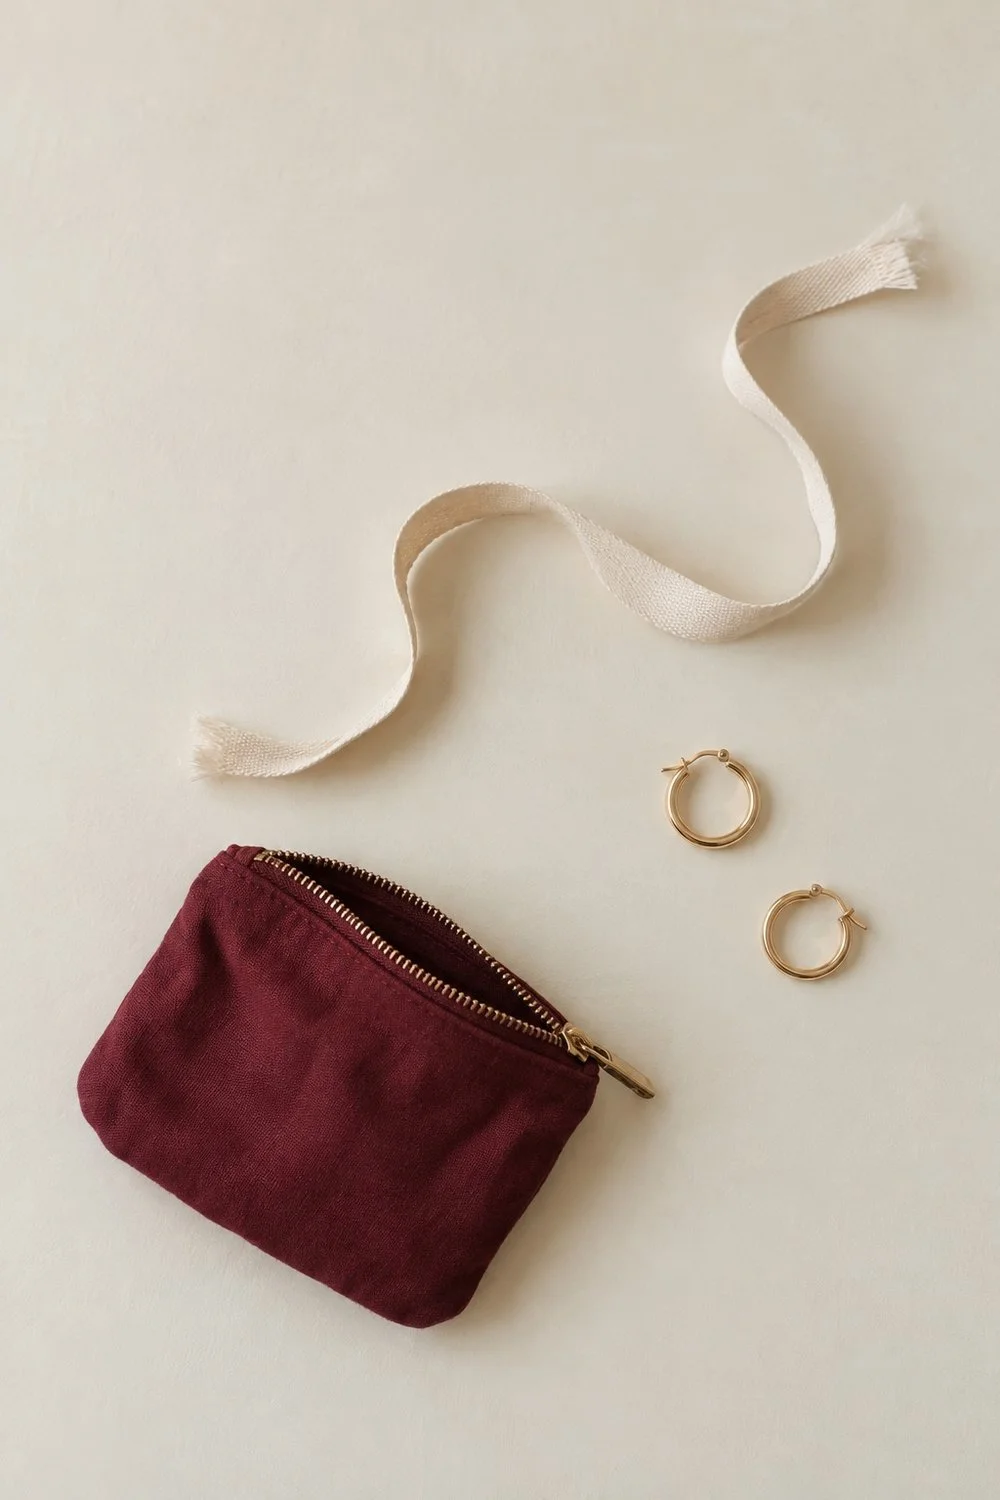
Flat lay photography starts with a view from straight above. Put a few things on a flat surface, point your phone or camera down, and arrange what you see inside the frame. A pair of earrings, a soft ribbon and your everyday pouch give you shapes and colors to play with. The desk has become a small photo set. The earrings have accepted their starring role.
You can try this near a window with things you already own. Pick one object to lead the picture, then choose a few others that belong beside it. You'll work on the view, the gaps between objects and the edges of the photo. You can keep the same objects for the whole session and still make several different pictures.
Start Flat Lay Photography with One Main Object
Choose the thing you want someone to notice first. A burgundy pouch could be the biggest shape in the picture. Pale blue ribbon and a pair of gold hoops can sit beside it, giving the pouch company without covering it.
Give your scene a reason to hold those objects together. You might photograph the accessories you're choosing for tomorrow, the things you carry in a small bag, or the colors in a favorite outfit. That shared idea helps you decide what belongs in the frame.
Begin with three objects. This gives you room to notice what happens when you move one. If the scene feels open, you can add another piece later. A small arrangement can fill the frame when you bring the camera closer.
Think about the background before you spread things out. A pale tabletop lets a dark pouch stand out. A piece of blue fabric might work with cream accessories. Try the surface you have first, then check whether its pattern pulls attention from your main object.
The same care you put into choosing details for your study desk can help here. You get to work with a smaller patch of the room, down to the little curve of a ribbon.
Put the Camera Straight Above the Scene
Hold the camera so its back stays parallel to the surface. If one side tips down, the arrangement can look wider at one end. A pouch that looked rectangular on the table may look like it's leaning away from you in the picture.
Use the lines on your screen as a guide. Compare the edges of a flat object with those lines. You can adjust your camera position before moving the objects again. It's much nicer to notice the tilt while everything is still on the table.
For a camera setup, Fujifilm's overhead photography guide explains why pointing straight down helps keep the subject plane even. A secure tripod can also hold the view while you change the arrangement. Follow your tripod's instructions for any overhead position.
If you're using a phone by hand, work at a height you can reach from the floor. You might put the objects on a low table or a clean board on the floor. Keep the phone clear of drinks and fragile pieces. Standing on a chair isn't part of this photo plan.
Use the camera you have. If its buttons are new to you, start with the basics of using your camera. Then come back to the same small scene and practice the overhead view.
Find Window Light You Can Work Beside
Try a place beside a window where the light falls across your surface. Look at the shadow under your main object. A small shadow can give its shape some depth while leaving the ribbon and earrings clear.
Turn off a nearby lamp if it adds a different color to part of the scene. A patch of orange light on one side and cooler daylight on the other can make a cream object look like two colors. Check the surface on your screen after you make the change.
In its flat lay lighting tips, Canon highlights window light and warns that strong direct sun can create harsh shadows. Use that as a starting point. Your own window may give you softer light at a different time of day.
Move around the table and watch where your own shadow falls. Your head or phone can block the light when you lean over the scene. Taking the picture from the other side may give the objects a clearer patch of light.
Check the lightest item before you shoot. You want to see the folds in a cream ribbon, even beside a dark pouch. If the ribbon looks like a blank white patch, adjust the exposure using your camera's controls and check again. The gold hoops can have a little shine while keeping their round shape.
Arrange Shapes and Leave Room Between Them
Place your main object, then add the next piece where its shape reads clearly. Try the pouch toward the bottom of the frame and let the ribbon curve above it. Put the hoops to one side, with enough space that each circle stays visible.
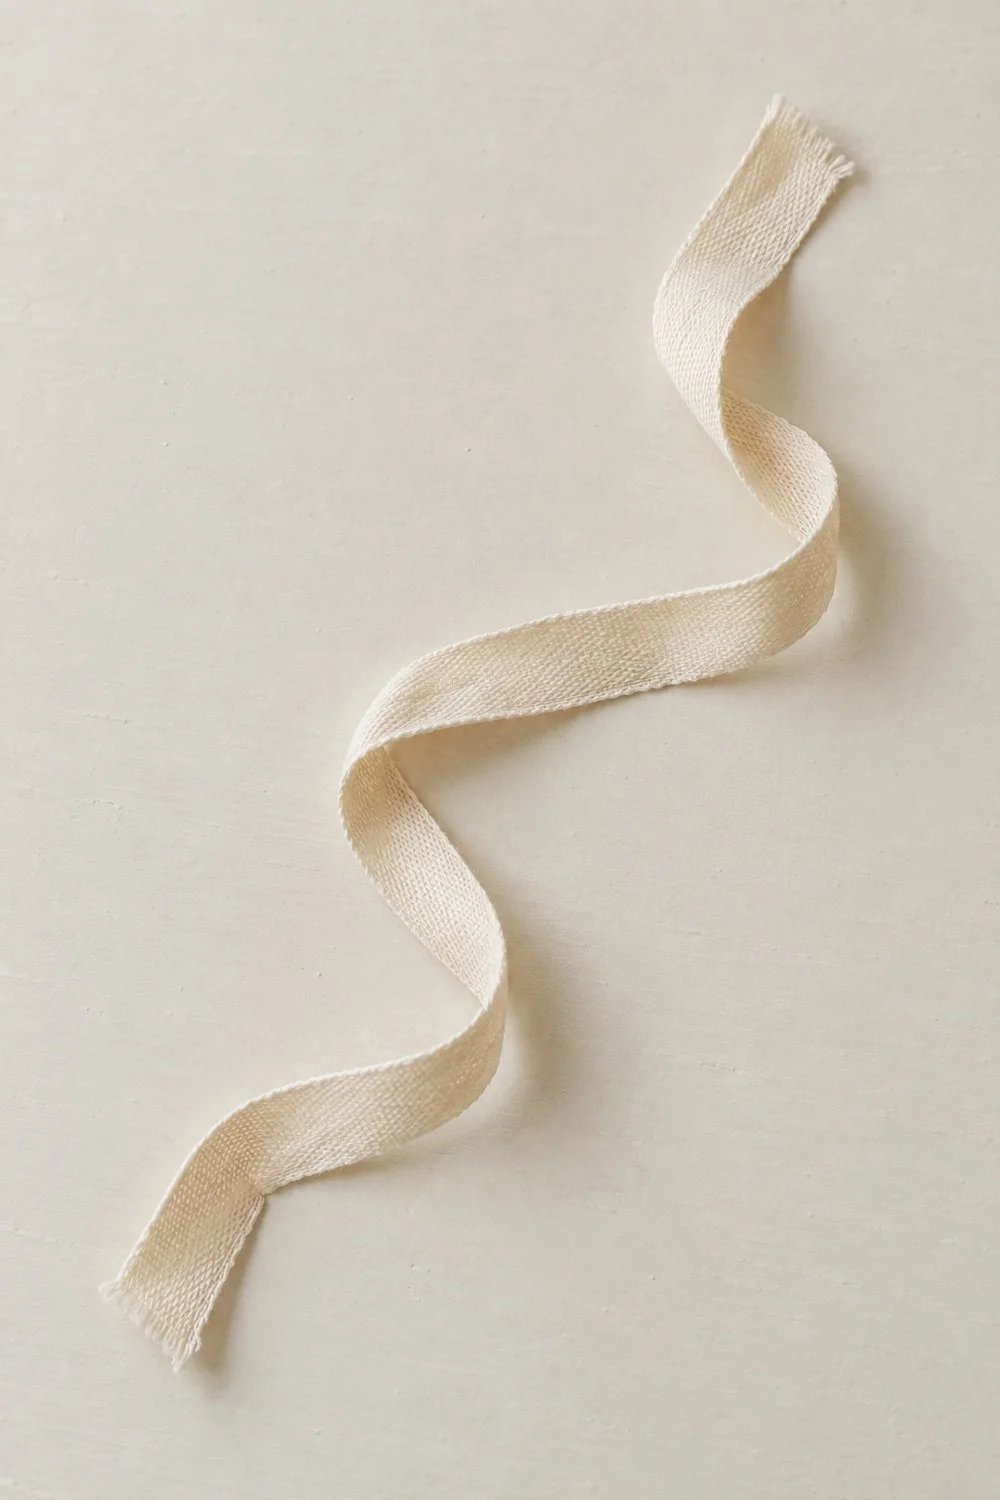
Look for places where objects almost touch. A ribbon tip that barely meets an earring can look accidental. You can move them apart or make the overlap clear. Either choice is easier to read than a tiny point of contact.
Try a loose diagonal across the picture. The pouch might sit at the lower left, the hoops near the middle and the ribbon toward the upper right. The gaps become part of the arrangement too. You don't have to fill every corner.
For a second version, line the same objects up with more even spacing. Leave the pouch straight and place the smaller pieces beside it. Compare how that orderly arrangement feels beside the looser one. The objects haven't changed, but their positions give you a different picture.
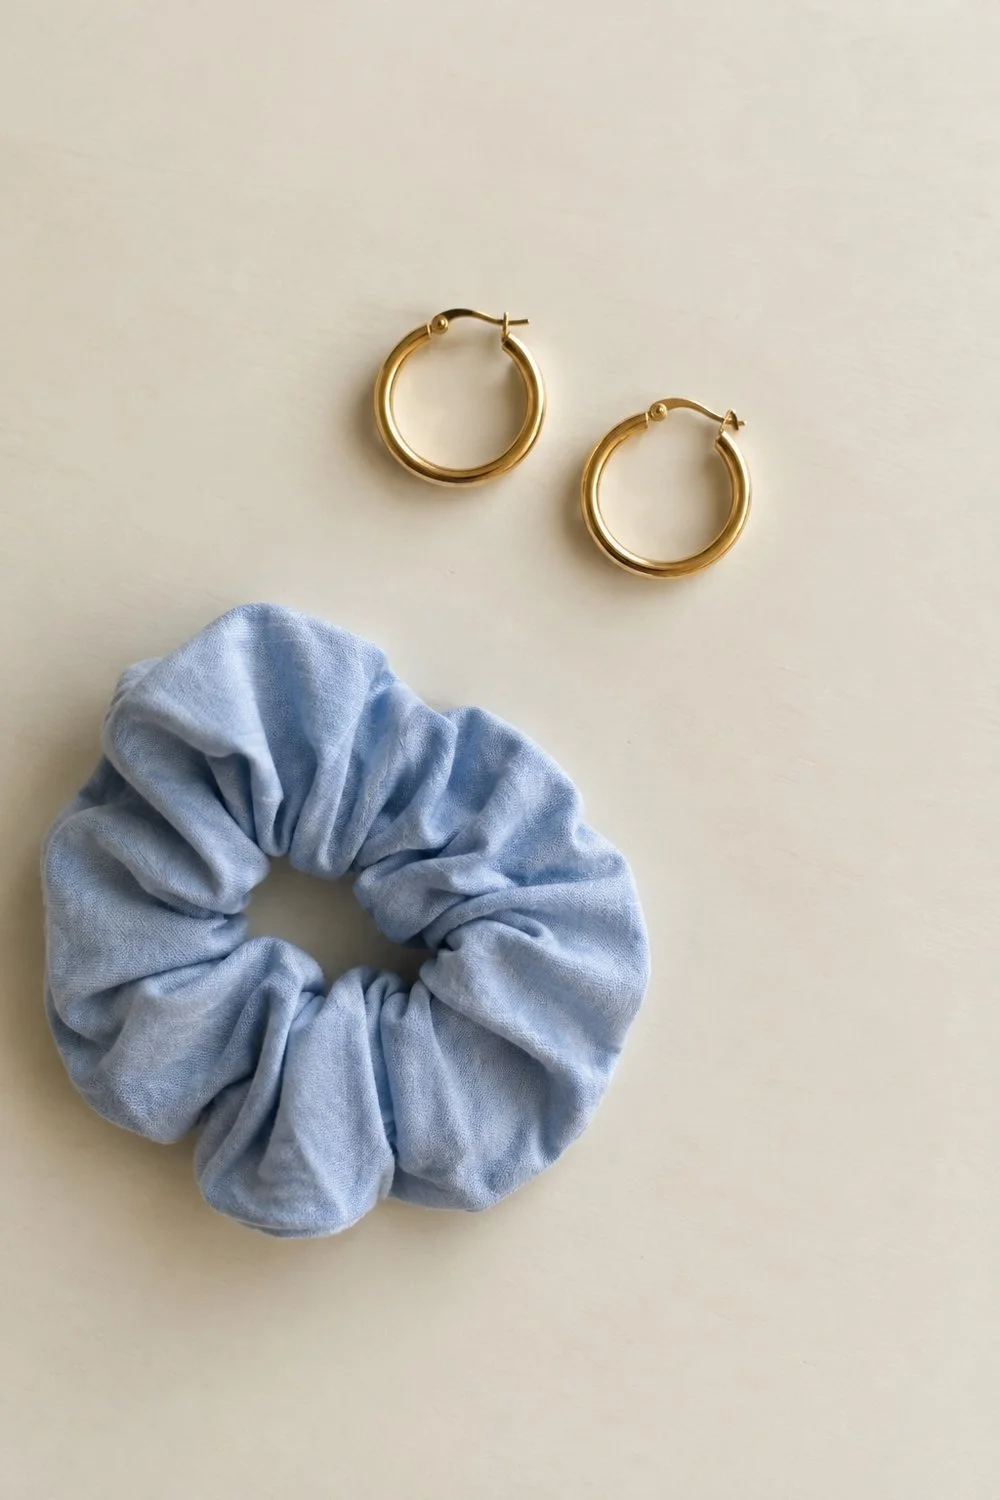
You can also work with color. Pair the blue ribbon with a blue scrunchie, then let the burgundy pouch stand apart. If the colors start competing, remove one piece and look again. That decision happens on the table before you open an editing app.
Check Focus and the Edges Before You Move Anything
Review a photo while the scene is still in place. Enlarge it enough to check the main object. Then look around the edges for a cut-off clasp, part of your sleeve or a table corner that slipped into view.
Keep important objects at a similar height when you want them clear together. A flat ribbon and a raised jewelry box sit at different distances from the camera. If one looks soft, try a lower box, move the objects or adjust your camera's focus and aperture as your setup allows.
On a phone, tap the part you want in focus and check the saved photo. Camera apps and modes differ, so use the controls your phone provides. If a close view keeps looking soft, move back a little and try again. Each camera has a limit on how close it can focus.
Give small details a little space from the border. A complete hoop can lose its shape if the crop cuts off one side. A longer ribbon may look good continuing out of the frame, especially when the curve leads there on purpose.
Take the wider picture before you gather the objects. It gives you room to compare a portrait crop with a square one later. Leave enough of the surface around the objects that the crop can change without cutting through your main piece.
Try Three Arrangements with the Same Little Set
Make your first picture about the whole group. Show the pouch, both earrings and the ribbon from above. Keep the arrangement open enough that you can name each object at a glance.
For your next picture, make the ribbon's shape the main event. Loosen it into a curve, then place the pouch near one end. The hoops can sit together at the other end. You're changing what leads the picture while keeping the objects connected.
For the third version, work with a tighter pair. Set the hoops beside the pouch's zipper and leave the ribbon outside the frame. You can use the zipper line to guide the arrangement, with a small gap between the fabric and the metal.
Compare those three pictures side by side. Notice which one has the clearest main subject, which uses the surface well and which crop feels complete. Keep your favorite version with the objects still in place so you can make a final adjustment.
If you edit your phone photo afterward, begin with the crop and a small light or color adjustment. Keep the cream ribbon's color believable. If you’re 18 or older, you can explore Brittley Mobile Presets for phone editing if you'd like a preset option for Lightroom mobile. Check the current details on the linked page. A preset can't straighten an overhead view that was tilted when you took it.
Try another arrangement when a color catches your eye during the week. A blue scrunchie and a burgundy pouch are a promising pair. The ribbon may want another turn too.
You Might Also Like
Taking leaf pictures on a fall walk
Photographing a friend while you're out walking
