How to Set Up a Study Desk
It is 10:08 p.m. and the paper is due at midnight. Your charger is under the bed, the only working pen has vanished, and a cup from Tuesday is sitting where the textbook needs to go.
Learning how to set up a study desk is less about buying matching bins and more about making the next school task easy to begin. You need enough clear room to work, a chair and screen you can use with less strain, light that reaches the page, and a nearby home for supplies. Set it up for the way you study on a normal Tuesday, not for a photo.
Quick note: some of the links below are affiliate links, so I may earn a small commission if you buy something, at no extra cost to you. I only ever link to things I would genuinely recommend.
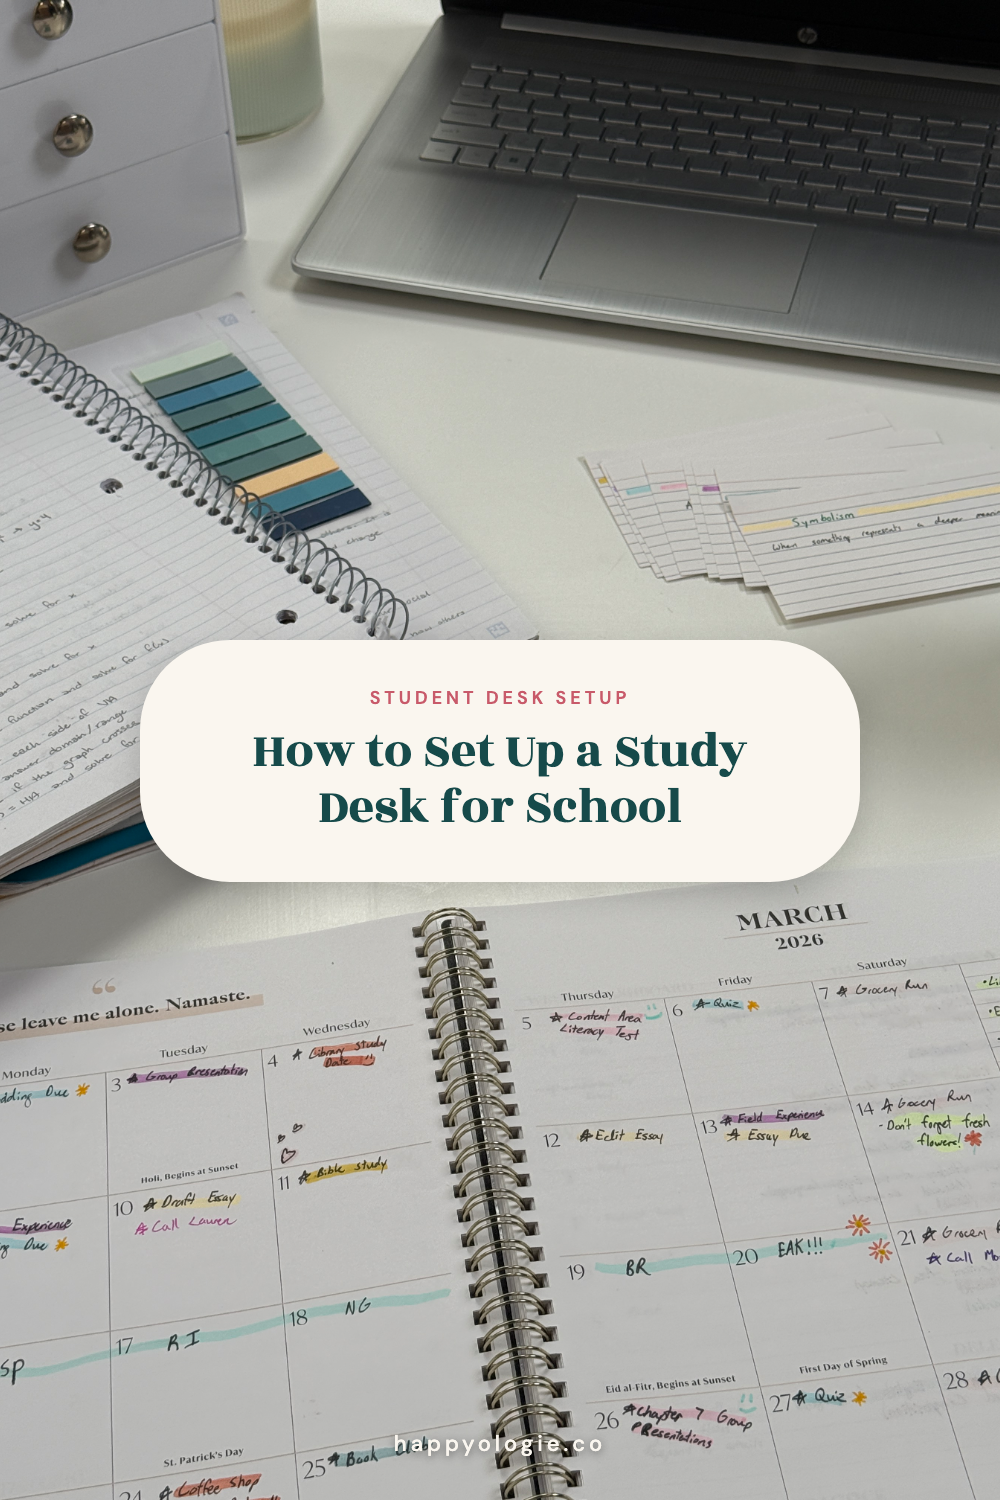
Start with the work you do at the desk
Your desk setup should match the kind of schoolwork you do there. Think about the last three times you used it. Did you type a paper, solve math problems, join an online class, spread out note cards, or read from a large book?
The answer tells you how much open space you need. A student who draws plans or works from a textbook may need a wide clear area. A student who types most assignments may need less paper space but more room for a mouse, charger, and second screen.
Also notice what does not happen at the desk. If you never use the stapler, eight extra notebooks, or printer paper while studying, they do not need space beside your hands. Store them in a drawer, bin, or shelf.
Happyologie’s guide to creating a productive study environment covers the wider room. This post stays with the few feet around your chair.
Clear the desk and make three zones
Take everything off the desk so you can rebuild it around three zones. The work zone is the open space in front of you. The reach zone holds the few items you use during most sessions. The storage zone holds supplies you need less often.
Start with the work zone. Place your laptop, book, or notebook where you would use it. Move your arms as if you were typing and writing. If your hand hits a pen cup or stack of mail, move that item.
The reach zone can hold a pen, pencil, water, charger, and the notebook you use now. Keep these close enough to grab without standing up. They do not all need to sit in the middle of the desk.
The storage zone can be a drawer, shelf, rolling cart, or small bin under the desk. Put extra paper, tape, spare pens, and books there. If your drawers have become a home for old gum wrappers and six dead highlighters, Happyologie’s post on organizing desk drawers can help with that part.
Adjust the chair before the decorations
A useful chair setup lets your feet rest on the floor or on a steady foot support. Sit far enough back that the chair supports you. Let your shoulders drop instead of pulling them toward your ears.
The OSHA computer workstation guide says the keyboard and mouse should leave room for relaxed shoulders and elbows near your sides. Your wrists should not bend hard up or down while you type.
Many dorm desks and chairs do not adjust. Work with what you have before buying new furniture. A firm footrest can help if your feet do not reach the floor. A folded towel at your lower back may feel better in a deep chair. Remove the fix if it makes you less comfortable.
Your body does not need to hold one perfect pose for three hours. Change how you sit, stand up between tasks, or take a short walk. If a setup keeps causing pain or numbness, talk with a health professional instead of trying to push through it.
Place your laptop or monitor where you can see it
Place the screen in front of you so you do not spend the whole session turning your neck. OSHA suggests putting the top of a monitor at or a little below eye level. The screen should be far enough away that you can read it without leaning forward.
A laptop makes this harder because the screen and keyboard are attached. If you raise the laptop on books or a laptop stand, use an outside keyboard and mouse when you can. If you do not have those, keep the laptop at a height that lets you type with less strain. Take short movement breaks and change spots during long work.
Set the screen angle so the words are clear and room lights do not shine back at you. Make the text larger if you keep leaning in. That two-second setting change is more useful than spending the night with your nose six inches from the discussion post.
Keep a video-call camera near eye level when possible. Check what sits behind you before class starts. A blank wall is fine. You do not need to design a whole background.
Add light where the work needs it
Use enough light to see both the screen and anything on the desk. Daylight may work well during the afternoon. At night, a desk lamp can put light on a notebook without making the whole room bright.
UC Davis explains in its lighting ergonomics guide that an adjustable task light lets you choose where the light falls. Place the lamp to the side so your hand does not cast a large shadow across the page.
Watch for glare on the screen. Try moving the lamp, changing the screen angle, or turning the desk so a bright window is beside the screen instead of directly behind it. You may need one setup for daytime and another after dark.
Choose a bulb that feels clear and comfortable to you. Warm light is not always better for schoolwork, and bright white light is not always worse. The useful test is whether you can read the page without squinting or seeing a bright spot in the screen.
Give chargers and cords a clear path
Set up power before the first late study session. Put the laptop charger where it can reach the desk without stretching across your feet. Use a reusable tie or clip to keep a loose cord from falling behind the furniture every day.
Keep drinks away from power strips and charging blocks. Do not run cords under rugs or through a doorway where they can be stepped on. Replace a cord if the cover is split or the wires are showing.
Use the number of outlets your power strip is made to hold. Do not stack one power strip into another. If you are unsure whether a cord or outlet is safe, ask housing staff, a parent, or another person who knows electrical safety.
Add a phone charger only if your phone has a reason to stay at the desk. If it pulls you away from work, charge it across the room. Your setup should remove one common problem, not give the problem a padded stand beside your laptop.
Keep daily supplies close and extras out of the way
Permanent desk space should go to items you use most days. That may be your laptop charger, one notebook, two good pens, noise-cancelling headphones, and an insulated water bottle. A physical planner can stay there if you check it at the desk.
Test every pen before it earns a spot. Recycle old handouts and return books to their class shelf. Put extra markers, note cards, clips, and cords in the storage zone.
Leave room for the current class. If you study biology tonight, bring out the biology notebook and book. When that task ends, put them away before bringing out history. One class on the surface is easier to read than four classes stacked around the keyboard.
In a dorm or small bedroom, the storage zone may be one tote under the chair. Happyologie’s guide to organizing a small college dorm room has more ideas for items that cannot live on the desk.
Add one or two things that make the desk yours
A photo, small plant, favorite mug, or piece of art can make a plain desk feel like your place. Pick something you like seeing when you sit down. It does not need to have a study purpose.
Keep the work zone clear while you add it. A framed photo can stand at the back corner. A small object can sit on a shelf. If you need to move six decorations before opening a notebook, some of them need another home.
Be careful with candles in dorms, since many schools do not allow open flames. Check housing rules before bringing one. A small lamp, photo, or flameless option may give you the same warm feeling without breaking the rule.
Your desk does not need a theme. A charger that reaches, a lamp that lights the page, and a photo you love can be the whole design.
Reset the desk in five minutes
A five-minute reset brings the desk back to its normal setup before the mess turns into a weekend job. Pick one time each week, such as Friday after class or Sunday before planning.
Throw away trash and take cups to the kitchen. Put class papers in their folders. Return extra supplies to the storage zone. Plug in the laptop and leave the next notebook close by if you know what Monday needs.
Do not use the reset to sort every paper from the semester. If one pile needs more time, place it in a folder marked “sort” and choose when to handle it. The desk can return to work before every loose end is fixed.
When school gets busy, clear enough room for the next task and stop. A working patch of desk is useful even when the drawer below it is having a harder week.
As an Amazon Associate I earn from qualifying purchases.
You Might Also Like
College study essentials that earn desk space
Dorm room essentials for a small space
How to use a weekly planner for school
How to build a student morning routine
A desk that is ready to go makes a study routine easier to keep. How to Build a Study Routine You Can Actually Keep helps you find one study window you already have, add habits one at a time, and check in each week. Fourteen pages, printable or fillable, $7.