These beach photo ideas start with a lighthouse, dune grass, a gull and a curved waterline. You can use them to make a small photo story with your phone or the camera you already have. Try an open view, a close detail and a few shapes you notice along the shore.
The black-and-white lighthouse and the gull in these photos give us two places to begin. One stays still while you choose the frame. The other is already on its way somewhere. Both look good with plenty of blue sky around them.
Choose the ideas that fit the beach you're visiting. A lake shore can give you waterlines, grasses and wide views too. You can make the outing about the things you find, rather than trying to match every picture here.

1. Give a landmark room in the frame
Start with one thing that catches your eye. It might be a lighthouse, a pier or a row of beach huts. Let that be the main subject, then look at what sits around it. In this photo, the pale sky gives the dark lantern room a clear edge.
Try placing your subject to one side. Take another picture with it nearer the center, then compare the two. A grid can help you notice where you're placing it. Nikon's guide to framing a clear subject shows how to use a grid as a starting point.
Keep the whole shape in view when that shape is what you like. Check the top of the tower, the edge of a roof or the end of a pier before you take the photo. A little space around those edges gives you more room to choose a crop later.
2. Look for one small beach detail
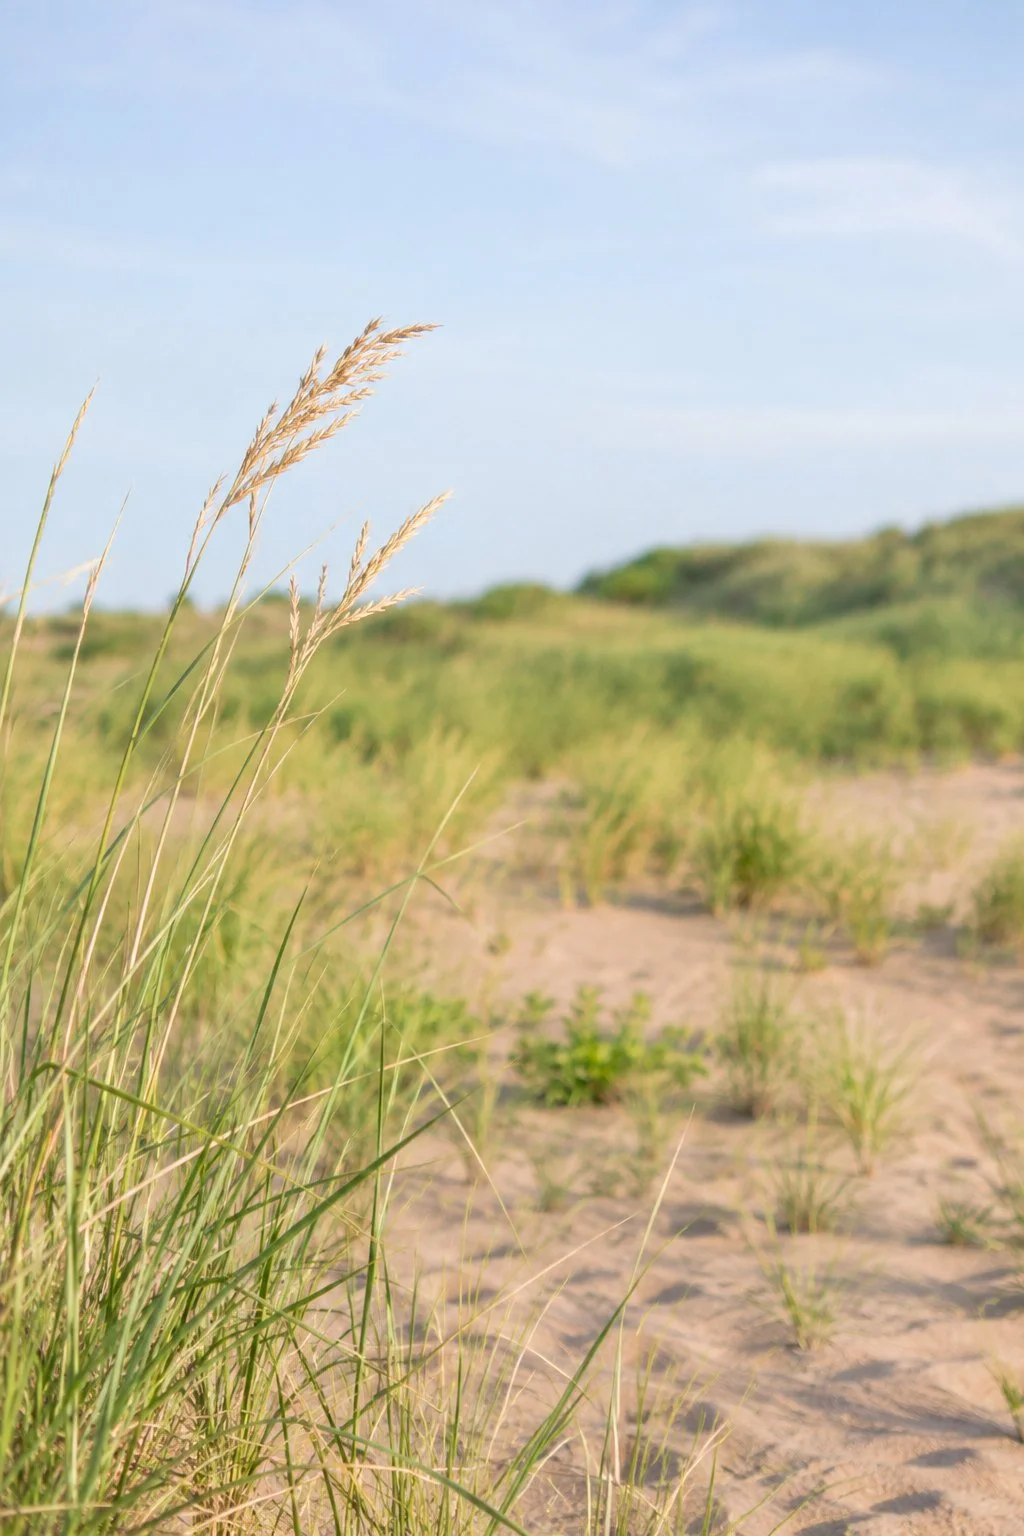
After the broad view, look closer. A few seedheads beside the path can give your photo story a different scale. Here, the thin grass stems stand out against the softer dune behind them.
Choose one small group rather than trying to include every blade of grass. Move a little to the side and see what happens to the background. A patch of sky might help a seedhead show up. A darker dune might help a pale shell stand out on the sand.
You can try the same way of looking at home. Our window light ideas for everyday photos use a jug, flowers and the space around them. The subject changes, but you still get to choose what leads the picture.
Stay on open paths and allowed beach areas while you look. You can photograph the grasses where they grow without picking them or stepping into the dunes.
3. Follow the curve of the waterline
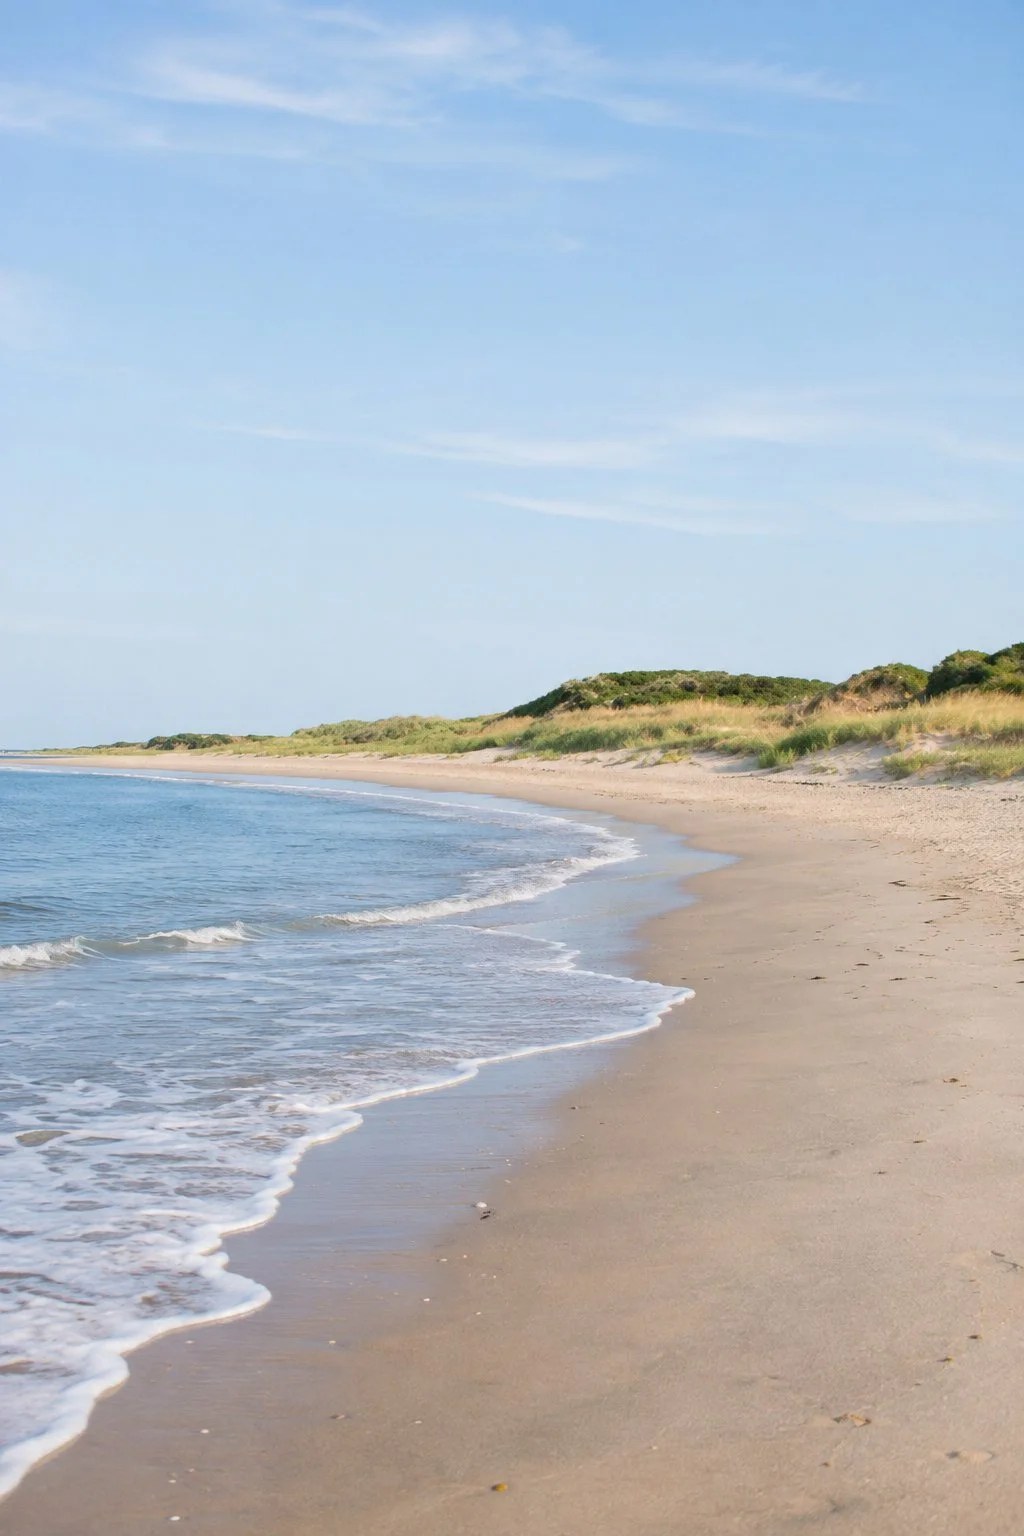
The edge of a small wave makes a line you can build a picture around. Look along the shore and see where that line bends. Try letting it enter near a lower corner and curve toward the distance.
Keep your feet on a dry, stable spot while you frame it. Turn the phone or camera a little to include more sand, then a little to include more water. You'll get two different pictures from the same place.
Watch a few waves before choosing a moment. One may leave a thin white edge. The next may cover more of the wet sand. You can choose the shape you like, rather than taking a picture every time the water moves (the waves will keep offering suggestions).
If the sand or foam looks too bright, check the exposure before taking another photo. On an iPhone, tap your subject and move the sun control down a little. Apple's guide to camera focus and exposure shows where to find that control. Keep enough light to see the shore's soft colors.
4. Leave open sky around a flying bird
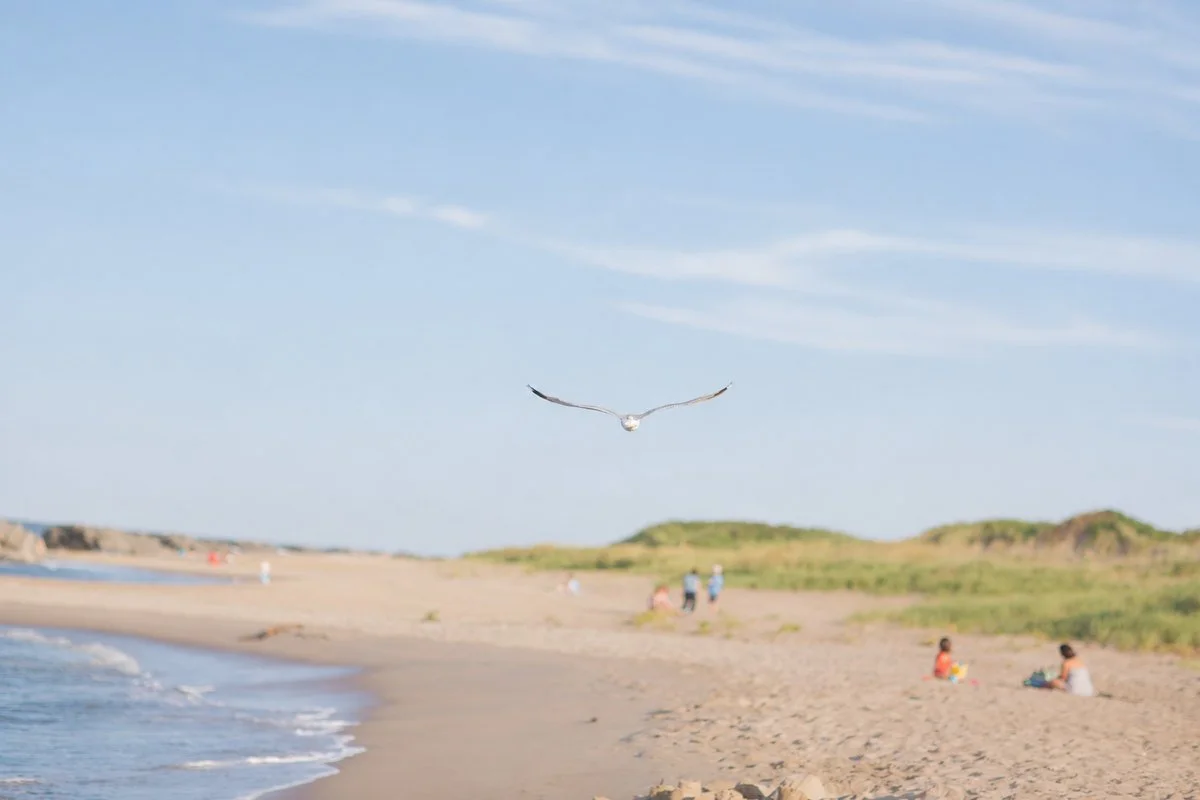
A gull doesn't need to fill the frame to be the part you notice first. Its wings make a clear shape against the pale sky. Leaving room around it lets the sky become part of the picture too.
Try a wider view while the bird passes on its own route. You can include a low strip of beach to show where you are. Keep both wing tips inside the frame and look at the space ahead of the bird. Leave it room to move through the picture.
Stay where you are rather than following wildlife for a closer shot. The small bird and wide sky are the idea here. If it flies out of view, you can watch for another moment from the same spot.
For photos with a friend, our ideas for photographing a walk together give you a different set of subjects and ways to take turns. Choose photos together before sharing any that include them.
5. Fill the frame with a wave's edge
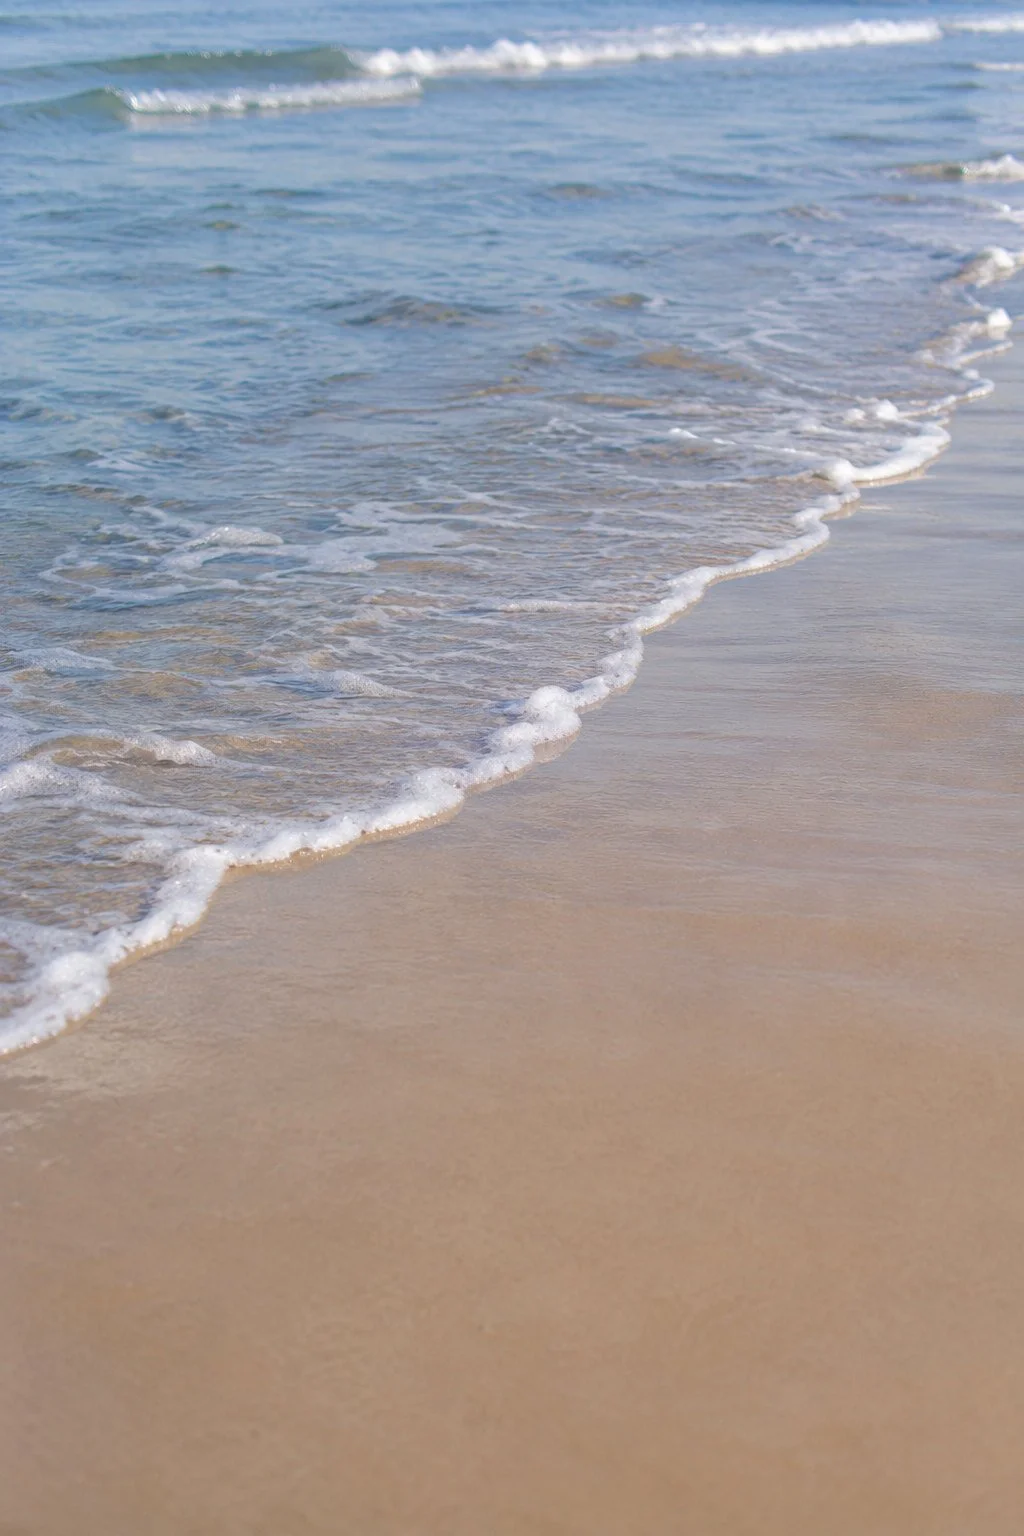
Now turn your camera toward a smaller piece of the shore. You can leave out the sky and dunes and give the wave's edge the whole frame. A thin arc of foam, clear water and wet sand can be plenty.
Look for the shape first. Try a diagonal edge across the picture, then a gentler curve. Wait for the water to pull back if you want more sand in view. Keep your camera and your attention clear of incoming water.
Compare this close view with the wider shoreline photo. The wide picture shows the beach. The close one gives you a detail from it. Putting both in the same album helps the photos feel like different parts of one outing.
When you edit phone photos later, start by checking brightness and true color. If you'd like a starting point in Lightroom Mobile, you can explore my Brittley Mobile Presets for phone photos. Keep the version that suits the photo in front of you.
6. Take one last wide view
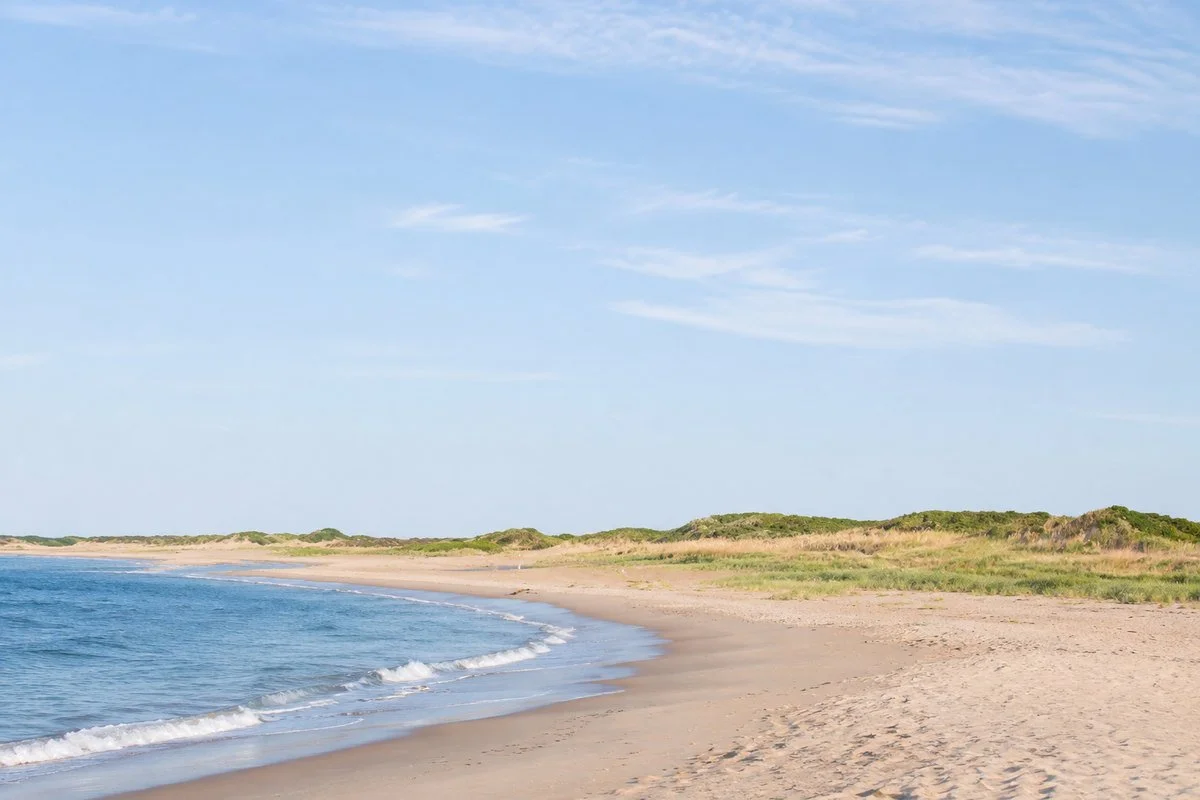
Before you put the camera away, try a horizontal picture of the whole shore. Include the part you want to remember: the blue water, the low dunes or the stretch of open sand.
Choose how much sky belongs in it. A lower horizon makes room for clouds. A higher horizon gives the sand and water more of the picture. Keep the horizon level, then compare the two versions on your screen.
Look through your photos together when you're home. You might choose a landmark, a grass detail, the curved shore, a gull, a wave's edge and that last wide view. Arrange them in an album in the order you enjoy looking at them. The small wave can sit beside the wide beach, with all that blue running between them.
You might also like
Find more moments to photograph in November
Try photographing fall leaves with your phone